

Homemade Vegan Nutella
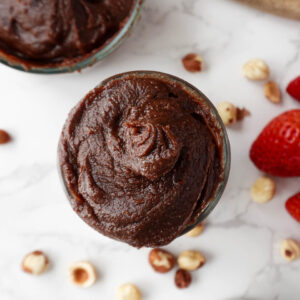
Make Homemade Vegan Nutella with just 5 ingredients in 20 minutes! It’s rich, chocolatey, naturally sweetened with dates, and completely dairy-free. It’s thick and spreadable, so it’s perfect for spreading on toast, swirling into oatmeal, dipping fresh fruit into it, or spooning it straight from the jar!
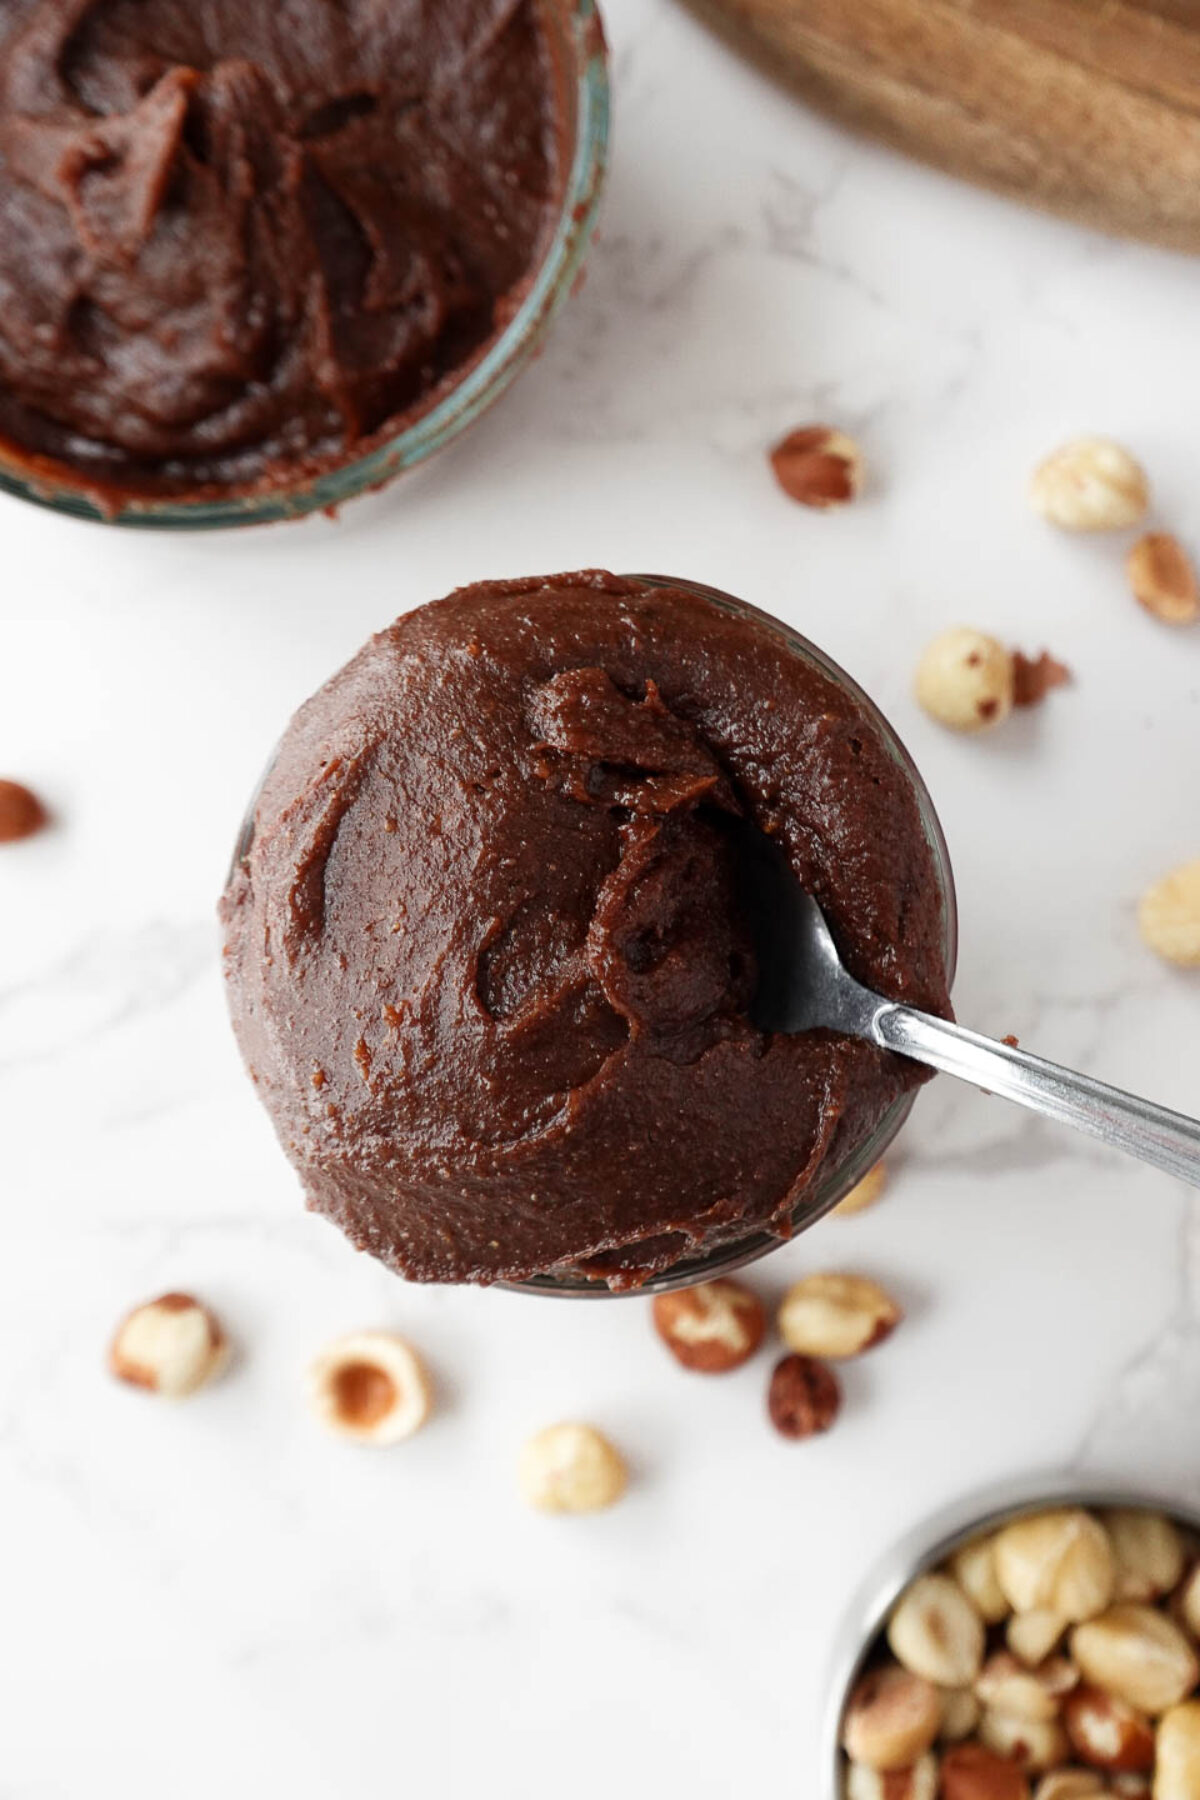
Chocolate and hazelnut has been one of my favorite flavor combinations for as long as I can remember. I still remember being about eight years old when my dad brought home a glass jar of Nutella (back when they still used glass!). I spread it on a croissant, and I was hooked.
But I wanted to make my own version with ingredients I actually keep in my kitchen, like hazelnuts, cocoa powder, medjool dates, and maple syrup.
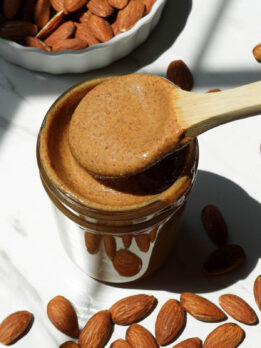
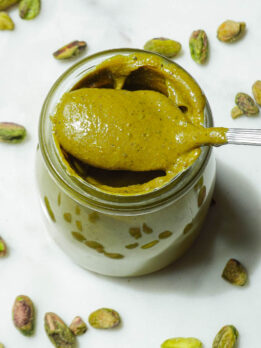
The result is a rich, chocolate-hazelnut spread that’s thick enough to pile onto toast, but still easy to scoop and spread. And if you love making your own nut butters, try my homemade hazelnut butter, homemade pistachio butter, or almond butter next.
Featured Review
Delicious recipe! Thank you for sharing.
– Doah
Table of Contents

What Makes This Vegan Nutella So Good
- Classic Nutella flavor: Hazelnuts and cocoa powder give this spread that classic chocolate-hazelnut flavor you know and love!
- Thick and spreadable: The dates give this homemade Nutella a thick, fudgy texture that stays on your toast instead of dripping down the sides.
- Simple ingredients: You only need 5 pantry staple ingredients.
- Easy to make: Once the hazelnuts are roasted, everything comes together in a food processor.
- Vegan & dairy-free: A simple homemade alternative to traditional Nutella, without the dairy.
A quick note on texture: When I was developing this recipe, I asked you what the perfect Nutella consistency should be, and the majority of you said thick and spreadable so it doesn’t slide off the sides of your toast. So, that’s exactly what I set out to make! Think thick, fudgy, and easy to spread rather than silky or pourable.

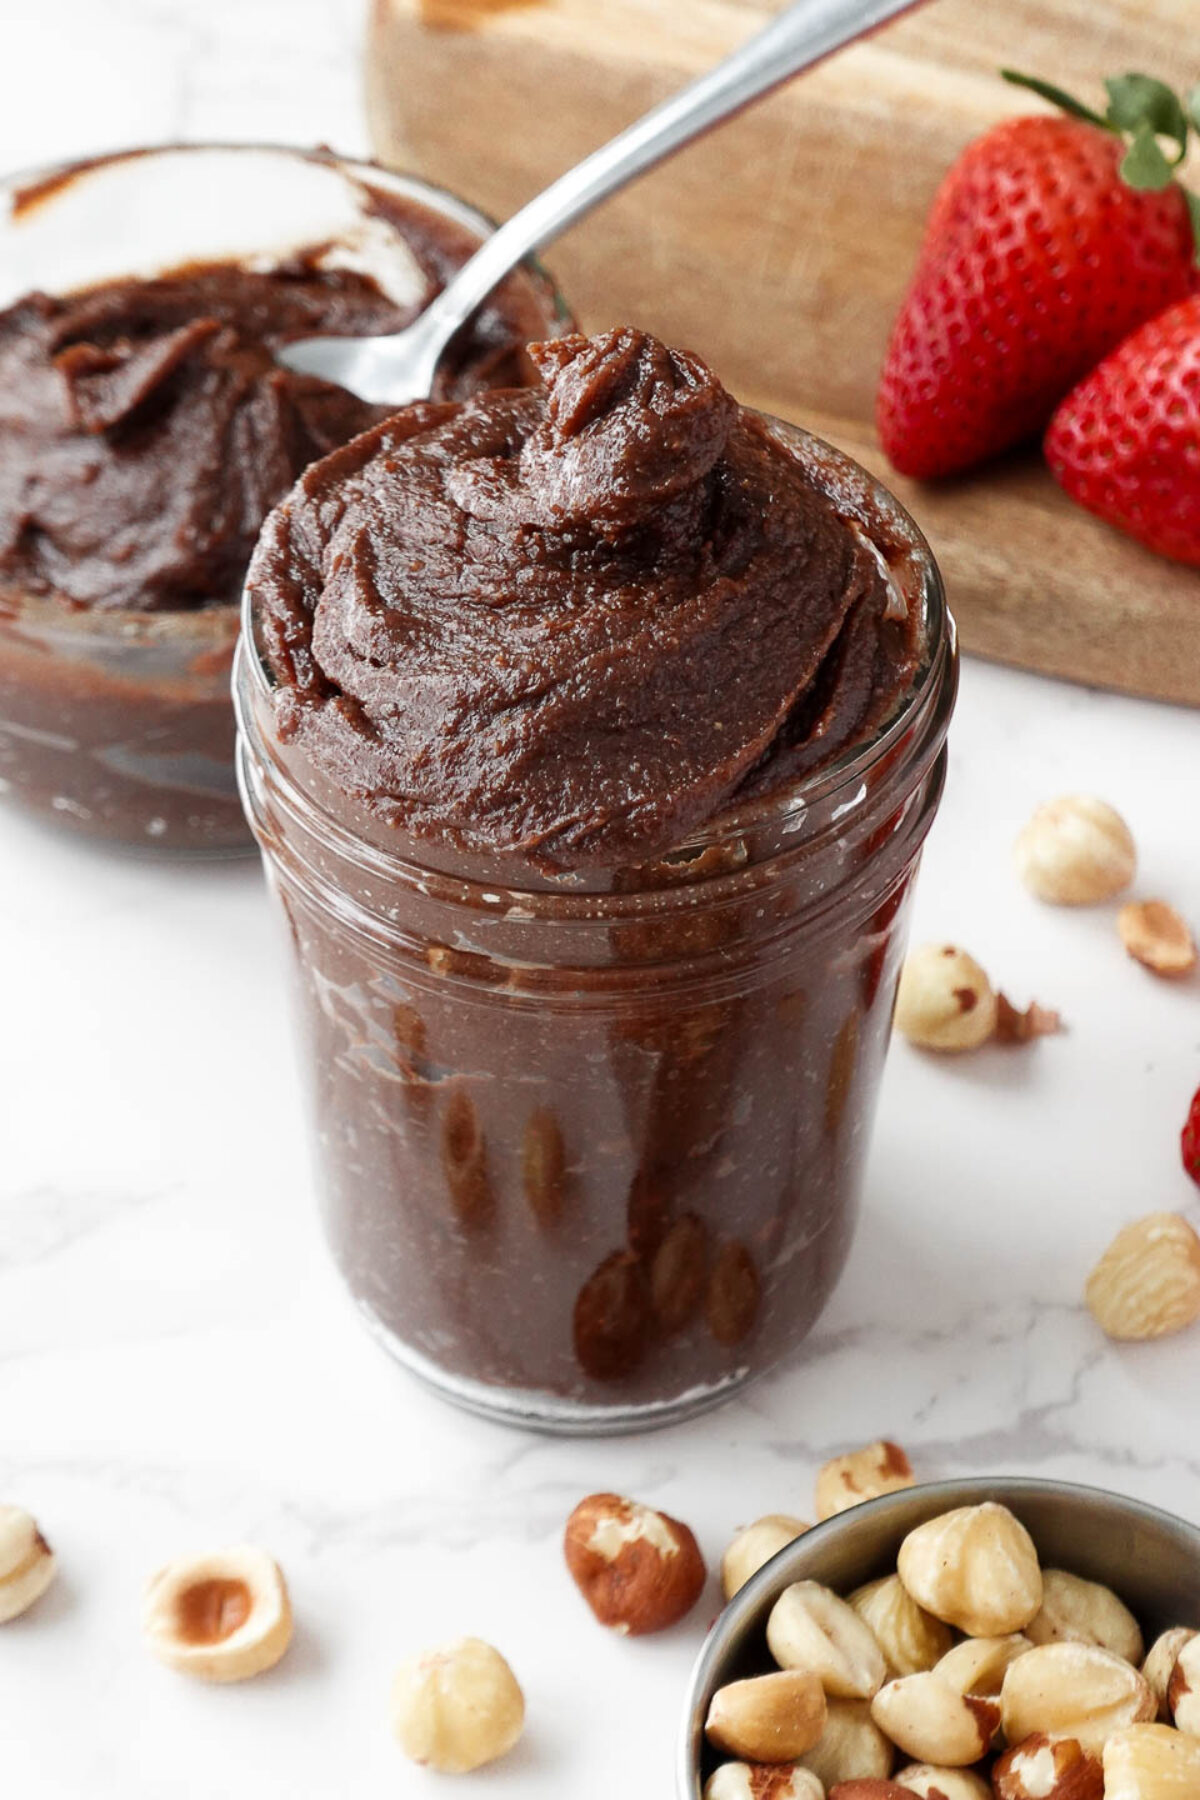
The Simple Ingredients You’ll Need
- Hazelnuts: Raw hazelnuts work best because you’ll roast them yourself. It’s the same method I use in my homemade hazelnut butter since roasting brings out their flavor and helps release their natural oils, which makes them easier to blend into a creamy consistency.
- Medjool Dates: Add natural sweetness and the secret to the thick, spreadable texture. Make sure your dates are soft and sticky for the best results. And since you already have the dates out, you might as well make my ferrero rocher stuffed dates!
- Cocoa Powder: Use a cocoa powder you love here because it will affect the final flavor. I usually reach for Trader Joe’s because it’s rich without being overly bitter. You can see the difference good cocoa powder makes in my chocolate avocado pudding and homemade chocolate syrup, too.
- Non-Dairy Milk: A small amount makes it easier to blend. I recommend using an unsweetened, neutral-flavored non-dairy milk.
- Maple Syrup: Adds another layer of sweetness and balances the bitterness of the cocoa.
Tools I Use
A good-quality food processor is my go-to for this recipe. I’ve had my Cuisinart food processor for 5+ years and it’s still one of my most-used kitchen tools. I use it for everything from homemade nut butters to peanut butter energy balls and no-bake brownies.
A high-powered blender like a Vitamix can work, but I recommend a food processor for this recipe. The wider bowl makes it easier to scrape down the sides, especially once the dates are added and the mixture gets thick.
How to Make Homemade Nutella
- Roast the hazelnuts: Place the hazelnuts on a baking sheet and roast at 350°F for 8–10 minutes, until lightly golden. Don’t skip this step! Roasting deepens the hazelnut flavor and helps the nuts release their natural oils, which makes blending easier.
- Blend the hazelnuts: Add the roasted hazelnuts (and salt, if using) to a food processor. Blend for 3-5 minutes, scraping down the sides as needed. At first, the hazelnuts will look dry and crumbly, but they’ll gradually turn into a thick, smooth hazelnut butter as their natural oils release.
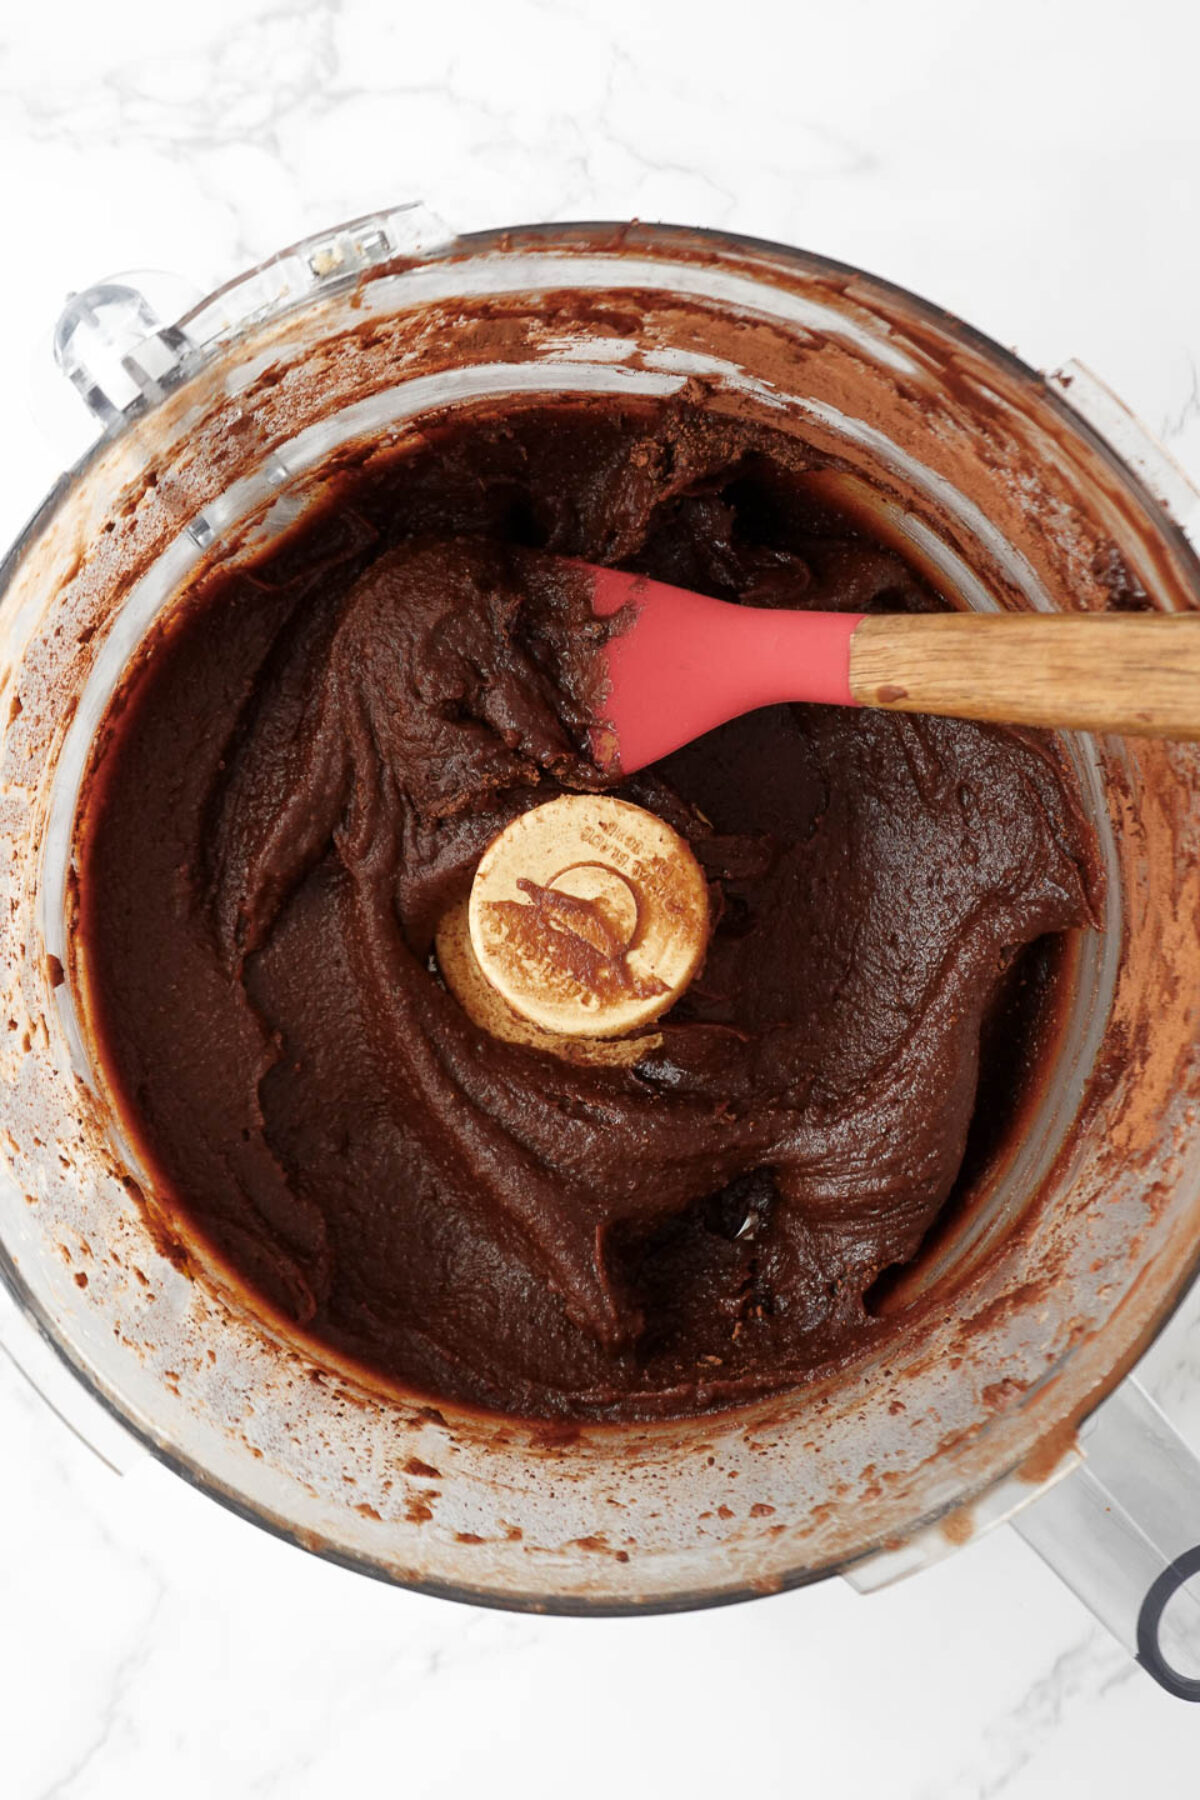
- Add the remaining ingredients: Add the pitted medjool dates, cocoa powder, non-dairy milk, and maple syrup. Blend for another 3–5 minutes, scraping down the sides as needed. The mixture will become thick and form a ball at first. This is normal! Keep processing until everything is combined and the mixture becomes a thick, spreadable consistency.
- Adjust if needed: Taste and adjust as needed. If the spread is thicker than you’d like, add non-dairy milk 1 tablespoon at a time and blend again. For a sweeter spread, add a little more maple syrup.
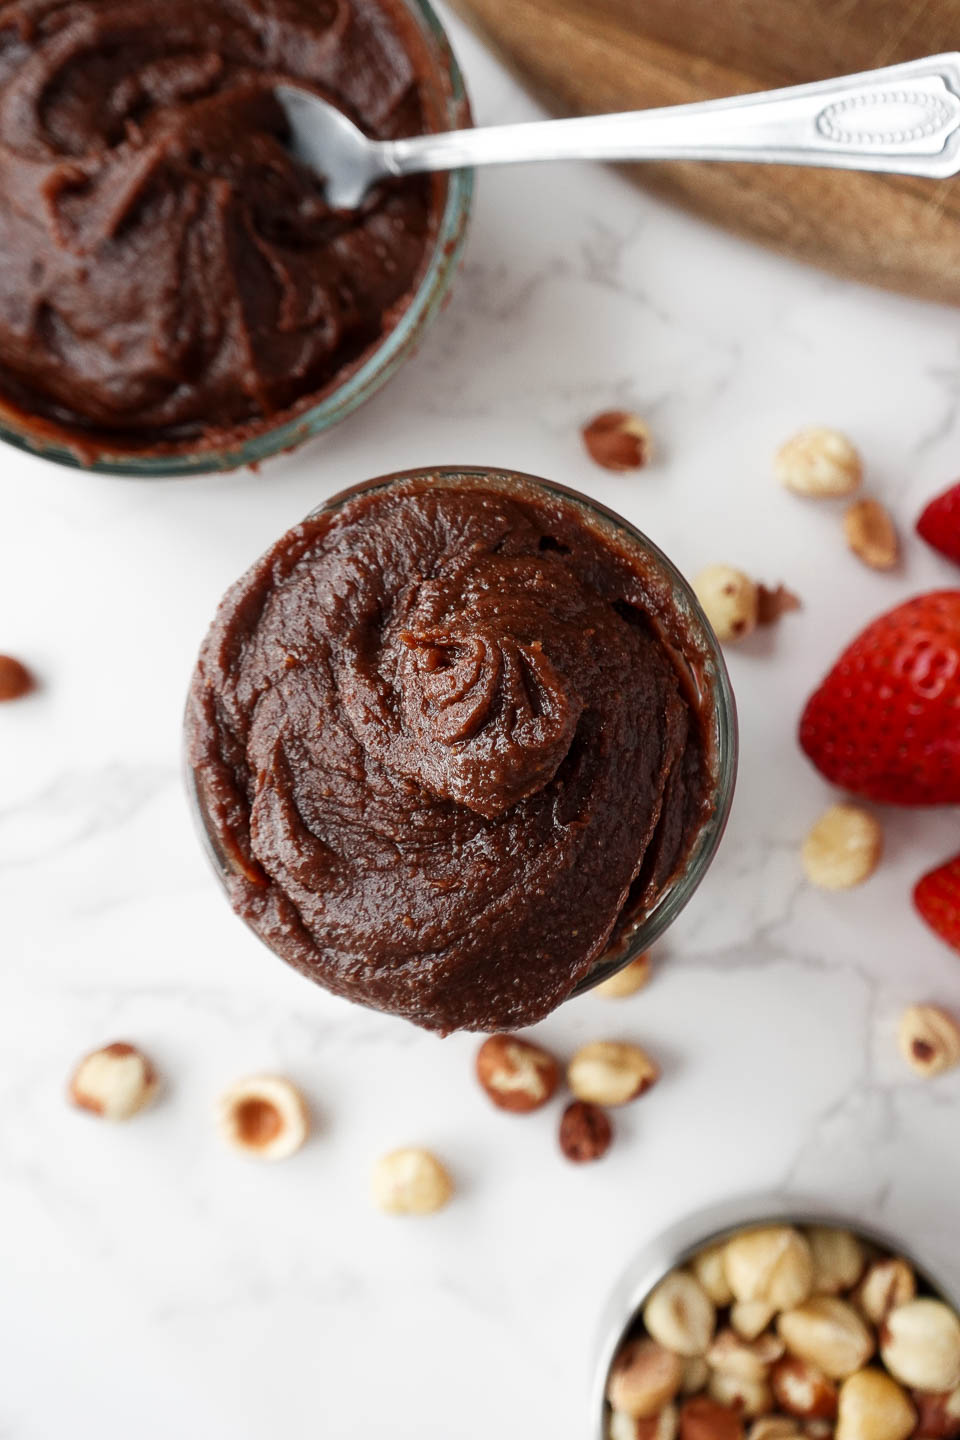
- Store: Transfer the Nutella to a clean glass jar. Let it cool, then cover and refrigerate.
Recipe Tips & Testing Notes
- Use soft medjool dates: Fresh, soft dates blend much more easily. If yours are dry or firm, soak them in warm water for 5–10 minutes, then drain and pat dry.
- Roast the hazelnuts: Don’t skip the roasting step. It makes a noticeable difference in both flavor and how easily the hazelnuts release their oils.
- Keep blending: The hazelnuts need time to release their natural oils. If the mixture looks crumbly, keep blending and scrape down the sides.
- Expect a thick stage: This is one of the weird-but-normal stages of the recipe! Once the dates and other ingredients are added, the mixture will form into a ball, but after some time blending, it will loosen into a thick, cohesive spread.
- Adjust the sweetness: This recipe is intentionally not overly sweet. If you prefer it sweeter, add a little more maple syrup.
- Add a pinch of salt: If it tastes flat, add a small pinch of salt. It helps bring out the chocolate and hazelnut flavors.
Why Is My Homemade Nutella So Thick?
That’s actually how this recipe is designed!
If yours is thicker than you’d like, add non-dairy milk 1 tablespoon at a time and blend again.
How to Enjoy Homemade Vegan Nutella
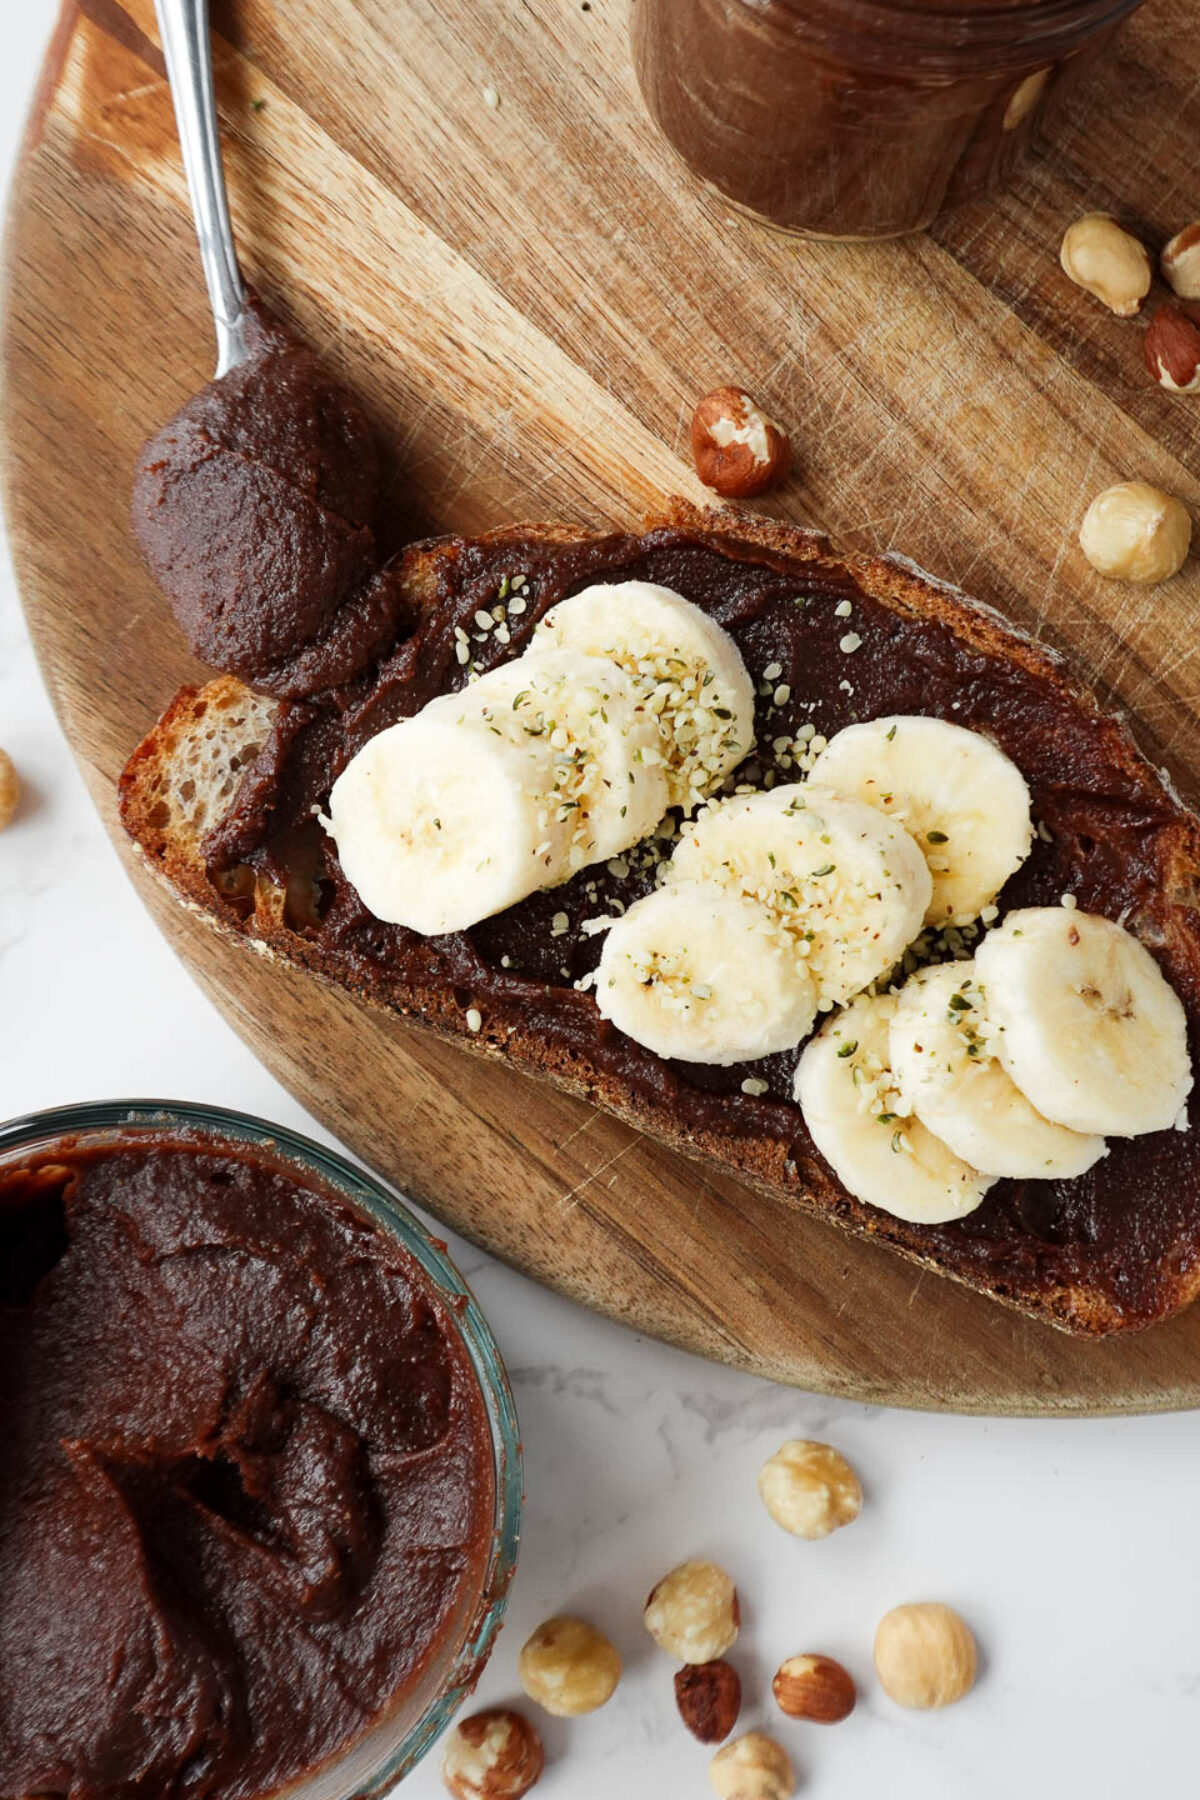
Use this homemade vegan Nutella just as you would regular Nutella! These are a few of my favorites:
- Spread on toast with sliced strawberries or bananas
- Dip strawberries, apples, or other fresh fruit
- Pair with pretzels for a sweet-and-salty snack
- Swirl into yogurt or oatmeal, especially my chocolate hazelnut overnight oats
- Dollop onto my 3-ingredient pancakes
- Spread on vegan banana bread
- Use as a filling for stuffed dates
- Eat it straight from the spoon (I support this decision)
Frequently Asked Questions
Store it in an airtight container in the refrigerator for up to 10–12 days. Because this recipe contains non-dairy milk and fresh dates, I recommend keeping it refrigerated.
Yes, it will firm up in the refrigerator, so let it sit at room temperature for a few minutes before spreading.
Don’t worry! This is a normal stage of the recipe, especially after adding the dates and cocoa powder. The mixture will become thick and form a ball before it loosens into a cohesive spread. Keep blending and scrape down the sides as needed.
Traditional Nutella contains milk ingredients, so it isn’t vegan. This homemade version is made without dairy, so it’s vegan-friendly.
You can, but I recommend a food processor because the wider bowl makes it easier to blend and scrape down the sides. If you’re using a high-powered blender like a Vitamix, you’ll probably have to use the tamper quite a bit, especially once the dates are added and the mixture becomes thick.
More Homemade Nut Butters & Spreads
Make these homemade pantry staples next!

If you make this recipe, please be sure to leave a comment and ★★★★★ star rating below. Don’t forget to tag me on Instagram so I can see your creations!
Homemade Vegan Nutella (5 Ingredients)
Equipment
Ingredients
- 2 cups raw hazelnuts
- 3-5 pitted medjool dates
- ½ cup non-dairy milk
- ¼ cup cocoa powder
- ¼ cup maple syrup
Instructions
- Roast the hazelnuts: Place the hazelnuts on a baking sheet and roast at 350°F for 8–10 minutes, until lightly golden. Don't skip this step! Roasting deepens the hazelnut flavor and helps the nuts release their natural oils, which makes blending easier.
- Blend the hazelnuts: Add the roasted hazelnuts (and salt, if using) to a food processor. Blend for 3-5 minutes, scraping down the sides as needed. At first, the hazelnuts will look dry and crumbly, but they'll gradually turn into a thick, smooth hazelnut butter as their natural oils release.
- Add the remaining ingredients: Add the pitted medjool dates, cocoa powder, non-dairy milk, and maple syrup. Blend for another 3–5 minutes, scraping down the sides as needed. The mixture will become thick and form a ball at first. This is normal! Keep processing until everything is combined and the mixture becomes a thick, spreadable consistency.
- Adjust if needed: Taste and adjust as needed. If the spread is thicker than you'd like, add non-dairy milk 1 tablespoon at a time and blend again. For a sweeter spread, add a little more maple syrup.
- Store: Transfer the Nutella to a clean glass jar. Let it cool, then cover and refrigerate.


This was very good Nutella. Since I have such a sweet tooth, I added 4 extra TBS of maple syrup and to be honest, I could have added even more. LOL I had it on rice cakes. Looking forward to trying it on other things, like sourdough toast, your banana bread, will be having the chocolate overnight oats tomorrow with it, etc. Good job! 🙂
I am adding #happyholidays for the giveaway. 🙂 I keep forgetting.
I’m so happy you loved it Amy! And yes, feel free to add as much maple syrup as your sweet tooth likes (lol!). Thanks for sharing your review 🙂
I thought it was very tasty. I took a bite plain and then I had it on rice cakes which added a lot of flavor to the rice cakes. I would definitely make it again.
So happy you loved this vegan nutella, Marcia! Thanks for sharing 🙂
#happyholidays
Yaayyyyy!!! I just made it! Been trying to my healthiest Nutella for many times but it was always failed! Almost gave up but it’s I tried your recipe and it’s the best decision ever! Thank youuu sooooo much! I just have 1 question , should I kept it in the cupboard or fridge? Thank you
Awe yay, I’m so happy you loved it, and now you’ve got a go-to healthy Nutella recipe! 💛 For best freshness, store it in the fridge. It may firm up a bit when chilled, but if you let it sit at room temp for a bit, it’ll go right back to being perfectly spreadable. Enjoy every spoonful! 😊
Delicious recipe! Thank you for sharing.
I’m so happy you loved it! Thank you for sharing your review 🙂