Homemade Peanut Butter
Make the best homemade peanut butter with just 1 ingredient: peanuts! Smooth, creamy, naturally delicious, and ready in 5 minutes. Perfect for baking, spreading, and snacking.

A Quick Look At The Recipe
- Ready In: 5 minutes
- Yields: ~2 cups of peanut butter
- Calories: ~82 calories per 1 tablespoon
- Key Ingredients: Peanuts (yup, that’s it!)
- Dietary Info: Vegan, gluten-free, refined sugar-free
- Why You’ll Love It: Make homemade peanut butter in just 5 minutes!
If you’ve ever wondered how to make homemade peanut butter, I promise it’s easier than you think. If you’ve made my homemade almond butter, pistachio butter, or hazelnut butter, you already know how easy it is to make your own nut butters at home.
You only need 1 ingredient to make your own peanut butter at home: peanuts. That’s it. No added oils, no sugar… just perfectly blended peanuts.
Once you make it, it’s one of those “why did I ever buy this?” moments. I use it all the time in recipes like my peanut butter cookies, peanut butter energy balls, peanut butter balls, peanut butter and jelly smoothie, or by the spoonful!
Table of Contents
Why I Love Making Peanut Butter
I rarely buy store-bought peanut butter anymore. Once you make your own, there’s no going back!
- Only one ingredient: You guessed it—peanuts!
- No added oils or sugars: Much healthier than store-bought
- Affordable option: A jar of peanut butter is upwards of $8 nowadays
- Ultra smooth + creamy texture: With a naturally sweet, rich, nutty flavor

What Type of Peanuts Are Best?
I personally love Valencia peanuts because they’re naturally a little sweeter, but any peanuts will work.
You should also know:
- For the best flavor: Use roasted + salted peanuts (they blend easier + have better flavor)
- Using unsalted peanuts? Add a pinch of salt while blending
- Using raw peanuts? Roast them at 350°F for 10 minutes first to release natural oils
Little lesson learned: roasted peanuts is the difference between “why isn’t this blending?” and silky, drippy peanut butter.
Flavor Variations
- Maple syrup: Add 1-2 tablespoons of maple syrup for subtle sweetness
- A pinch of cinnamon: For a cozy vibe
- Make it crunchy: Pulse in a handful of peanuts at the end
How to Make Homemade Peanut Butter (Step-by-Step)
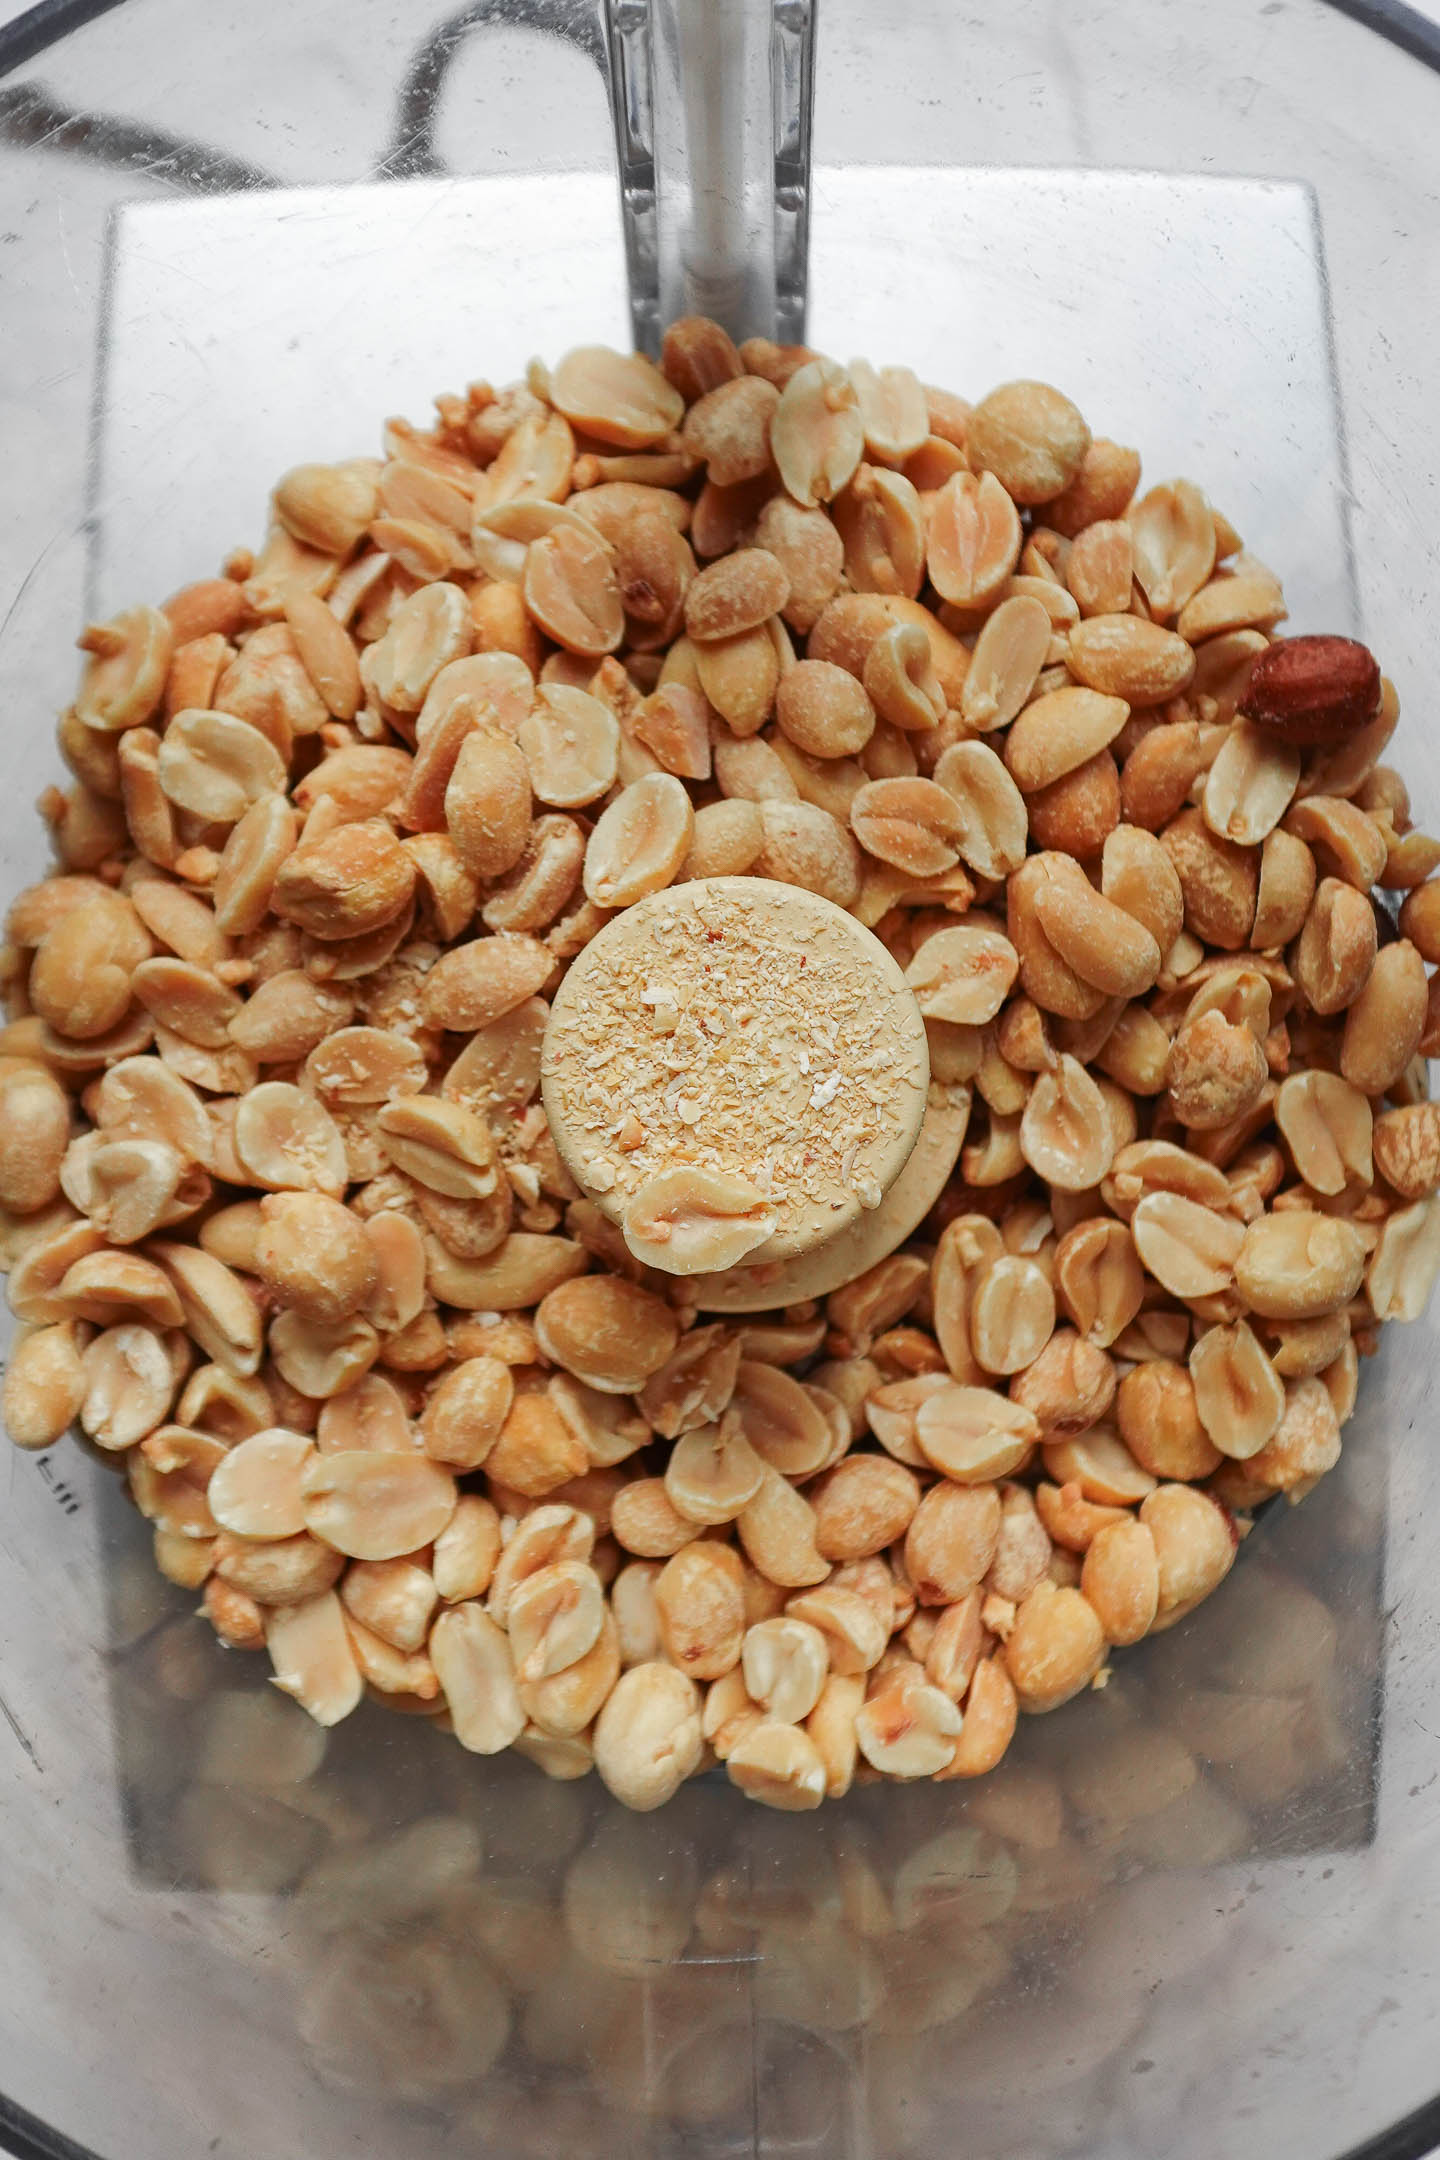
- Step 1: Add the peanuts to your food processor.

- Step 2: Process for 2-5 minutes, stopping to scrape down the sides as needed.
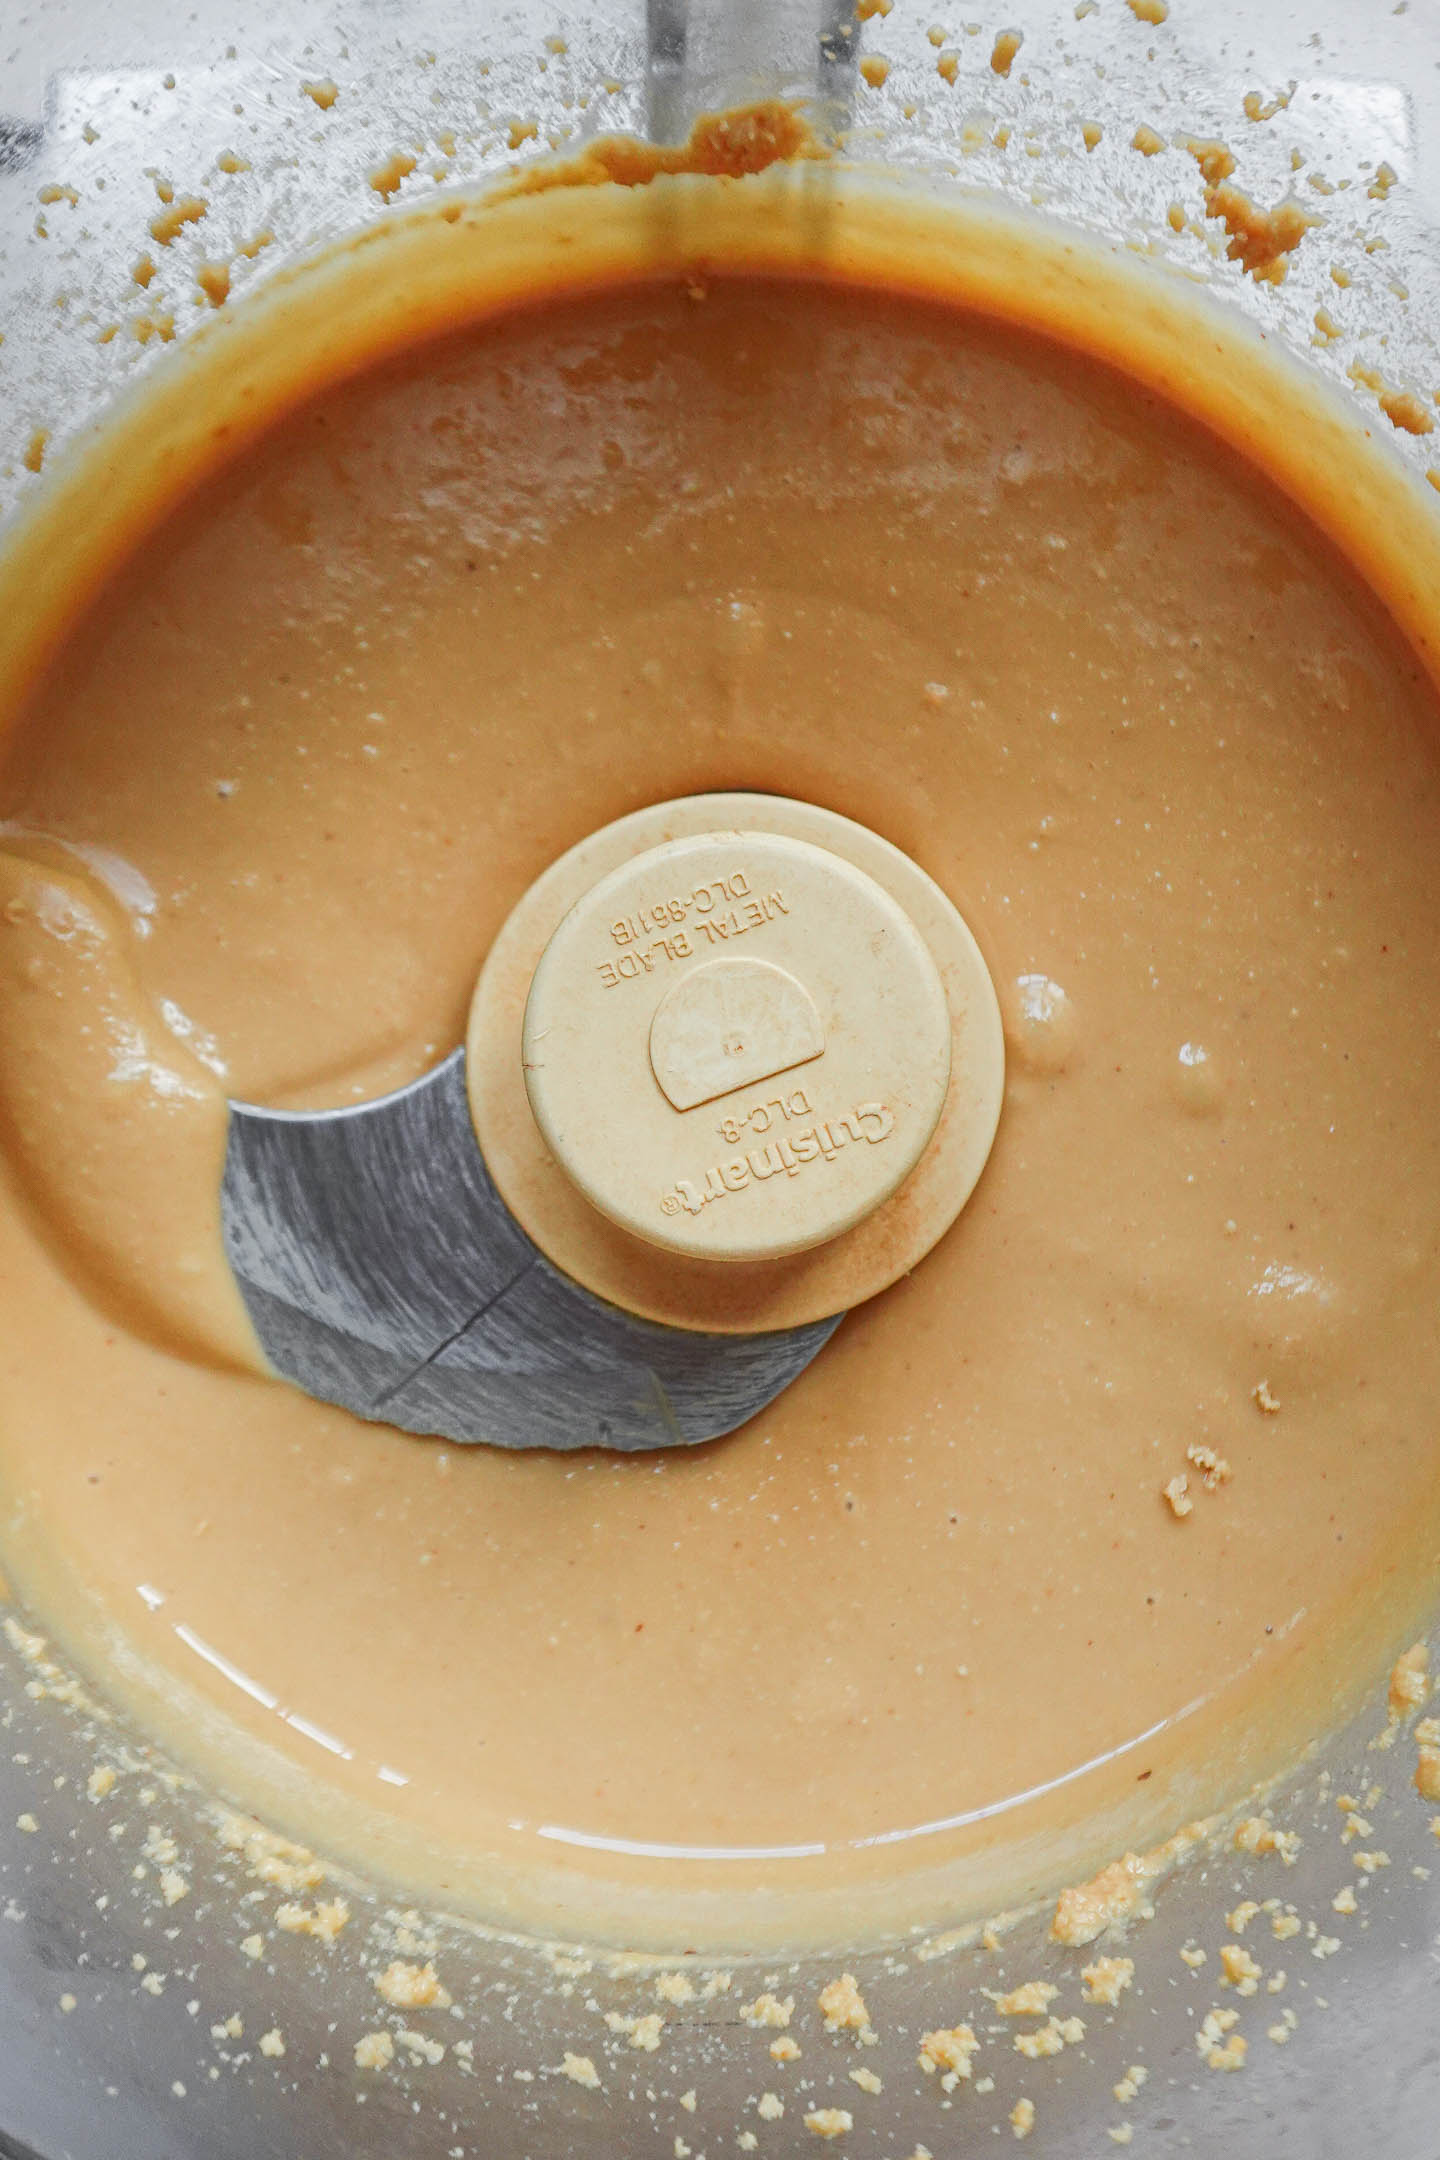
- Step 3: The mixture will go from crumbly to creamy as the natural oils from the peanuts start to release.

- Step 4: Transfer to a glass jar and enjoy!
Note: if your peanuts aren’t roasted, you’ll have to roast them first. To do this, simply preheat the oven to 350°F and place the peanuts on a baking tray. Bake for 10 minutes, then, transfer to the food processor and proceed with the recipe.
Megan’s Tips
- Use roasted peanuts: Helps release oils faster for a creamier texture. You can buy roasted peanuts, or roast them yourself on a baking sheet at 350°F for 10 minutes
- Add a pinch of salt: Enhances all the flavors
- Be patient while blending: The peanuts will go from crumbly → thick → clumpy → smooth. Just keep blending, it can take 2-5 minutes depending on your food processor
- Scrape down the sides: Keeps everything blending evenly
Ways to Use Homemade Peanut Butter
If you’re like me… you’ll start putting this on everything!
- Drizzle over a bowl of oatmeal, açaí bowl, or my chia pudding recipe
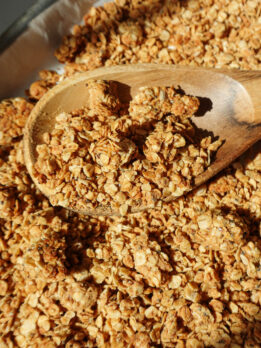
- Make a batch of my healthy peanut butter granola (so good for meal prep)
- Dip with apples, bananas, or celery
- Spread on toast or rice cakes
- Blend into a smoothies for extra creaminess and protein
- Add it to your favorite stuffed date recipes (my signature)
- Use it in my peanut butter energy balls
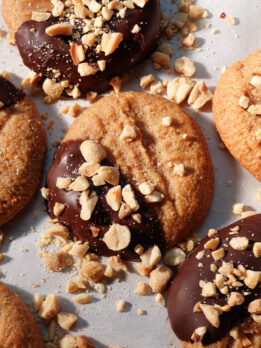
- Make cookies! It works great in my 3-ingredient peanut butter cookies or fluffernutter cookies.
How to Store Homemade Peanut Butter
- Store in a glass jar: Keeps it fresher and tasting amazing
- Room temperature: Up to 1 week
- Refrigerator: Up to 1 month
If it firms up in the fridge, just let it sit at room temp for a bit and give it a stir.
Frequently Asked Questions
When properly stored, homemade peanut butter will last up to 1 week at room temperature, or up to 1 month in the refrigerator.
Yes, you can—but it’s a little trickier. A high-speed blender (like a Vitamix) works best, but you’ll likely need to: stop and scrape down the sides more often, use a tamper to keep things moving, and blend in intervals to avoid overheating.
It could be a few things: your peanuts may not be roasted (roasting helps release natural oils), your machine may need more time, or you may need to scrape down the sides more often. If needed, you can add 1–2 teaspoons of neutral oil (like melted coconut oil) to help it along—but I rarely find this necessary.
Yes, homemade peanut butter is considered healthier than store-bought because it contains no added sugars, preservatives, or oils like most brands. Plus, peanut butter is a great source of protein and healthy fats!
Yes! Just use unsalted peanuts. I personally like adding a pinch of salt because it enhances the flavor, but you can definitely leave it out.
Healthy Peanut Butter Recipes
Use your homemade peanut butter in these recipes:


If you make this recipe, please be sure to leave a comment and ★★★★★ star rating below. Don’t forget to tag me on Instagram so I can see your creations!

Homemade Peanut Butter
Ingredients
- 3 cups roasted peanuts
- pinch of salt, if your peanuts are unsalted
Instructions
- Blend the peanuts: Add the peanuts (and salt, if your peanuts are unsalted) to a food processor. Blend for 2-5 minutes, scraping down the sides as needed, until it becomes smooth and creamy. It may take longer depending on how powerful your food processor is. Be patient – it will get there!
- Store and enjoy: Once smooth and creamy, transfer your homemade peanut butter to small glass jars. Store in the pantry for up to 1 week, or in the fridge for up to 1 month. This recipe yields about 2 cups of peanut butter.
Notes
- Use roasted peanuts: Helps release oils faster for a creamier texture. You can buy roasted peanuts, or roast them yourself on a baking sheet at 350°F for 10 minutes
- Add a pinch of salt: Enhances all the flavors
- Be patient while blending: The peanuts will go from crumbly → thick → clumpy → smooth. Just keep blending, it can take 2-5 minutes depending on your food processor
- Scrape down the sides: Keeps everything blending evenly


This peanut butter is SO easy to make! It comes out so creamy and I love how I can customize it, like adding maple syrup and cinnamon.