

Homemade Hazelnut Butter
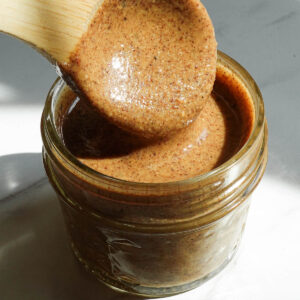
Learn how to make homemade hazelnut butter with just one ingredient! Roasting the hazelnuts brings out their naturally rich, nutty flavor and helps them blend into a super creamy spread in about 15 minutes! Spread it on toast, swirl it into oatmeal, blend into smoothies, or use it to make homemade nutella!
This recipe was originally published in 2022. We’ve since updated the photos and added more tips to help you get perfectly creamy hazelnut butter every time!
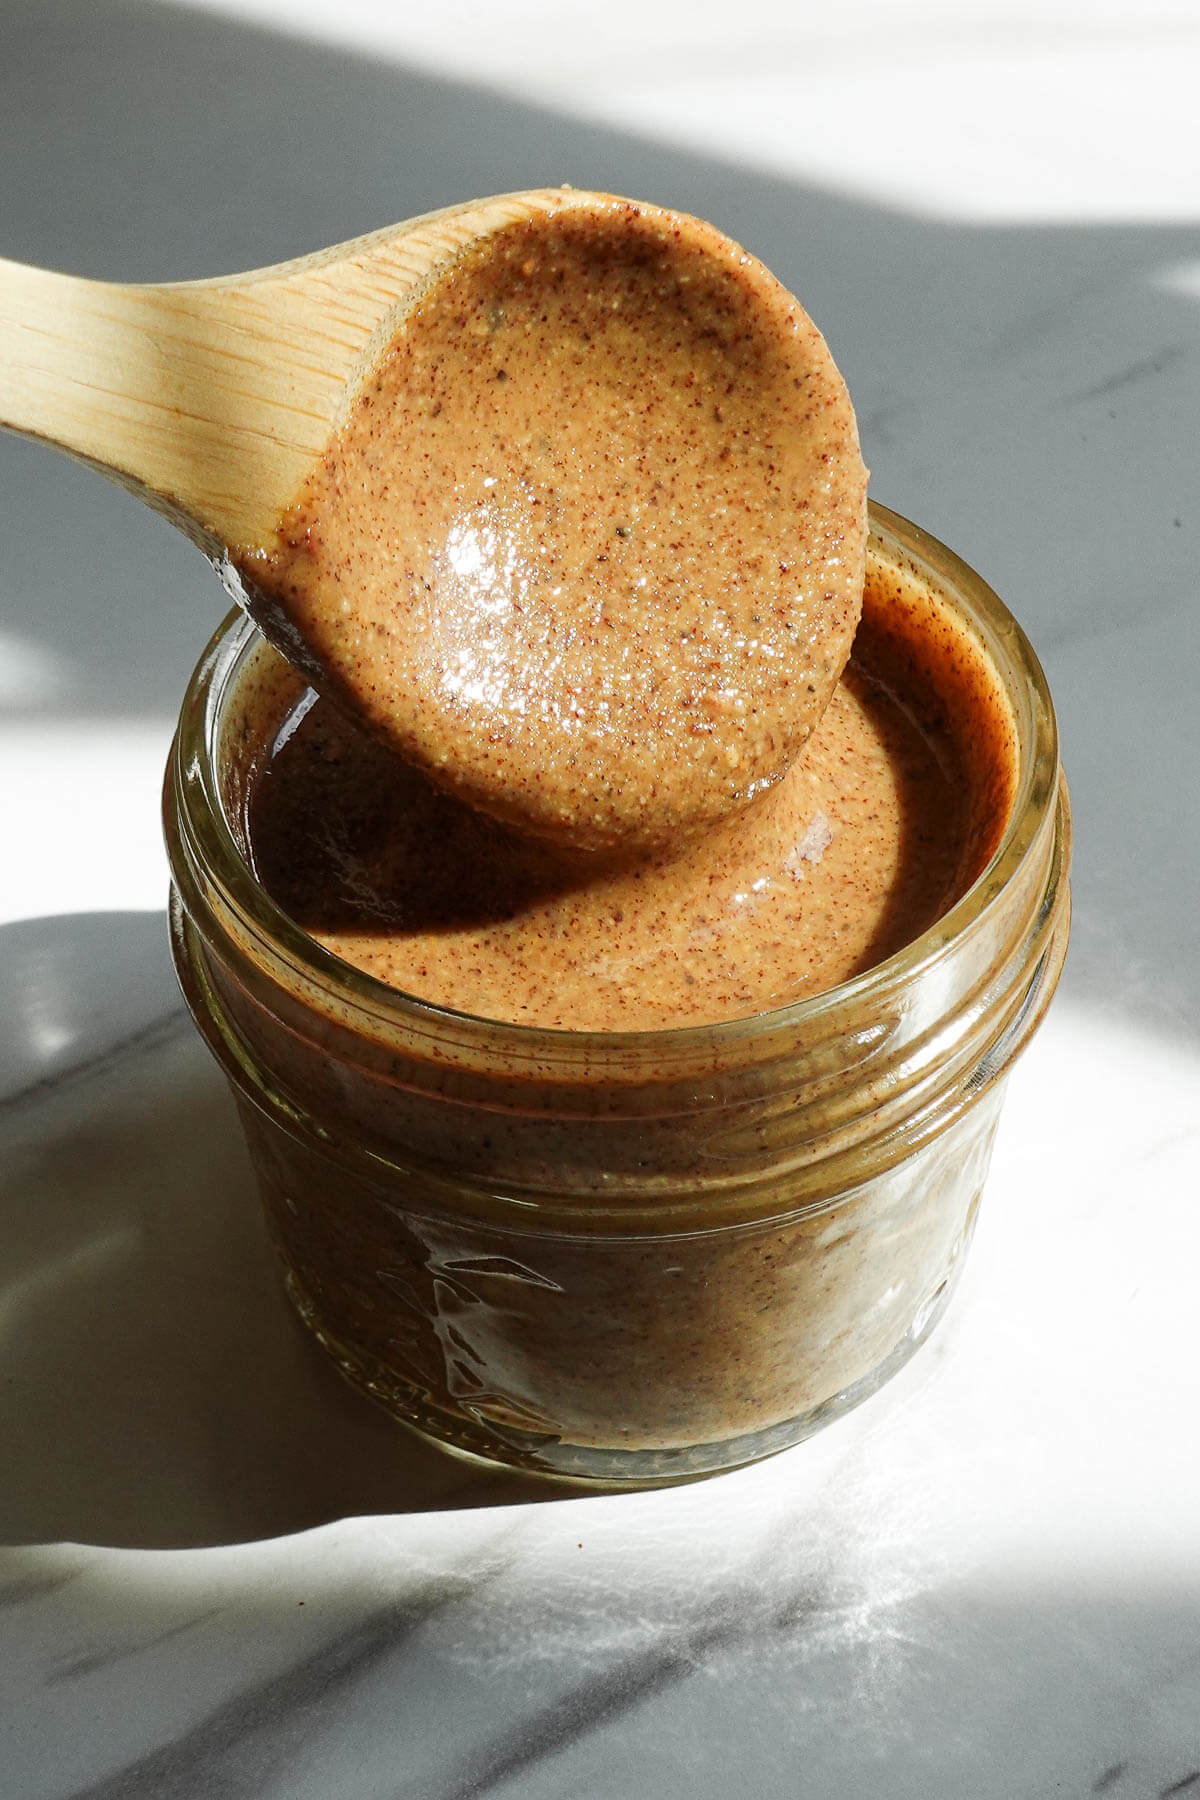
Out of all the homemade nut butters I’ve made, this one feels the most nostalgic. I grew up loving Nutella, so the smell of roasted hazelnuts takes me right back! This recipe is made with just one ingredient (spoiler: hazelnuts) and you can keep it simple, or turn it into homemade nutella!
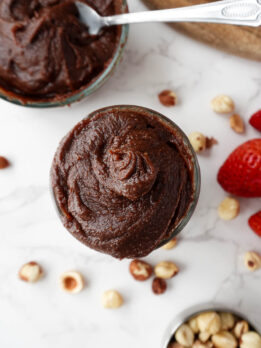
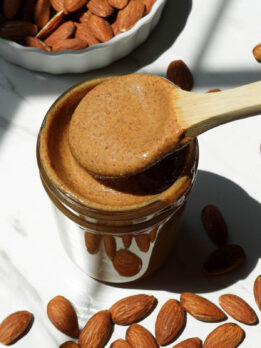
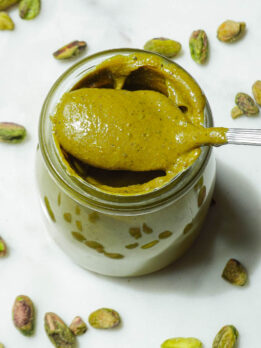
Once you learn how easy it is, you’ll probably start making your own almond butter, peanut butter, and pistachio butter too! Homemade nut butters taste fresher, cost less, and you get to customize them however you’d like. Win-win!
Table of Contents

Why You’ll Love Making Hazelnut Butter
- Just 1 ingredient: Hazelnuts!
- Rich, nutty flavor: Roasting the hazelnuts creates that rich, naturally sweet flavor.
- Super creamy: Since hazelnuts are naturally high in oil, they quickly blend into an ultra-smooth texture.
- Easy to customize: Turn it into chocolate hazelnut spread (hello nutella lovers!), maple cinnamon, or salted vanilla.
- Perfect for homemade Nutella: Blend in cocoa powder and maple syrup for an easy chocolate hazelnut spread.
- Budget-friendly: I’ve seen some jars priced over $12! Instead, I buy hazelnuts in bulk from Costco or Trader Joe’s and make my own at home.

Choosing the Best Hazelnuts
I recommend whole, raw, unsalted hazelnuts. We’re going to roast them in the oven for 10 minutes which makes them much easier to blend since it releases their natural oils, helping the hazelnuts blend into a super creamy butter. It also gives it a deeper, nuttier flavor.
If you bought roasted hazelnuts, that will work too. Just skip any that are heavily salted or seasoned.
Don’t worry about removing the skins, they’ll break down while blending. If you’d prefer an extra smooth butter, you can rub the roasted hazelnuts in a clean kitchen towel to remove some of the loose skins first, but I honestly don’t notice them in the finished butter.
My Favorite Tool for Homemade Nut Butters
A good-quality food processor! It takes the hazelnuts from whole, to crumbly, to a thick paste, to smooth and creamy in about 5-15 minutes.
I’ve had my Cuisinart food processor for 5+ years. It’s still one of my most-used kitchen tools! I use it for everything from homemade veggie burgers, to peanut butter energy balls, and desserts (like no-bake brownies and no-bake carrot cake).
A high-powered blender (such as a Vitamix) can work, but I think a food processor is much easier to work with.
How to Make Homemade Hazelnut Butter
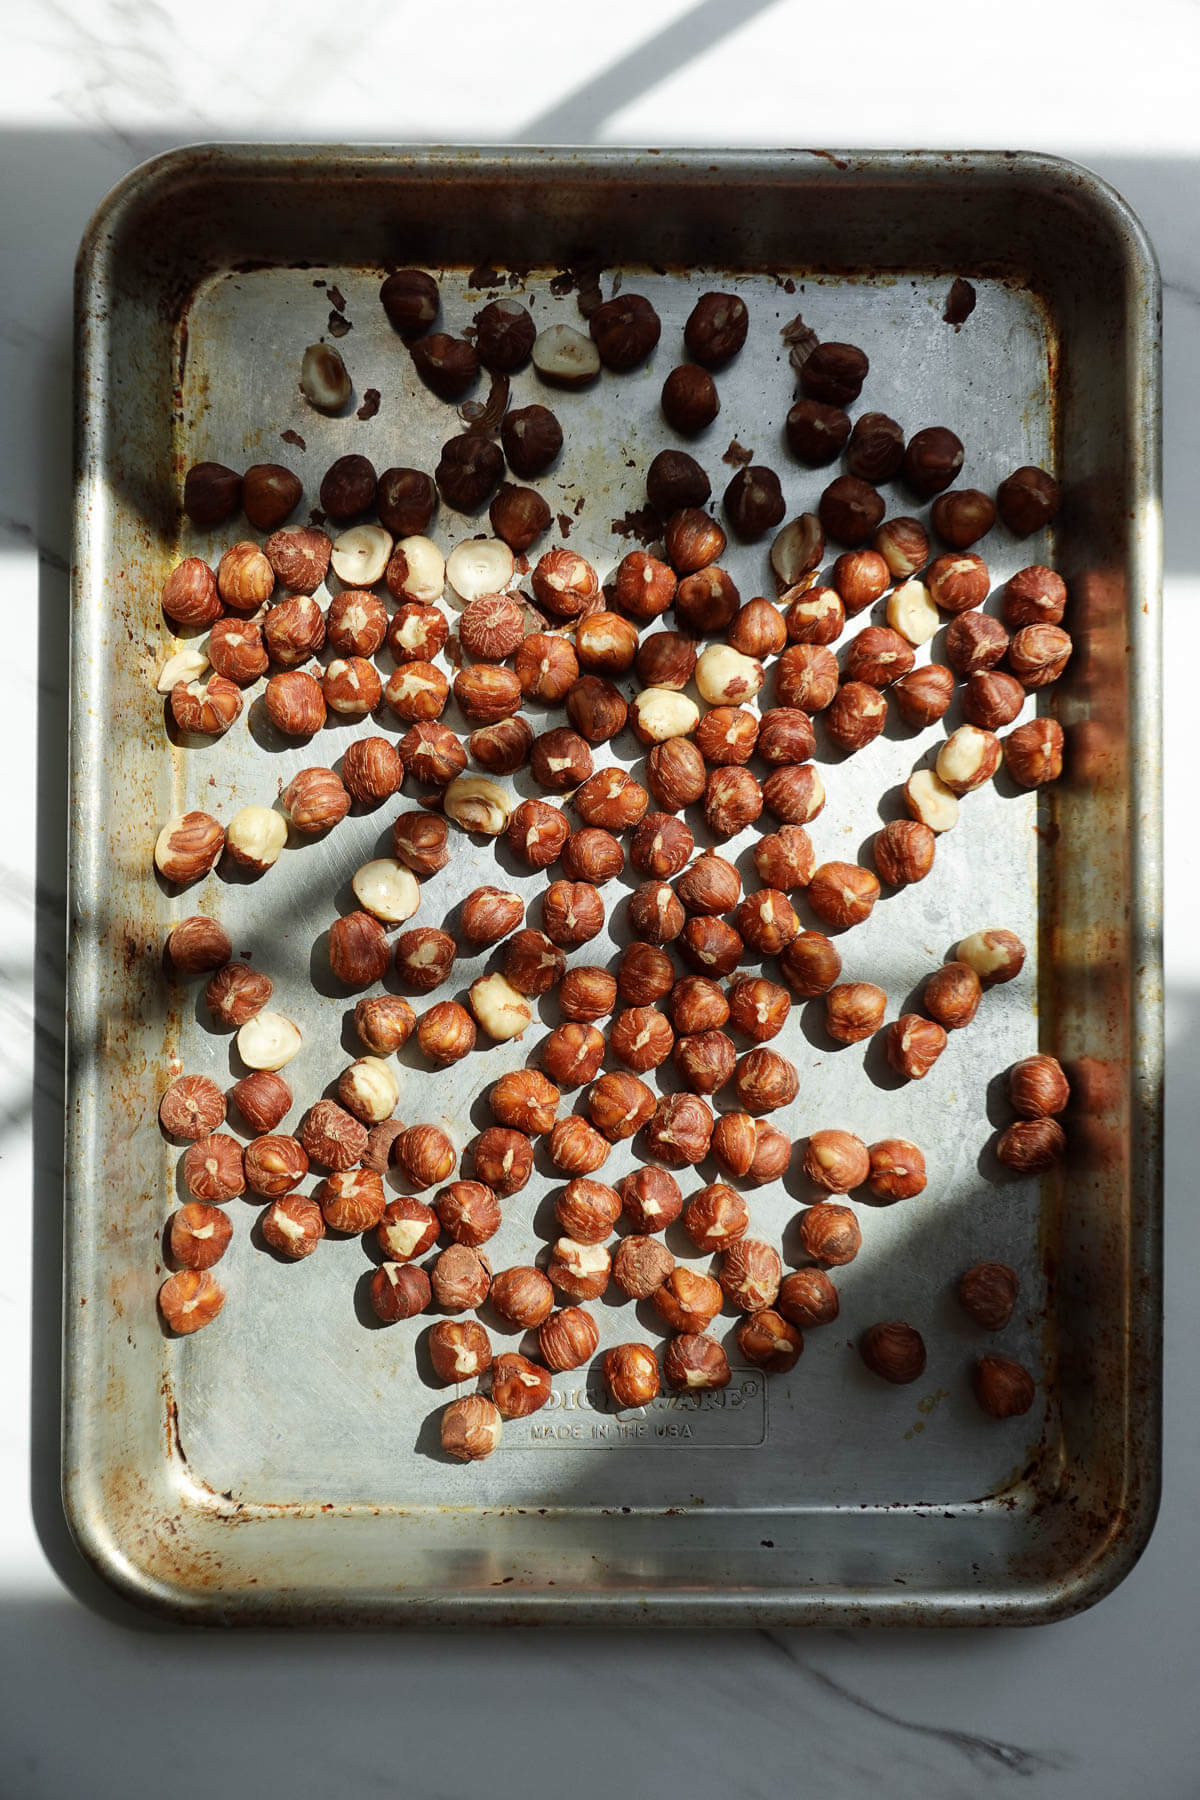
- Step 1: Preheat the oven to 350°F. Spread the hazelnuts on a baking sheet and roast for 10 minutes. Your kitchen will smell incredible once the hazelnuts start baking!
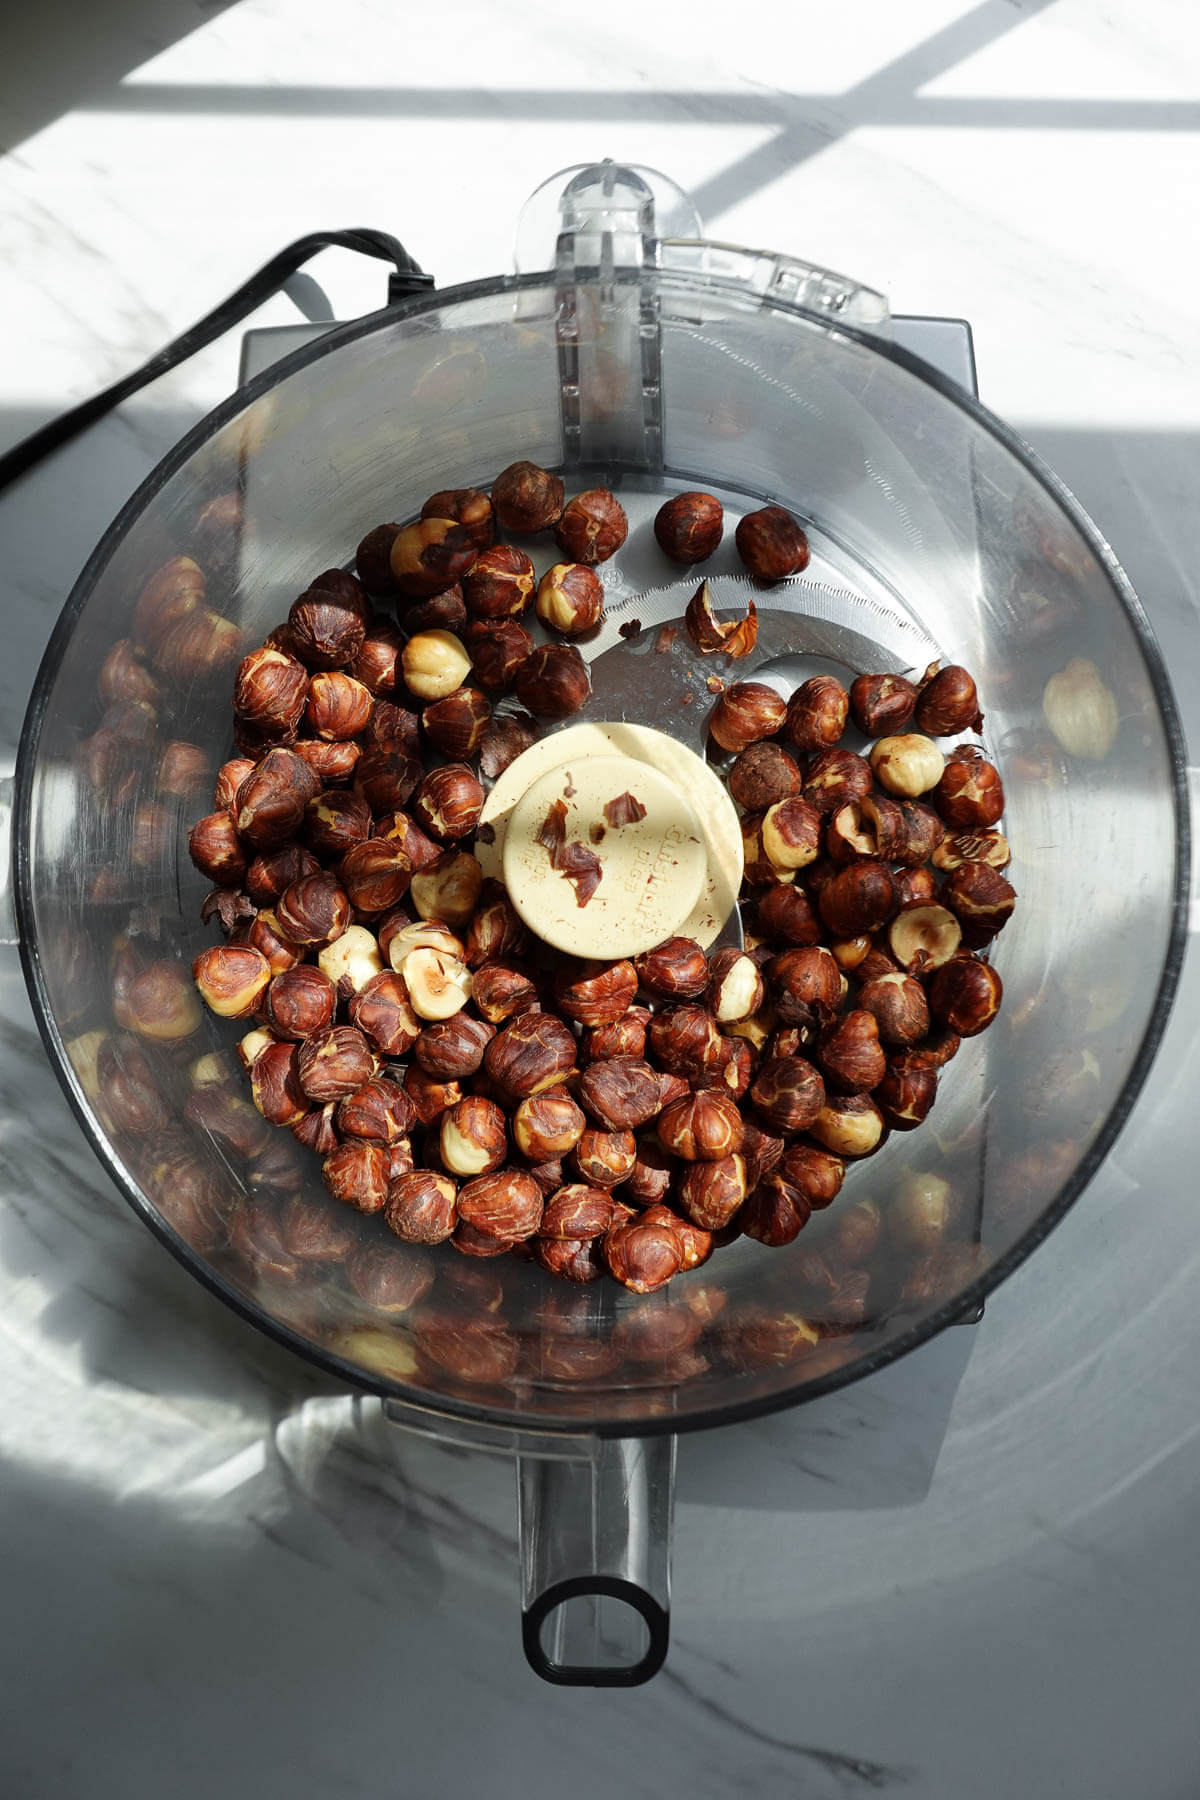
- Step 2: Transfer the warm hazelnuts to a food processor. If your hazelnuts are unsalted, add a pinch of salt (it helps enhance the flavors).
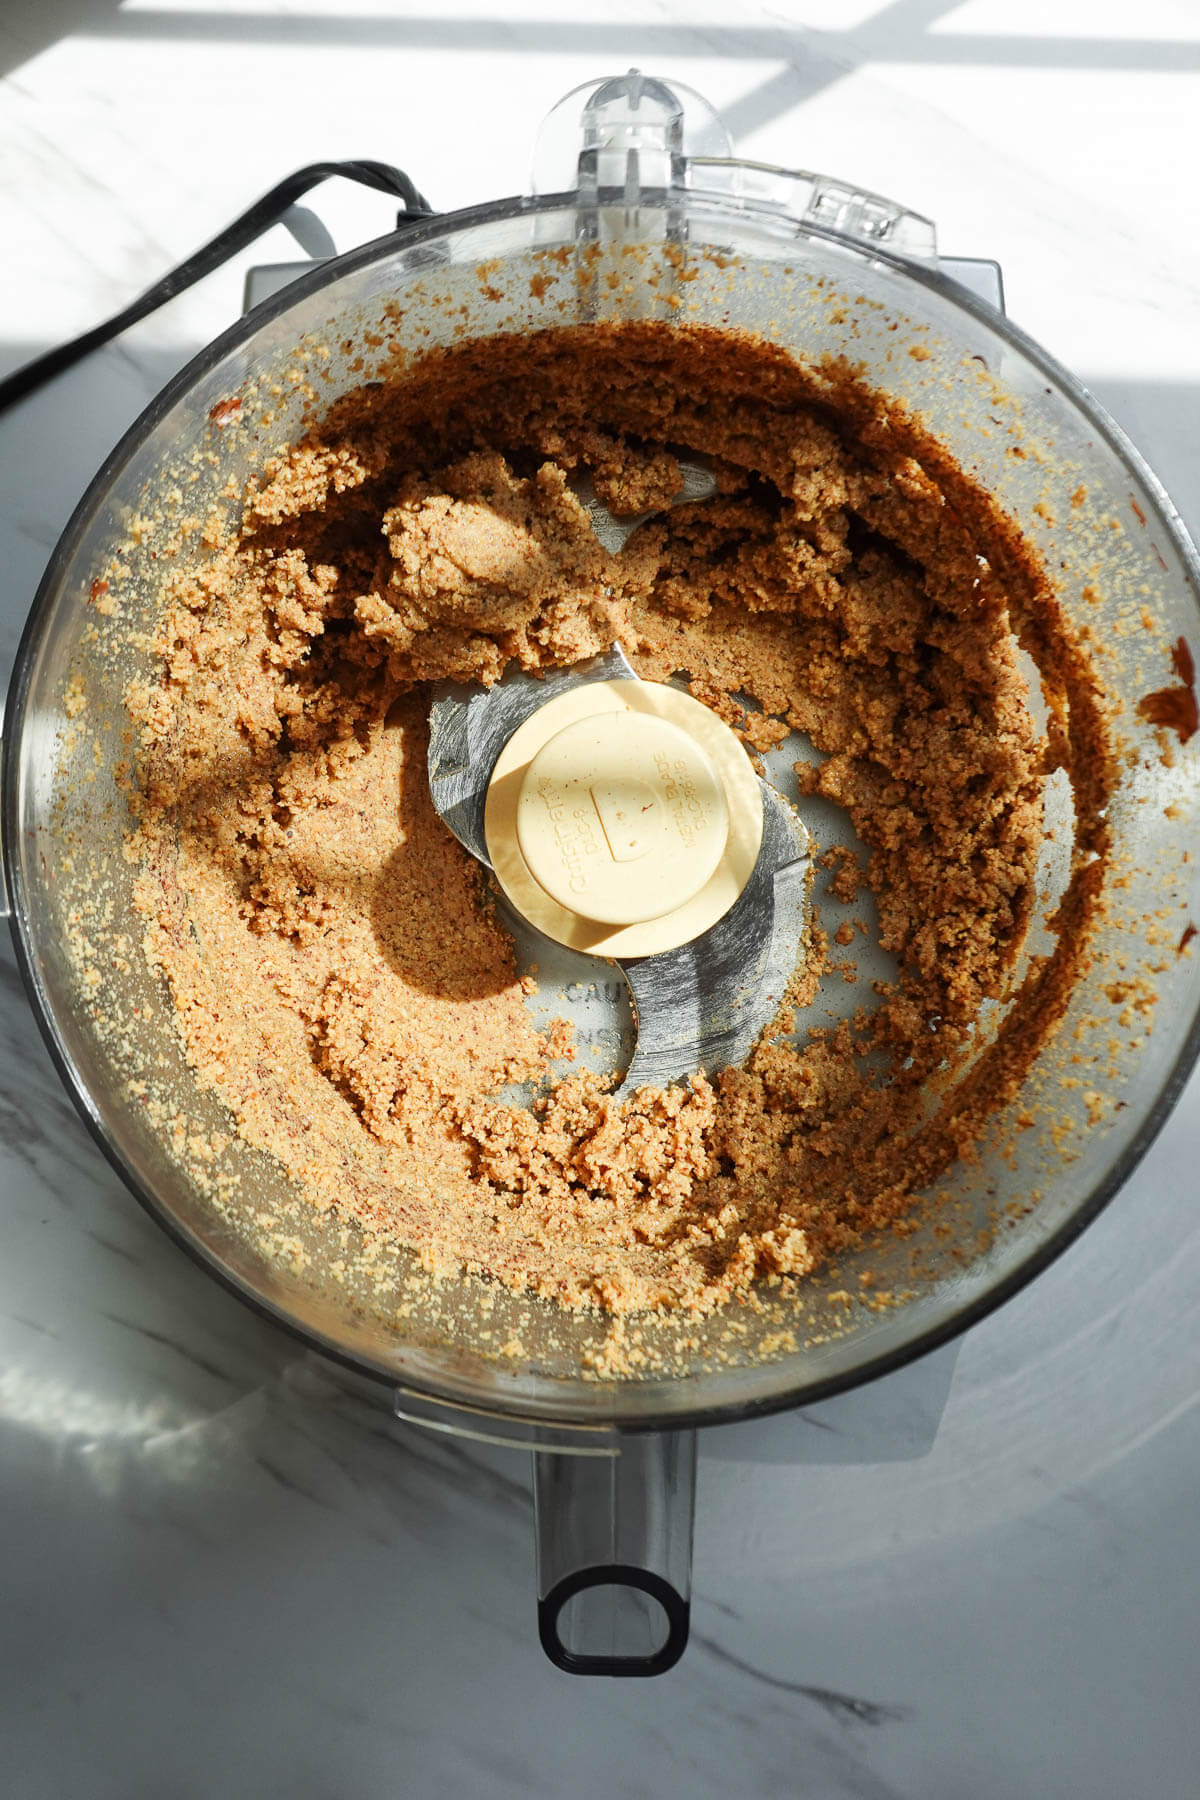
- Step 3: Process the hazelnuts, stopping to scrape down the sides as needed.
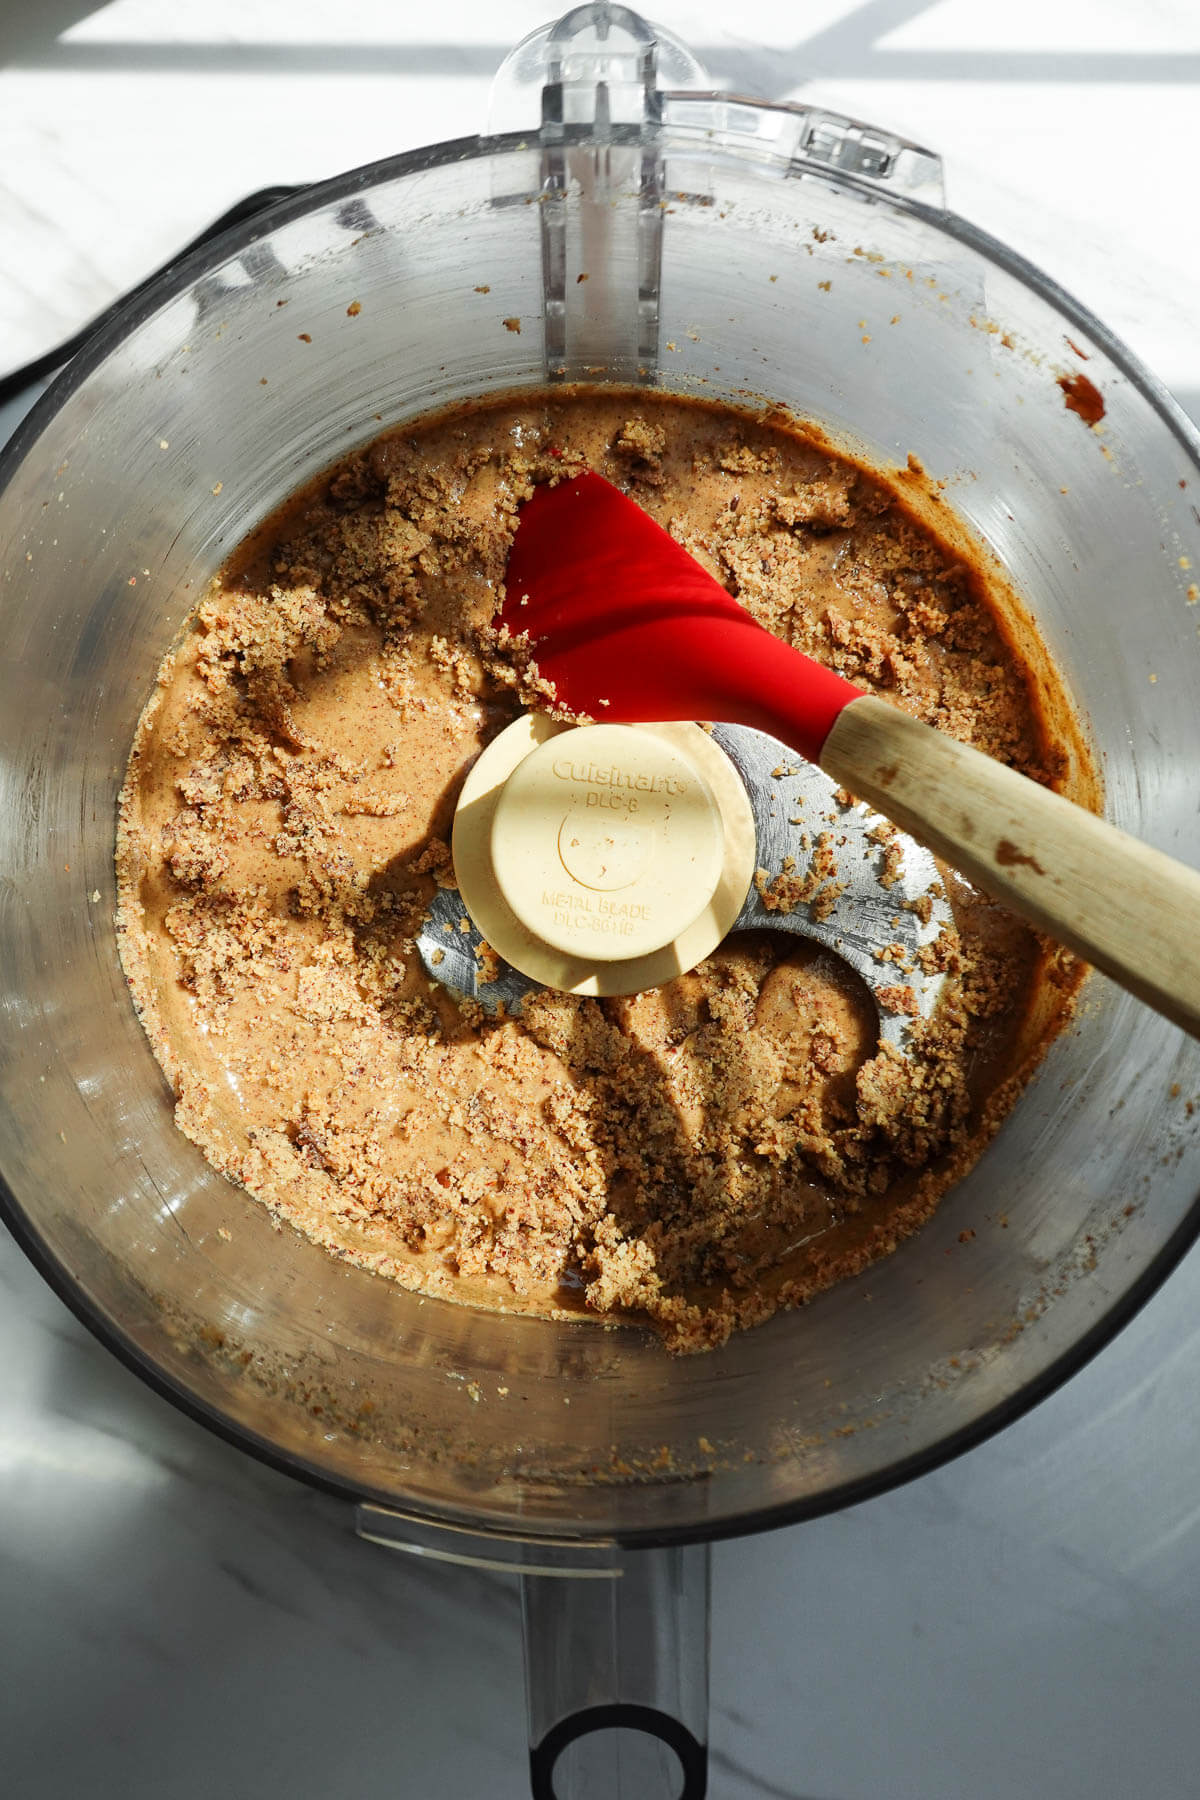
- Step 4: The hazelnuts will go from crumbly → thick → clumpy → smooth and creamy as their natural oils release. This can take 5–15 minutes depending on your food processor, so patience is key here!
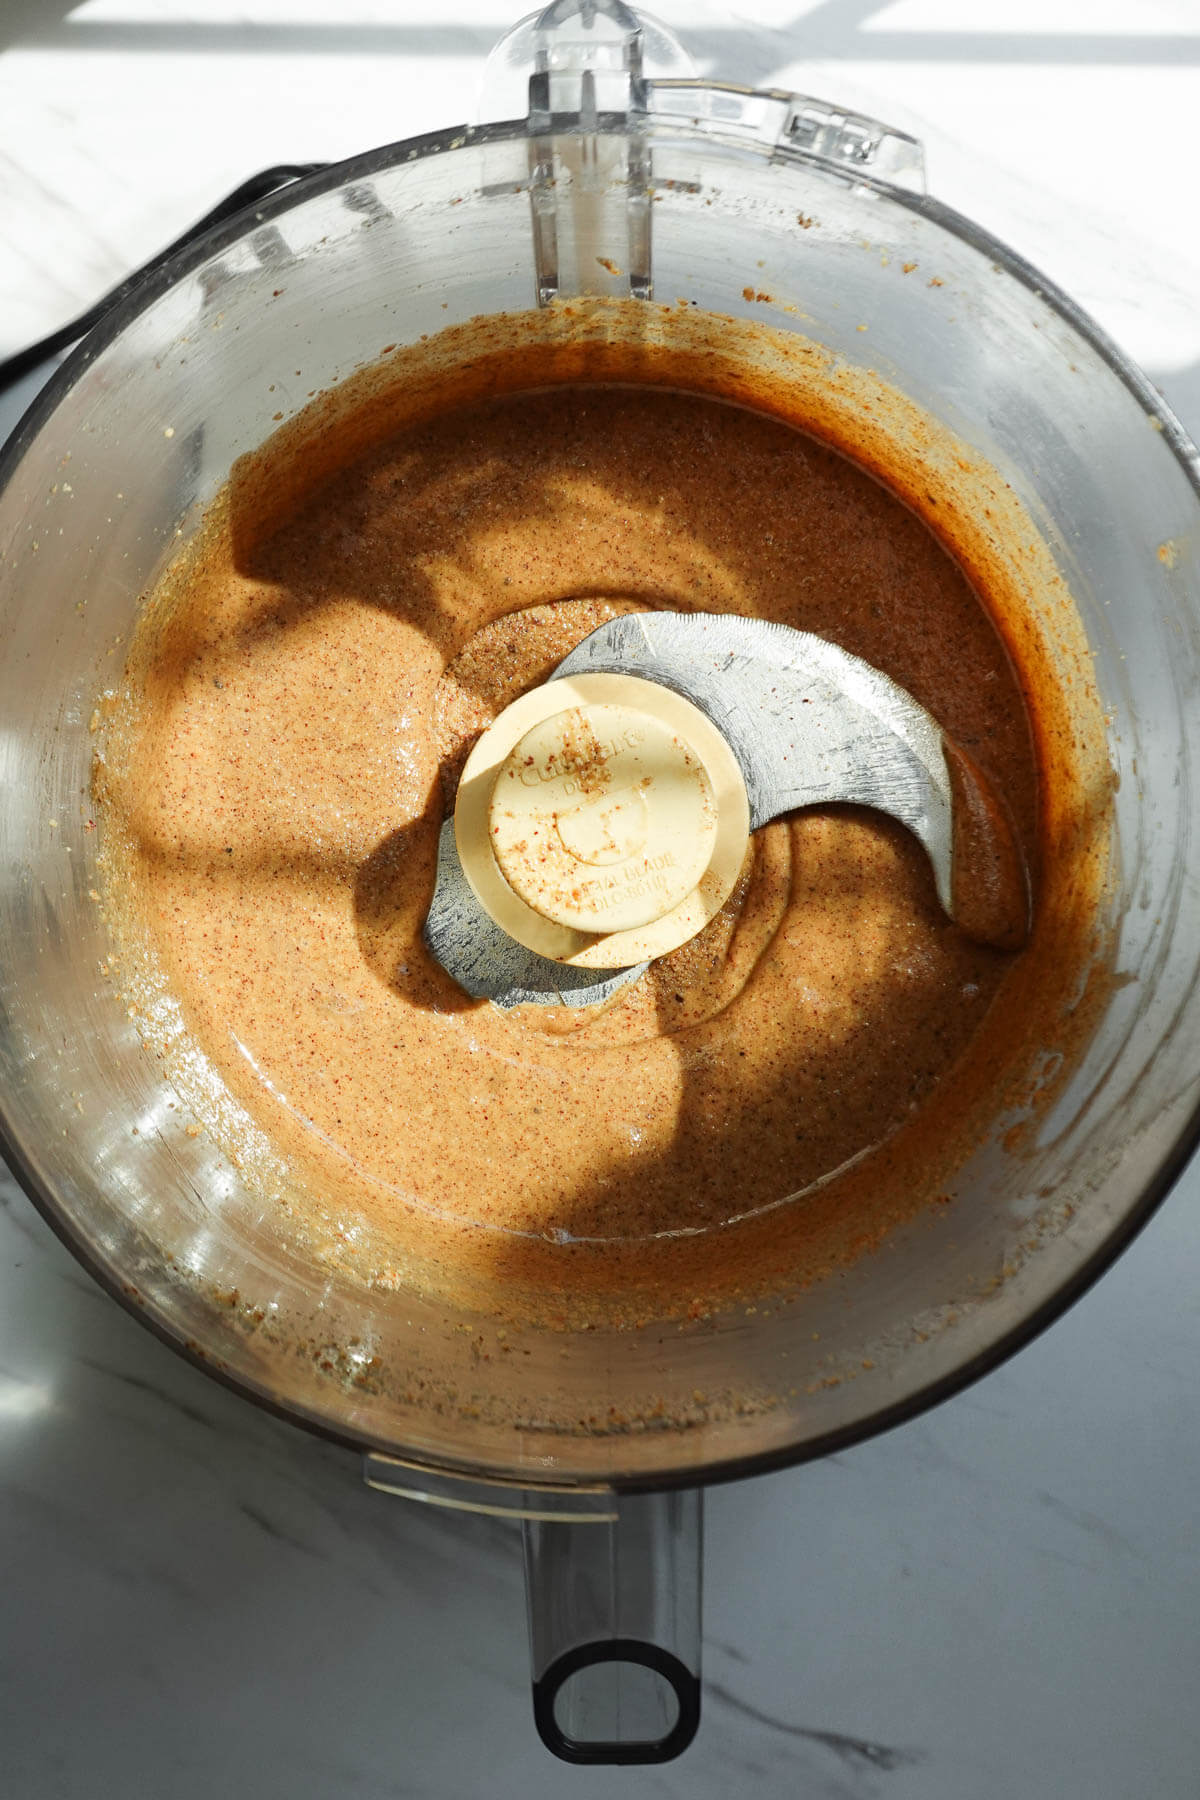
- Step 5: Once the hazelnut butter is smooth, add any flavorings and continue processing until creamy. It may thicken or form a ball again when you add the maple syrup or other ingredients, but keep processing, it will smooth out again.
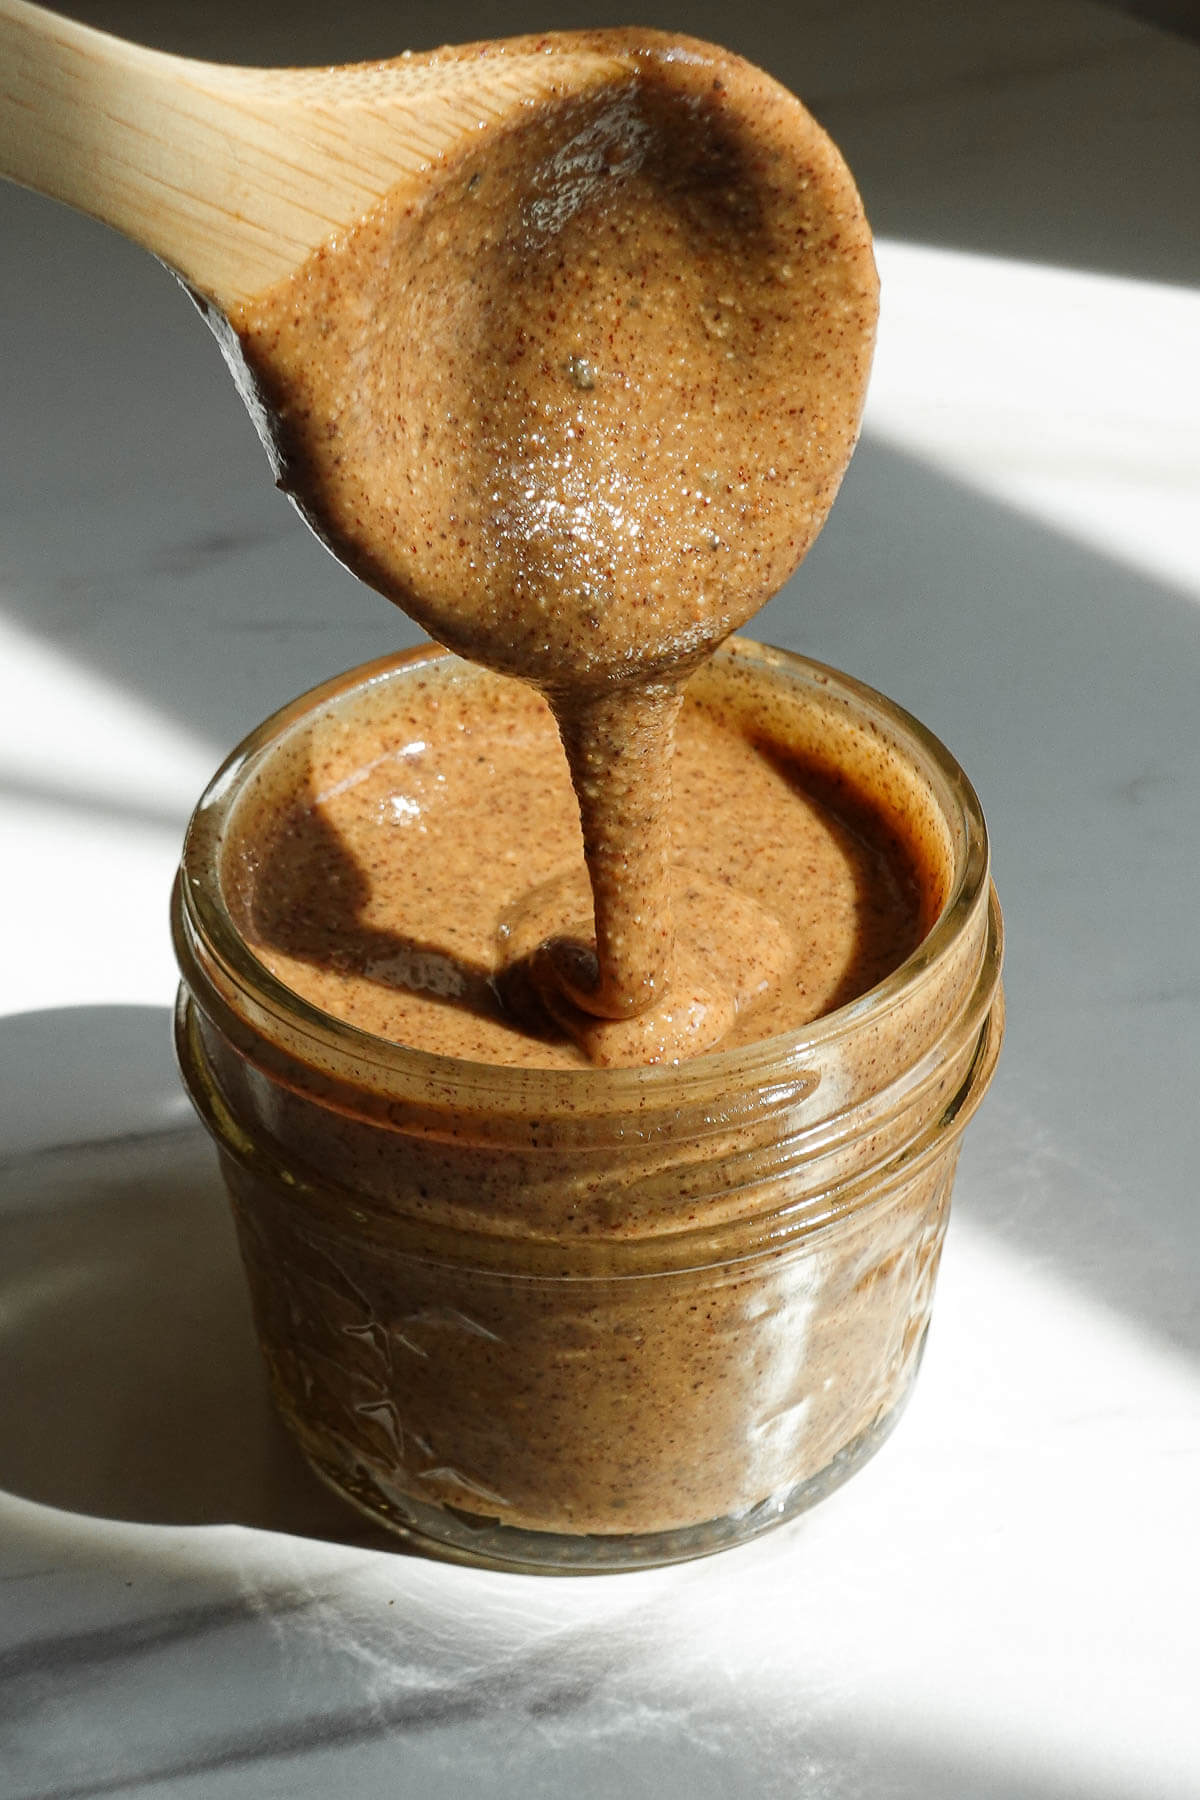
- Step 6: Transfer the hazelnut butter to a glass jar and let it cool before storing.
My Best Tips for Creamy Hazelnut Butter
- Roast the hazelnuts: Baking them in the oven before blending helps release their natural oils.
- Scrape the sides: Stop the food processor every few minutes and scrape down the sides so it blends evenly.
- Patience is key: Hazelnuts release a surprising amount of oil. Once they do, the butter quickly transforms from a thick paste into an incredibly smooth, almost pourable consistency.
Easy Ways to Flavor Your Hazelnut Butter
This is where things get fun! If you want to switch up the flavor, add these ingredients after the hazelnut butter is already smooth, then process until fully incorporated.
- Chocolate Hazelnut: Add 2 tablespoons cocoa powder + 2 tablespoons maple syrup for a healthier homemade Nutella!
- Cinnamon Vanilla: Add 2 teaspoons vanilla bean paste + 1 teaspoon cinnamon.
- Maple Cinnamon: Add 3 tablespoons maple syrup + 1 teaspoon cinnamon + ½ teaspoon vanilla extract.
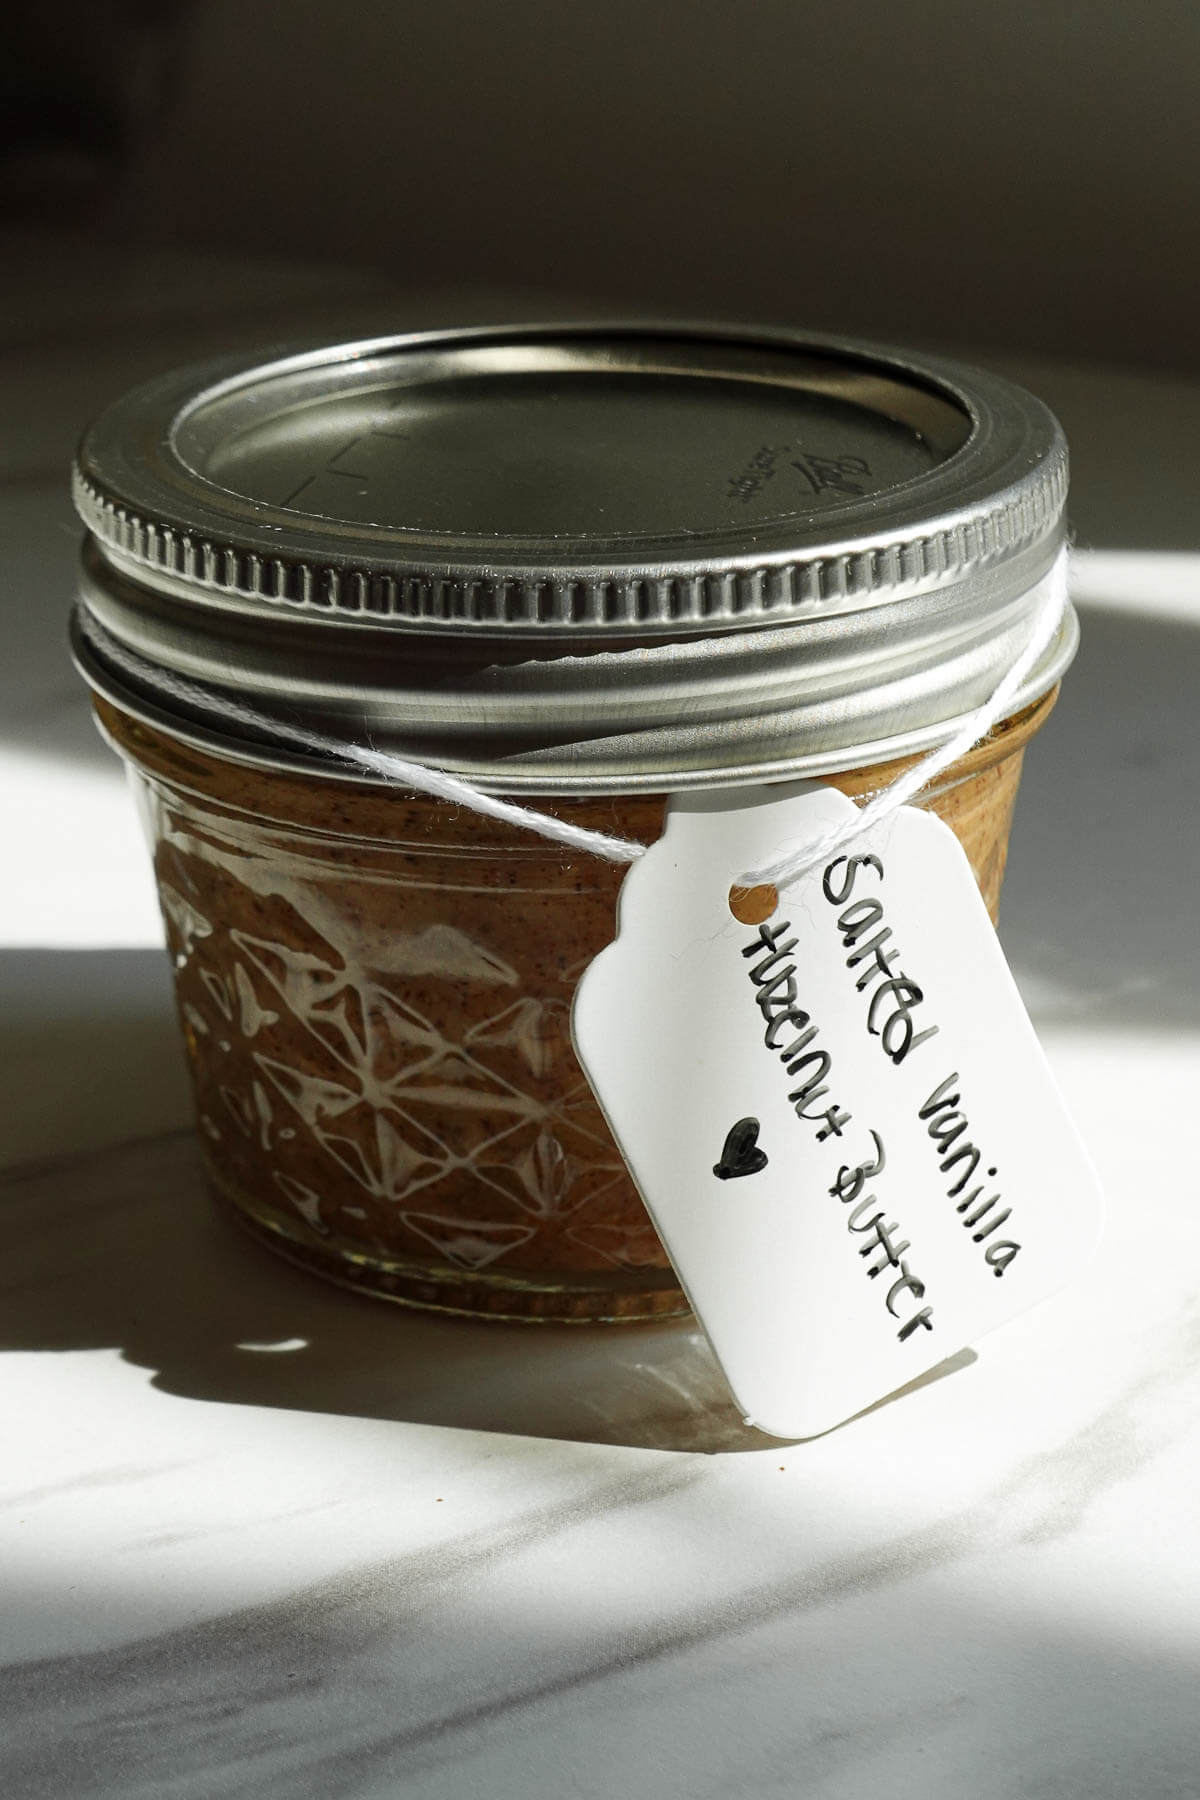
It makes a lovely homemade gift too! Tie a ribbon around a small glass jar and gift it to a loved one.
How to Use Hazelnut Butter
Now the fun part: putting it on basically everything.
- Spread on toast with sliced bananas
- Drizzle over 3-ingredient banana pancakes
- Stir into oatmeal or overnight oats
- Stuff inside medjool dates for a naturally sweet snack (like these ferrero rocher stuffed dates)
- Stir into yogurt and top with homemade granola
- Spread on vegan apple bread
How to Store Homemade Hazelnut Butter
Transfer to a glass jar and store it in the refrigerator for up to 2 weeks. If it thickens in the refrigerator, let it sit at room temperature for a few minutes and stir before serving.
FAQs
Whole, raw, unsalted hazelnuts. You can find them at most grocery stores. Roasting them yourself brings out their flavor and helps release their natural oils, which makes them easier to blend into a creamy consistency.
Keep blending! It will go through a crumbly stage before the natural oils release and the mixture becomes creamy. Continue to scrape down the sides and keep processing. If your food processor is struggling, adding 1-2 tbsp of neutral oil can help.
Yes, but I think a food processor is easier. If you’re using a blender, you’ll need a high-powered blender, like a Vitamix, you may need to use the tamper and scrape down the sides more often.
It can be! Some jars of hazelnut butter can be quite pricey. I buy hazelnuts in bulk from Trader Joe’s or Costco, which makes it much more affordable for me.
Nope! They blend into the butter and don’t bother me, but after the hazelnuts are roasted, you can rub them in a towel to try and remove most of the skins.
Since hazelnuts contain a lot of natural oils, it’s very thin and pourable, which also means it blends a lot quicker than other nut butters!
More Homemade Spreads & Nut Butters
Make these homemade pantry staples next!

If you make this recipe, please be sure to leave a comment and ★★★★★ star rating below. Don’t forget to tag me on Instagram so I can see your creations!
Homemade Hazelnut Butter (Easy 1-Ingredient Recipe)
Equipment
Ingredients
- 3 cups whole, raw hazelnuts
Instructions
- Roast the hazelnuts: Preheat oven to 350°F. Spread the almonds on a baking sheet and roast for 10 minutes.
- Blend: Transfer the warm hazelnuts to a food processor. If your hazelnuts are unsalted, add a pinch of salt (it enhances the flavors). Blend, stopping to scrape down the sides as needed.
- Watch the texture change: The hazelnuts will go from crumbly → thick → clumpy → smooth and creamy as their natural oils release. This can take 5–10 minutes depending on your food processor, so patience is key here!
- Add flavorings, if desired: Once creamy, add any flavorings (such as vanilla or maple syrup) and continue processing until smooth. It may thicken or form a ball again when you them, but keep processing, it will smooth out again.
- Store: Transfer to a glass jar and store in the refrigerator for up to 2 weeks.
Notes
- Roast the hazelnuts: Don’t skip this step! It brings out their flavor and helps release their natural oils which makes blending much easier.
- Be patient: The hazelnuts will go through a crumbly stage before becoming creamy. Depending on your food processor, blending may take 5–15 minutes or longer.
- Scrape the sides: Stop and scrape down the food processor as needed to keep the almonds blending evenly.
- I recommend using a food processor: A high-powered blender (such as a Vitamix) can work, but I think a food processor is much easier.
- Add flavorings: Add your favorite flavorings (such as cinnamon, vanilla, or maple syrup) after the hazelnut butter becomes smooth and creamy. It may clump again, but keep blending. It will turn smooth and creamy again.
- Storage: Store in a glass jar in the refrigerator for up to 2 weeks.


I’ll never go back to store-bought! This homemade hazelnut butter is SO easy to make and tastes so delicious. It reminds me of the Nutella I grew up loving, just with much better ingredients (only one!)
Sounds like a great idea to make my own butter from now on! I’m going to try it as soon as I get the ingredients!
I hope you love it, definitely let me know! It’s super easy to make – hard to go back to store-bought afterwards!