

Homemade Almond Butter
Learn how to make creamy homemade almond butter with just one ingredient! It’s easy, affordable, and tastes so much better than store-bought. Use it as a dip, spread it on toast, swirl it into oatmeal, or blend into smoothies.
This recipe was originally published in 2022. We’ve since updated the photos and added more tips to help you get perfectly creamy almond butter every time!
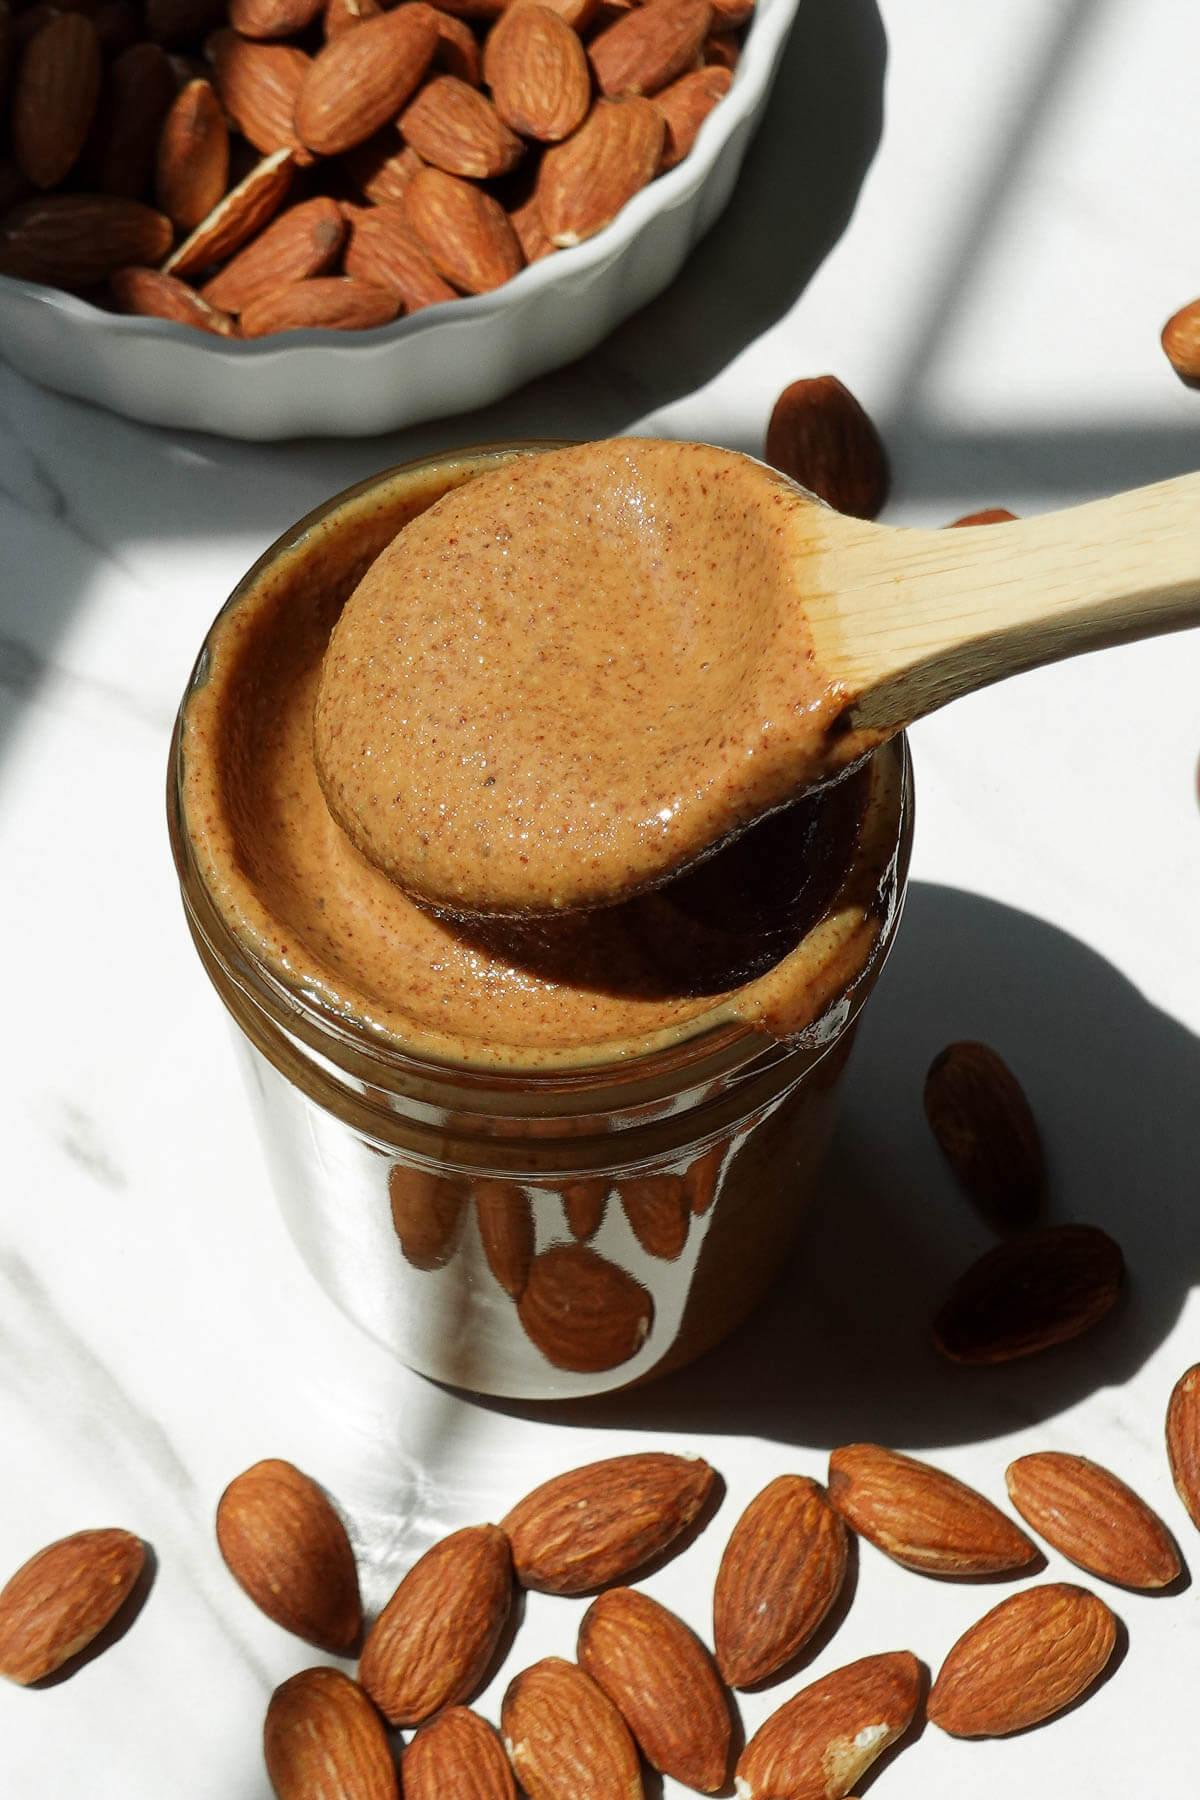
Once I discovered how easy it was to make almond butter at home, I was hooked! It tastes so much better than store-bought, and since we use almond butter constantly, this recipe has become a pantry staple in our family.
It inspired me to start making other homemade nut butters like peanut butter, hazelnut butter, and pistachio butter. Whether you’re spreading it on toast with chia jam, spooning it over oatmeal, blending it into smoothies, or using it as a dip for sliced apples.
Featured Review
I’ve tried other recipes for almond butter but this one is the best.
– Karen
Table of Contents

Why Make Almond Butter at Home?
- Just 1 ingredient: Almonds are all you need!
- Better flavor: Roasting the almonds brings out their nutty flavor and helps release their natural oils.
- Completely customizable: Keep it simple or add salt, maple, cinnamon, vanilla, or chocolate.
- Budget-friendly: I’ve seen some jars priced over $12! Instead, I buy almonds in bulk and make my own at home.

The Best Almonds To Use
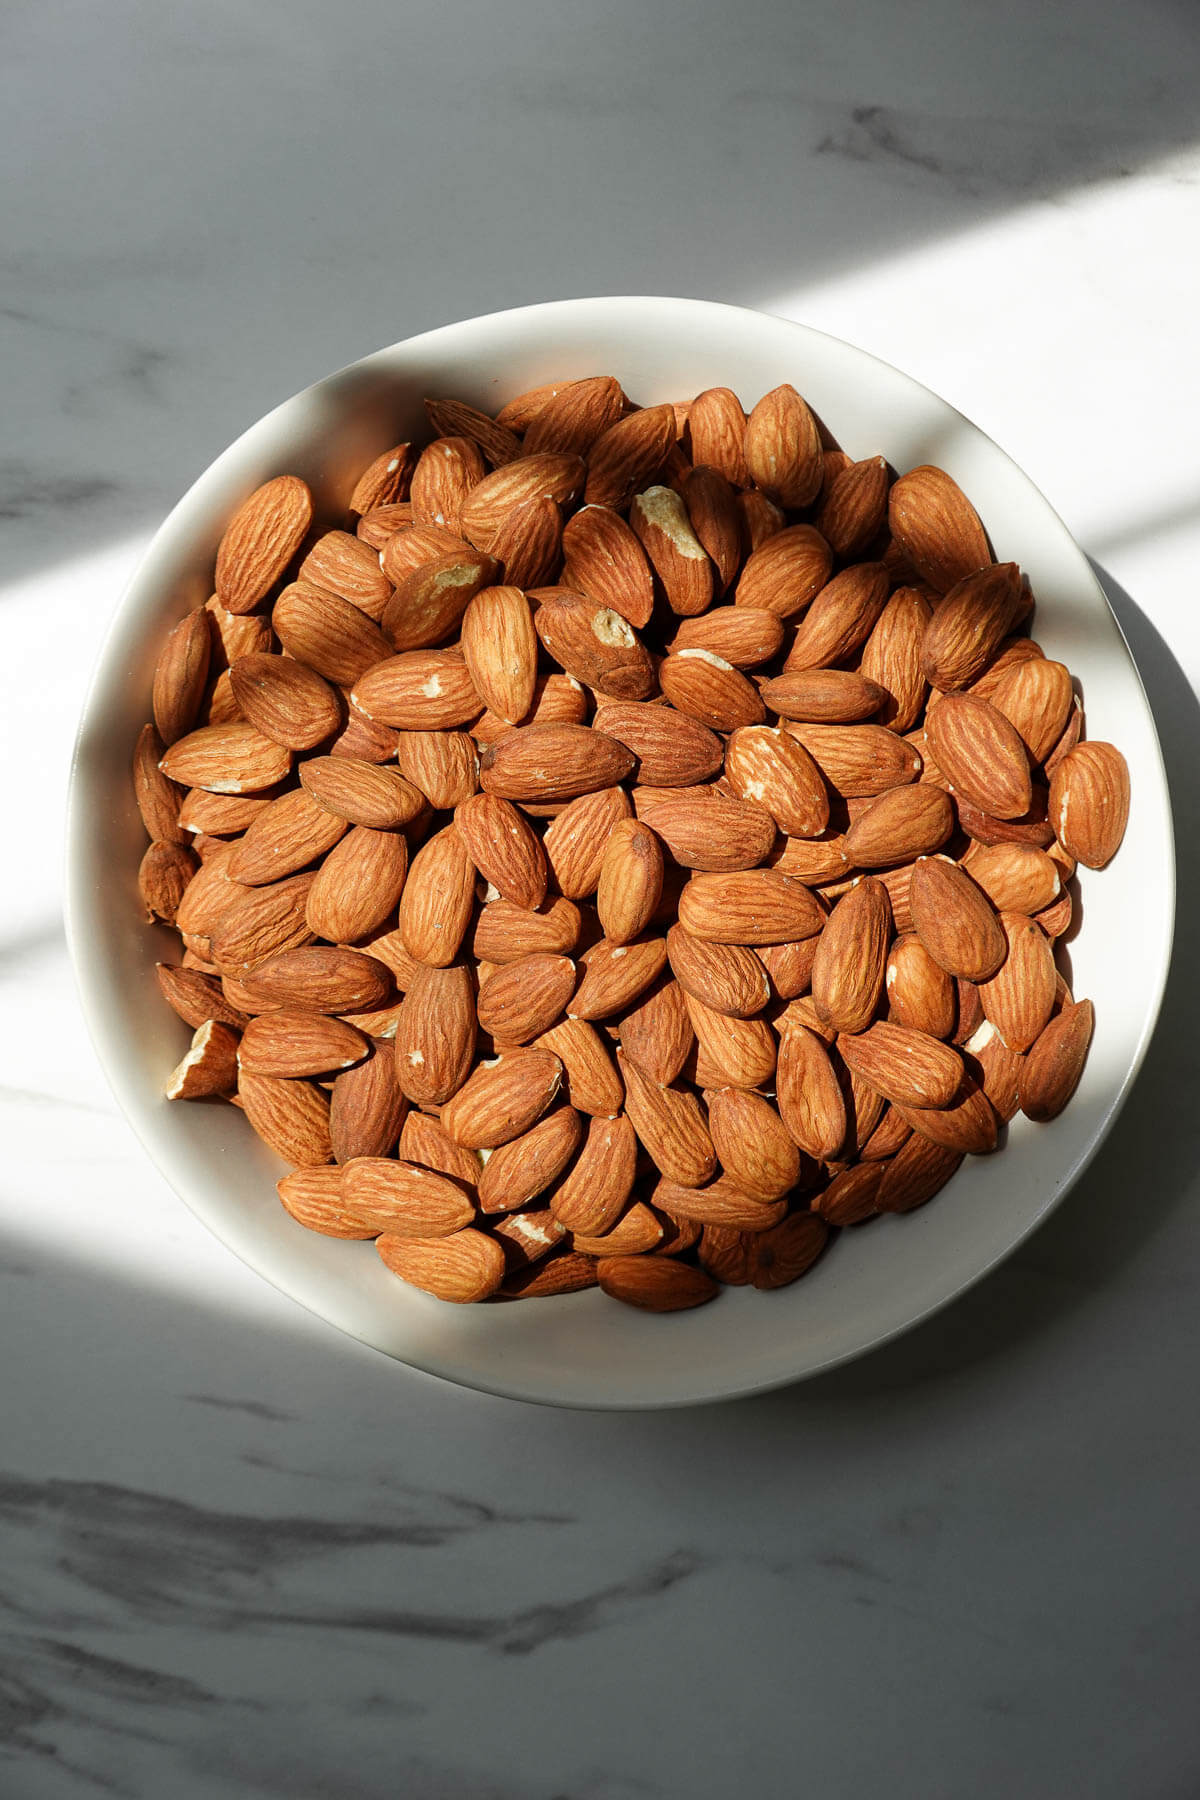
I recommend whole, raw, unsalted almonds. We’re going to roast them in the oven for 10 minutes which makes them much easier to blend since it releases their natural oils, helping the almonds blend into a super creamy butter. It also gives it a deeper, nuttier flavor.
If you bought roasted almonds, that will work too. Just skip any that are heavily salted or seasoned.
What Equipment Do You Need?
A good-quality food processor is the easiest tool to make homemade almond butter. It takes the almonds from whole, to crumbly, to clumpy, to smooth and creamy in about 5-15 minutes.
I’ve had my Cuisinart food processor for 5+ years and it’s still one of my most-used kitchen tools! I use it for everything from homemade veggie burgers, to energy balls, and desserts like no-bake brownies and no-bake carrot cake. A high-powered blender, such as a Vitamix, can also work, but I think a food processor is much easier to work with for this recipe.
How to Make Homemade Almond Butter
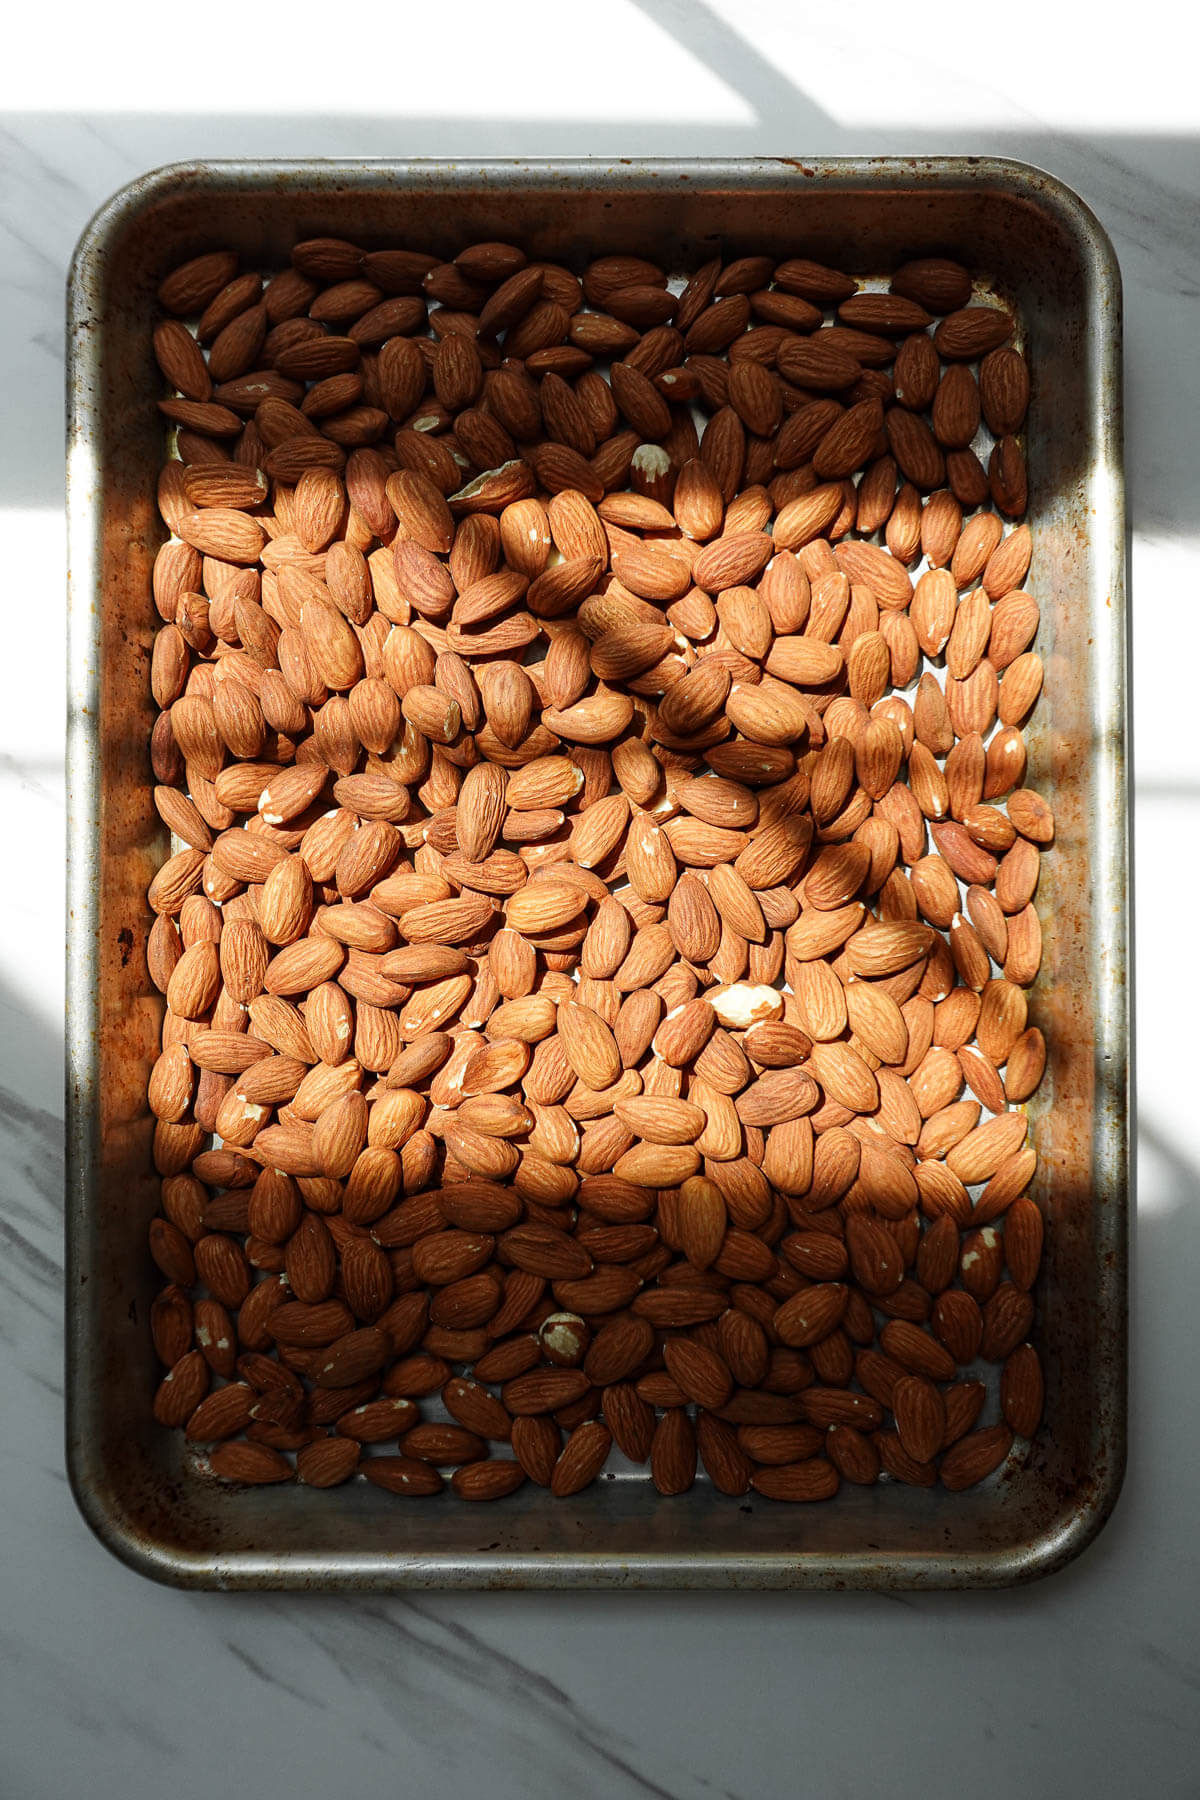
- Step 1: Preheat the oven to 350°F. Spread the raw almonds on a baking sheet and roast for 10 minutes.
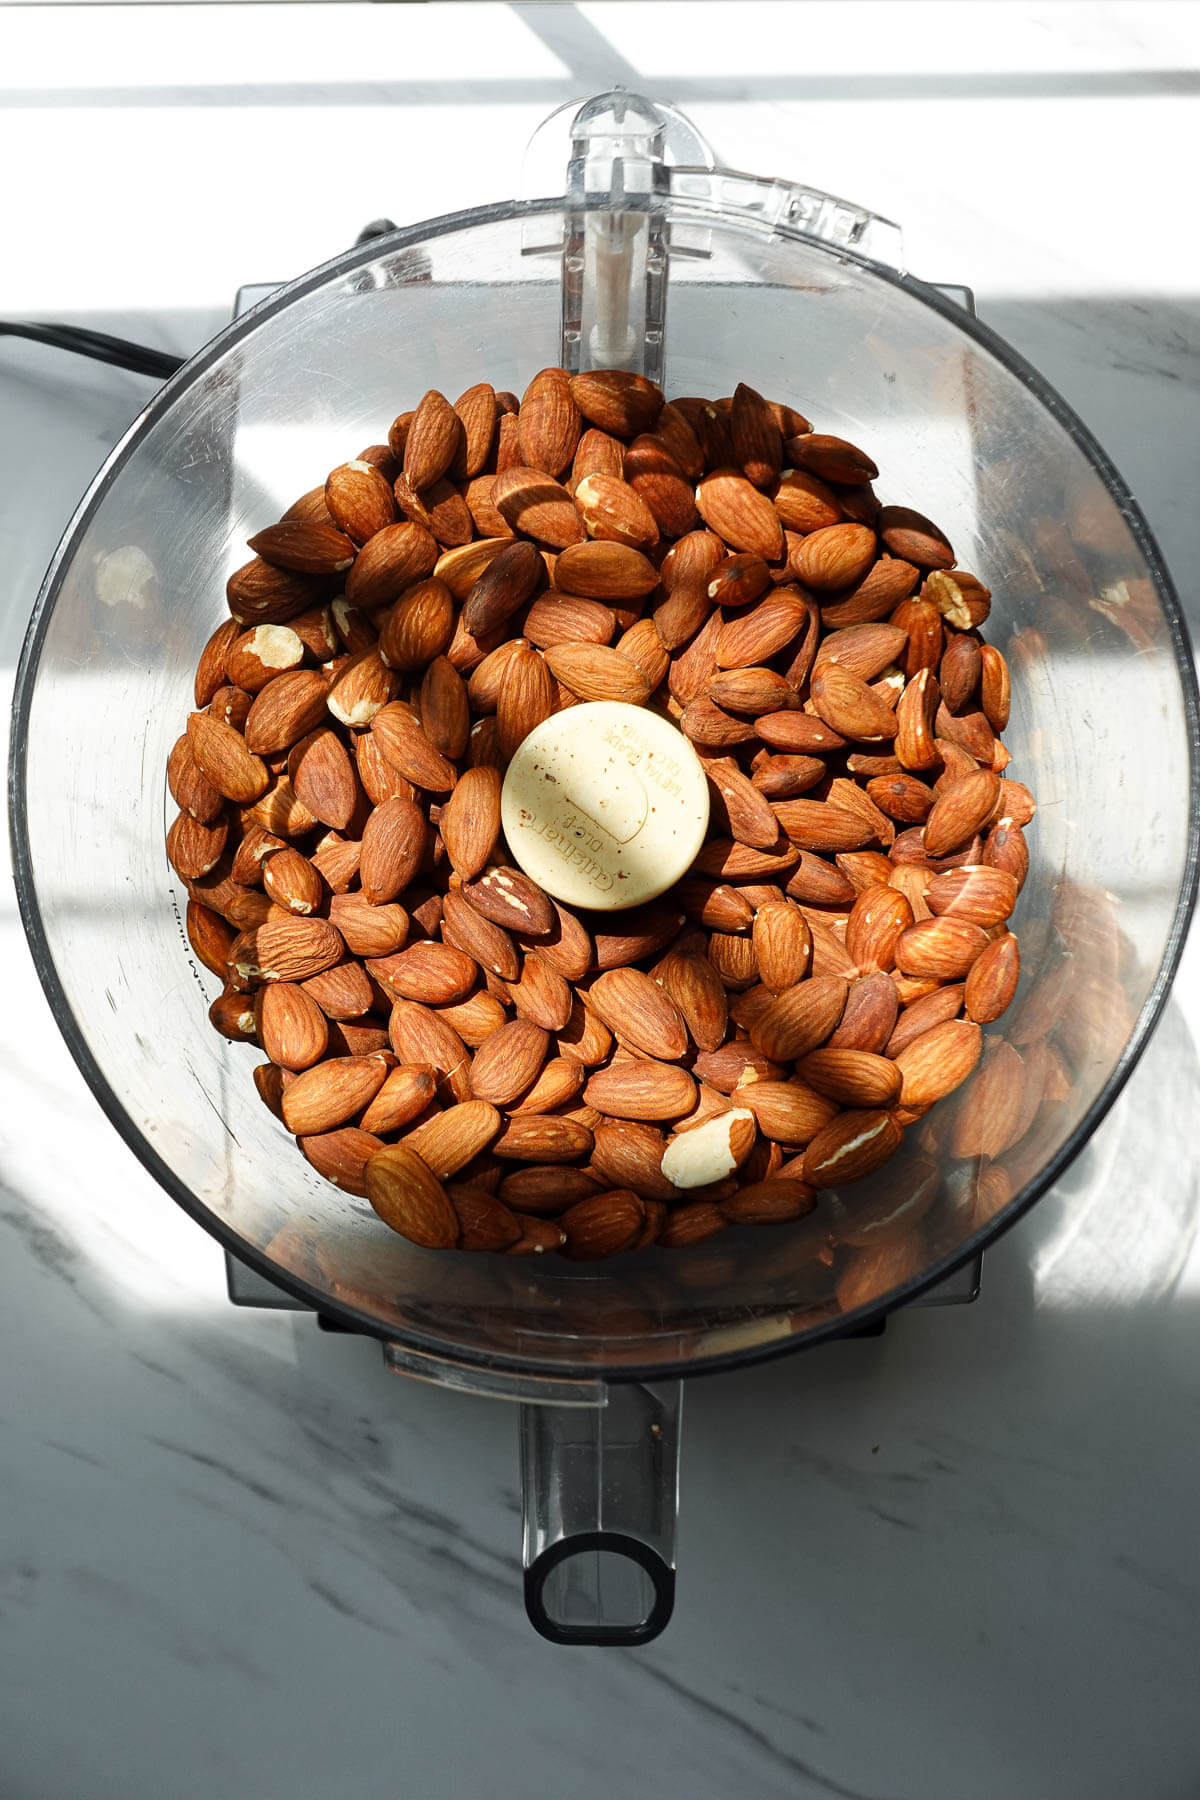
- Step 2: Transfer the warm almonds to a food processor. If your almonds are unsalted, add a pinch of salt (it helps enhance the flavors).
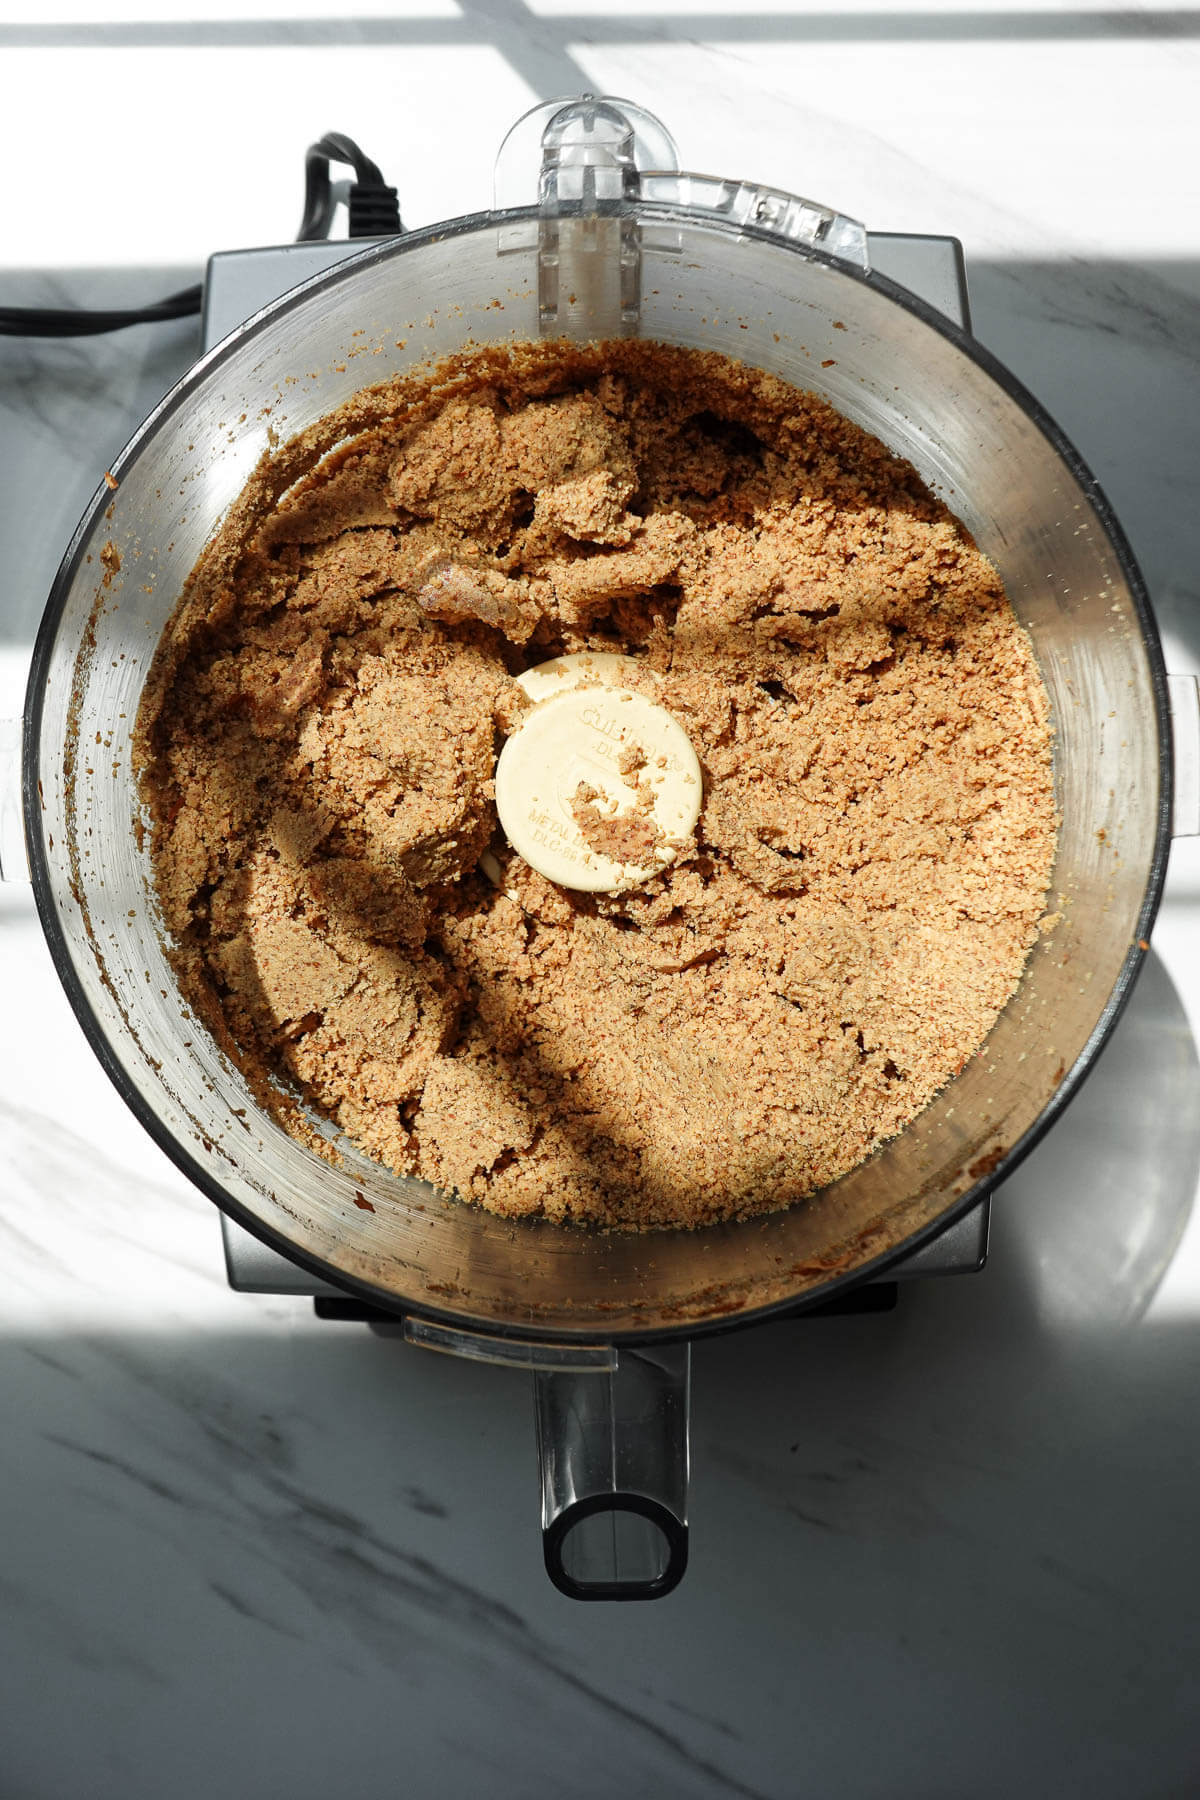
- Step 3: Process the almonds, stopping to scrape down the sides as needed.
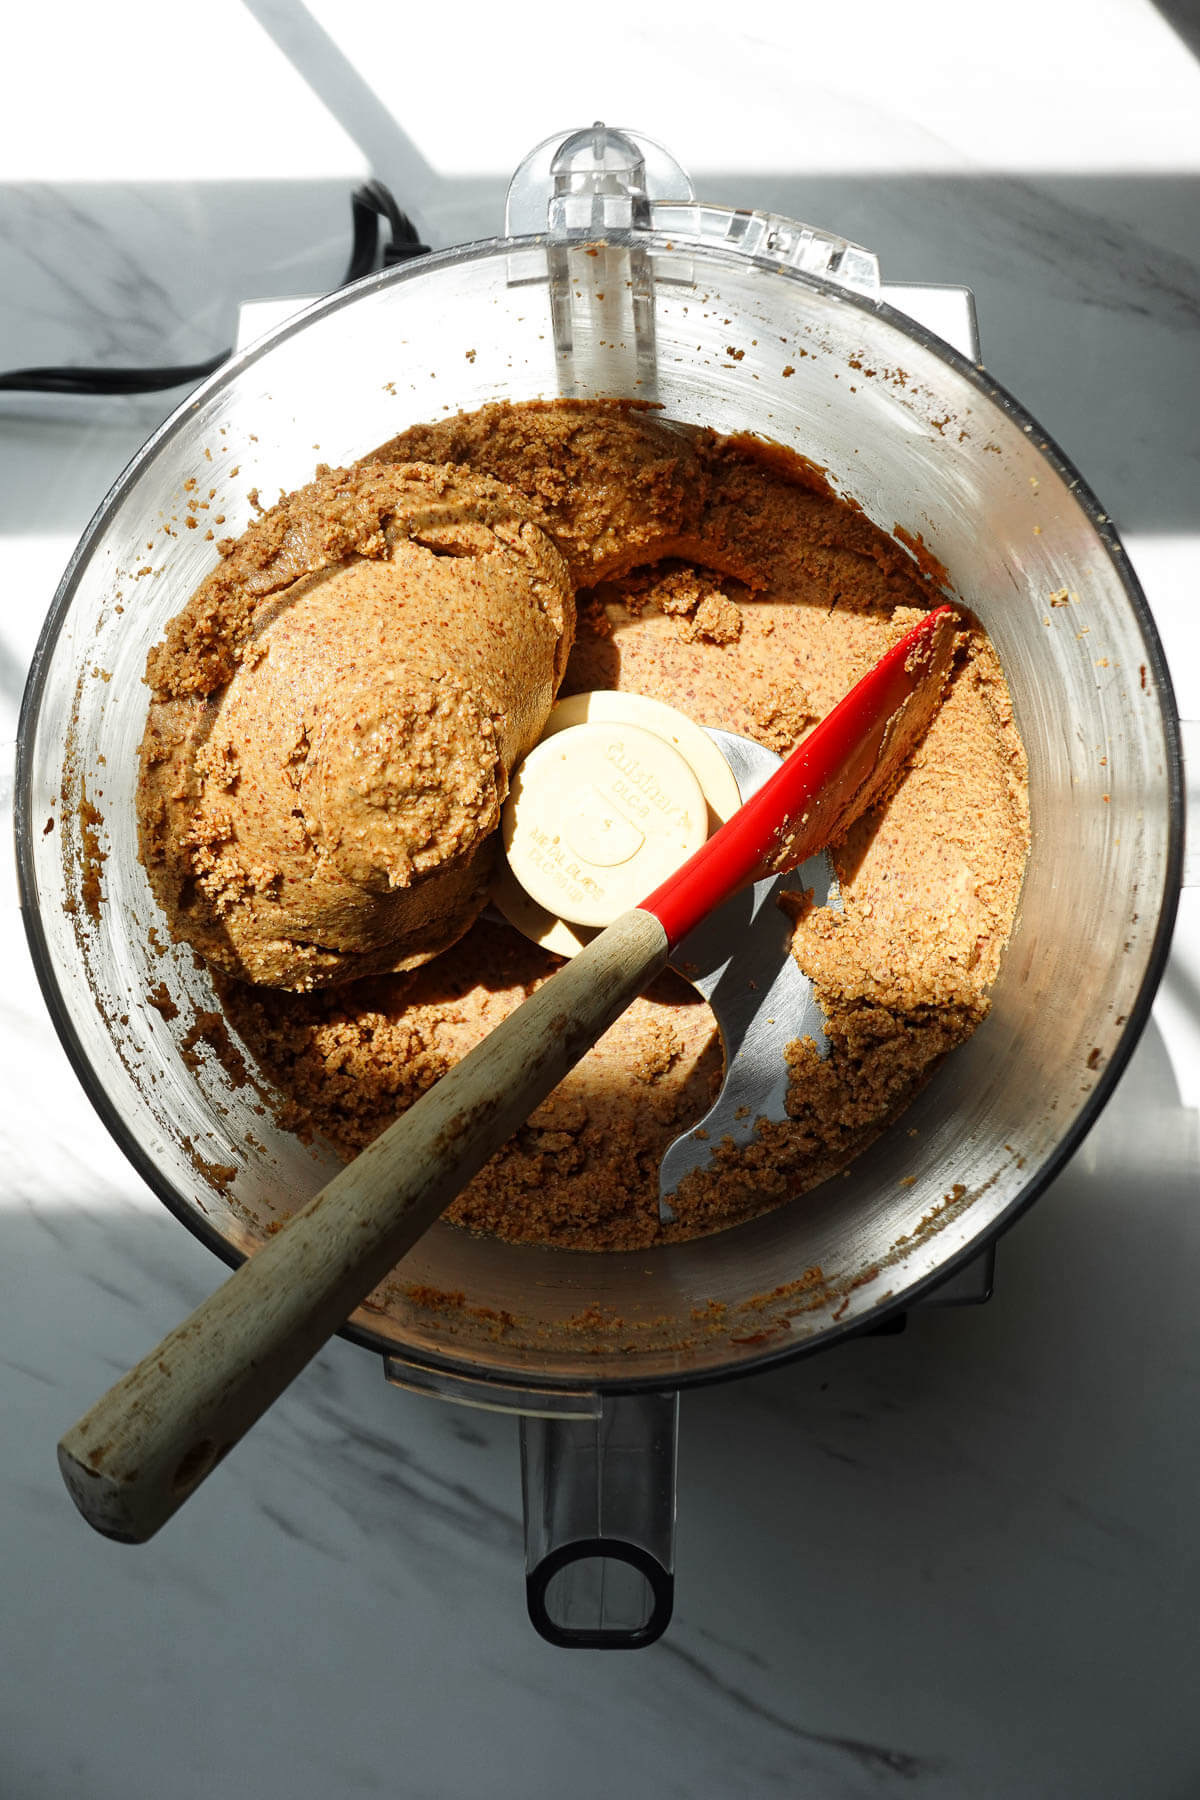
- Step 4: The almonds will go from crumbly → thick → clumpy → smooth and creamy as their natural oils release. This can take 5–15 minutes depending on your food processor, so patience is key here!
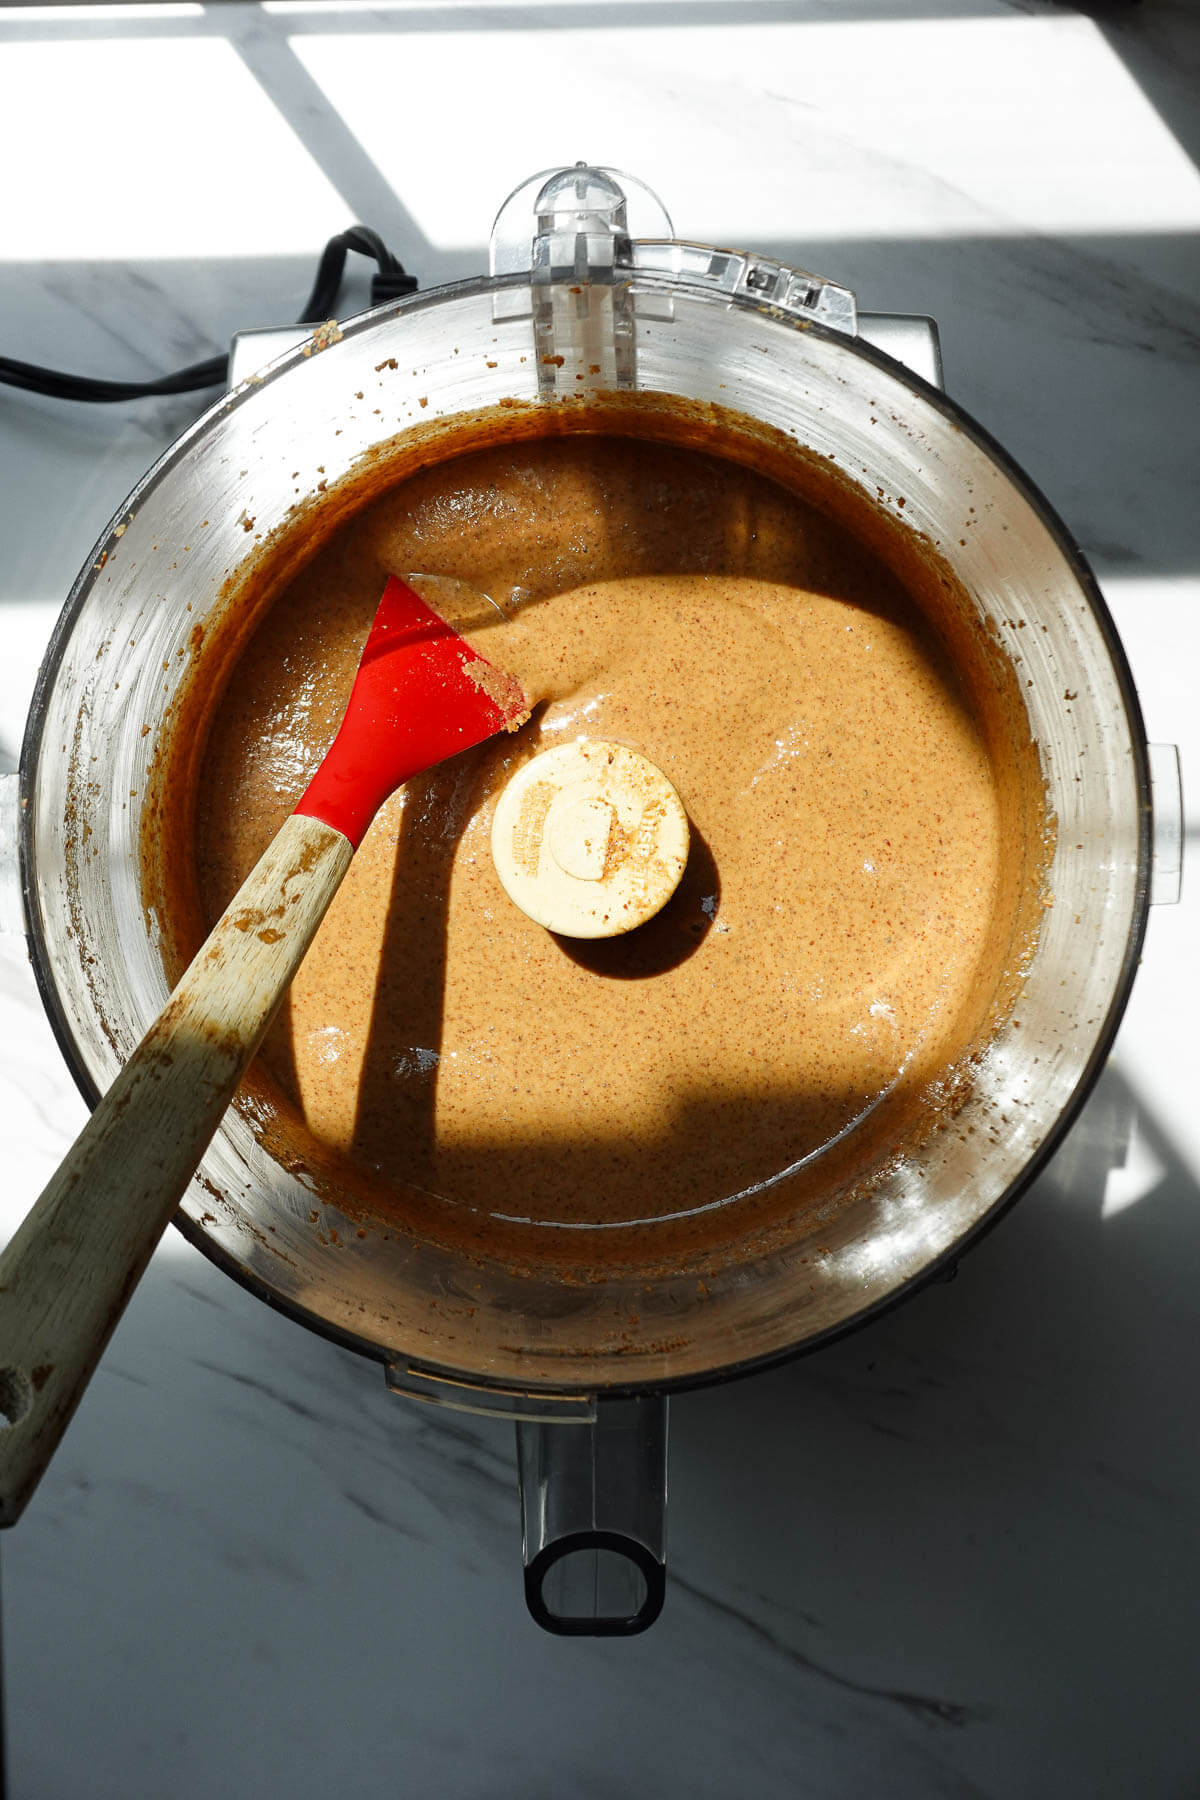
- Step 5: Once the almond butter is smooth, add any flavorings and continue processing until creamy. It may thicken or form a ball again when you add the maple syrup or other ingredients, but keep processing, it will smooth out again.
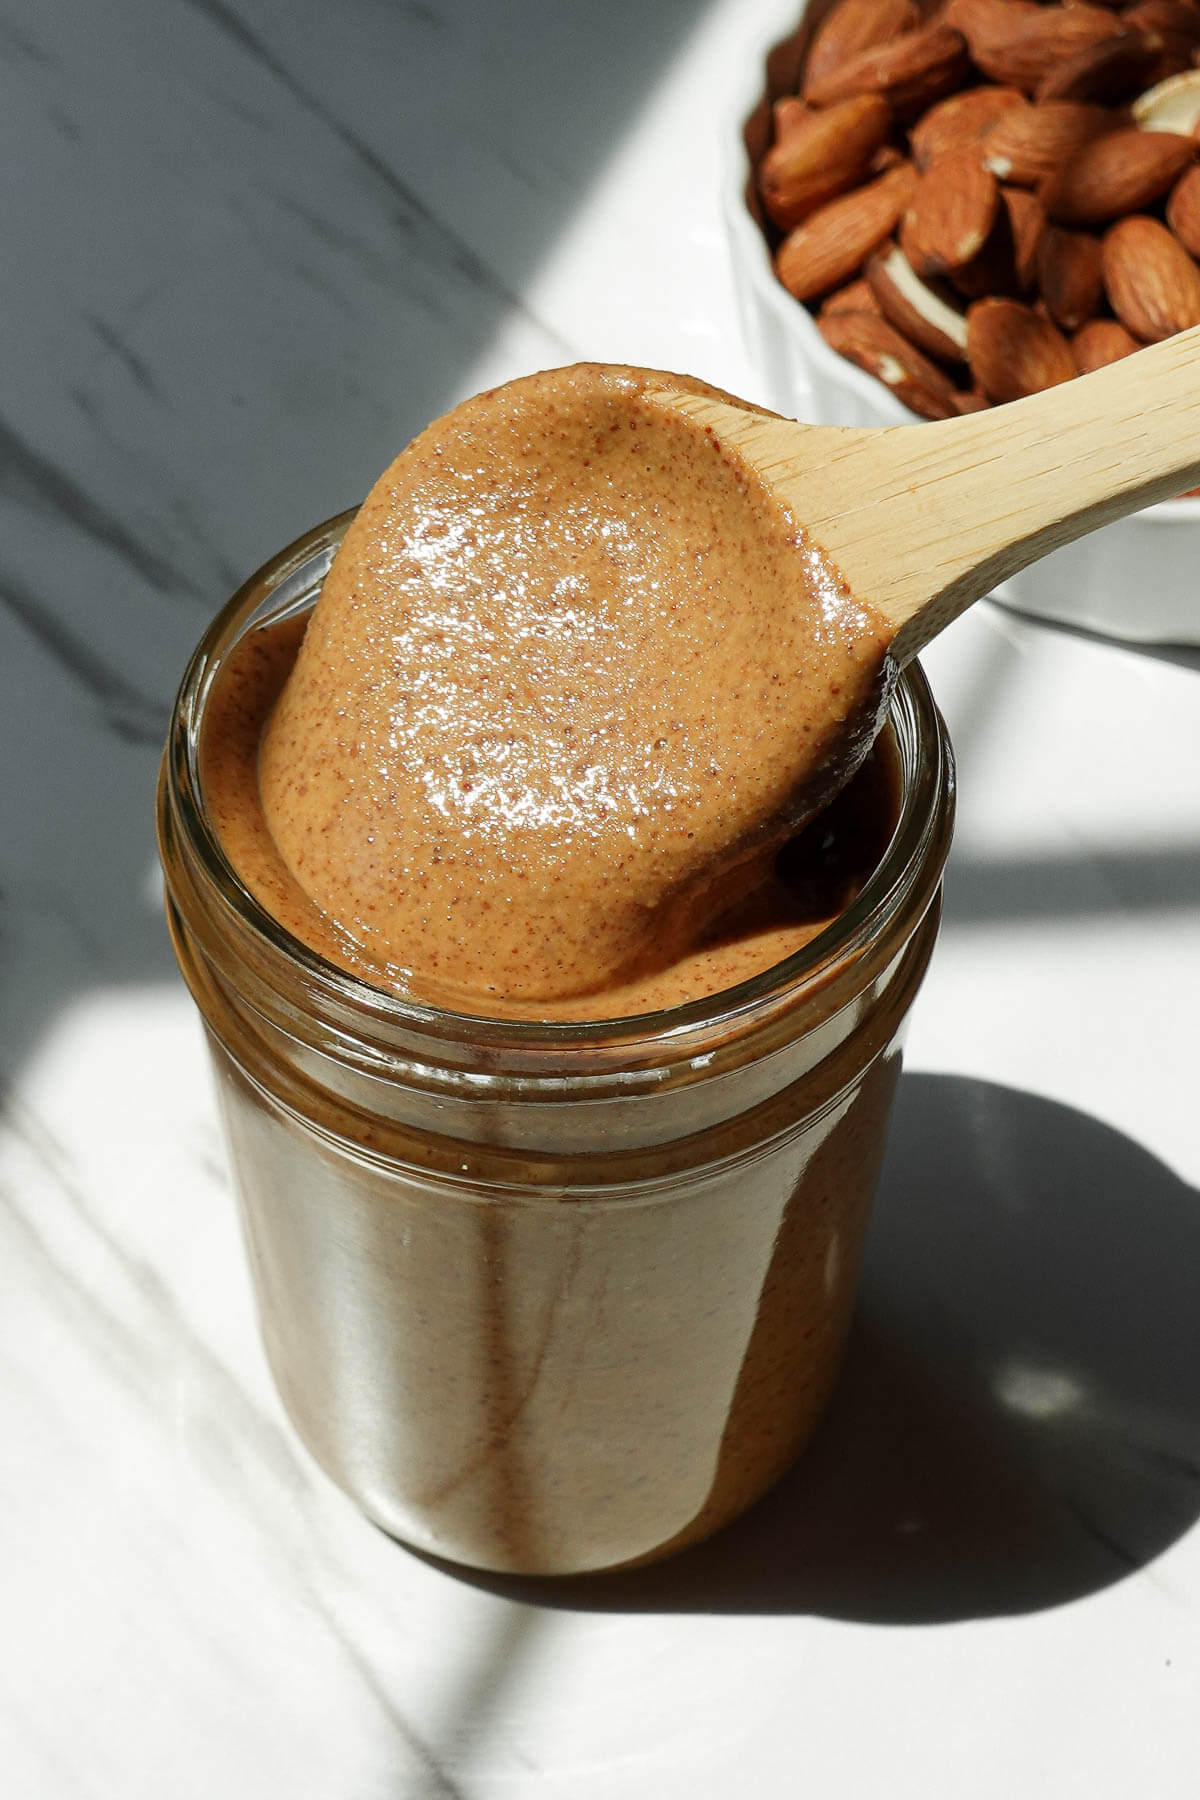
- Step 6: Transfer the almond butter to a glass jar and let it cool before storing.
Tips I Learned Making Almond Butter
- Roast the almonds: Roasting them before blending helps release their natural oils, which is why I prefer roasting them instead of using cold, pre-roasted almonds.
- Scrape the sides: Stop the food processor every few minutes and scrape down the sides so the almonds blend evenly.
- Patience is key: This is the biggest lesson I’ve learned making homemade nut butter. The almonds will look dry and crumbly before they suddenly become creamy. Keep going! Depending on your food processor, it can take 5–15 minutes or longer.
Make It Your Own! 4 Flavor Variations
This is where things get fun! If you want to switch up the flavor, add these ingredients after the almond butter is already smooth, then process until fully incorporated.
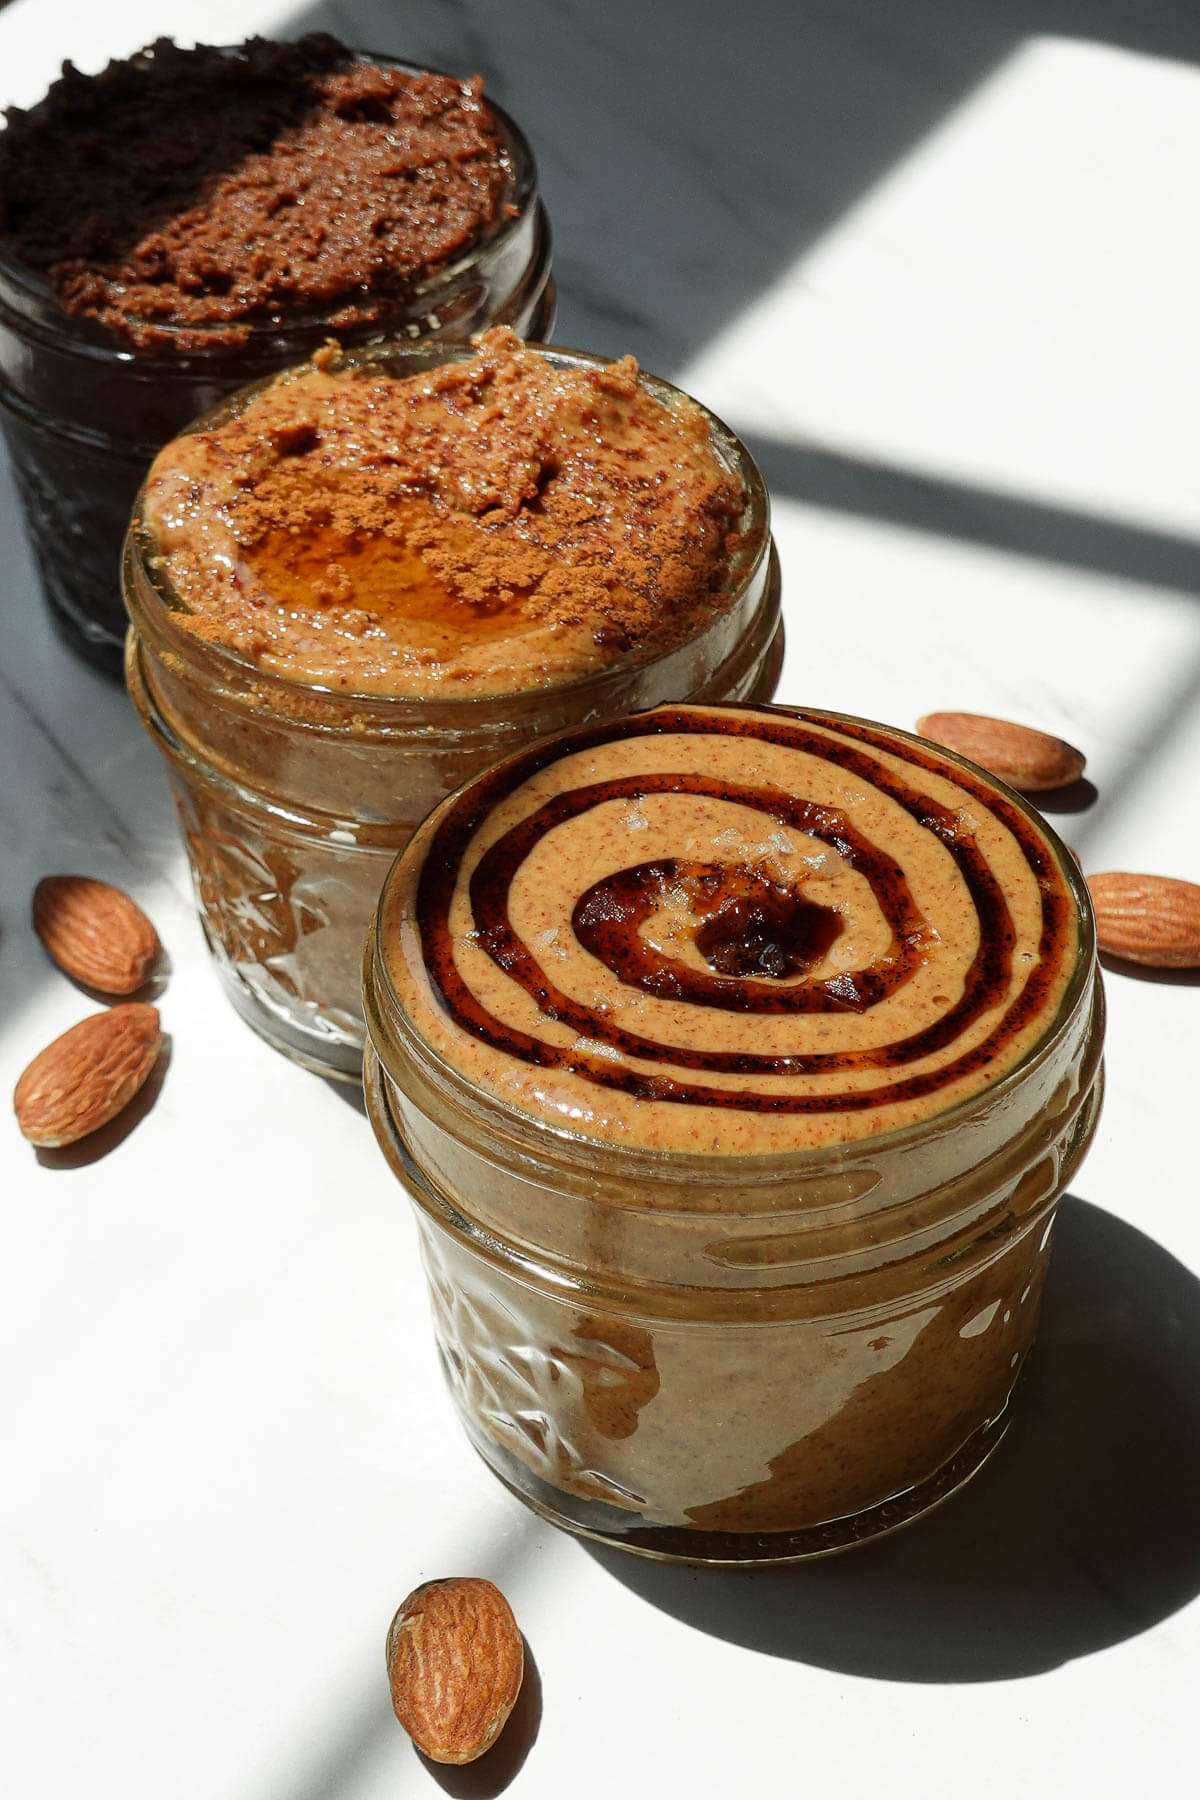
- Chocolate: Add 2 tablespoons cocoa powder + 2 tablespoons maple syrup.
- Salted Vanilla: Add 2 teaspoons vanilla bean paste + ½ teaspoon flaky sea salt.
- Maple Cinnamon: Add 3 tablespoons maple syrup + 1 teaspoon cinnamon + ½ teaspoon vanilla extract.
- Chai Spice: Add 1 teaspoon cinnamon + ¾ teaspoon ginger + ¼ teaspoon nutmeg + ¼ teaspoon ground cloves + ½ teaspoon vanilla extract.
It makes a lovely homemade gift too! Tie a ribbon around a small glass jar and gift it to a loved one. I gifted a batch of the salted vanilla flavor to my cousin for her birthday and she LOVED it.
How to Use Almond Butter
Now the fun part: putting it on basically everything.
- Spread on toast with homemade chia jam
- Spoon over 3-ingredient banana pancakes
- Stir into oatmeal or overnight oats
- Swirl into yogurt and top with homemade granola
- Blend into smoothies (try it in my almond joy smoothie)
- Dip sliced apples or bananas into it
- In no-bake recipes, like no-bake brownies, cookie dough stuffed dates, or edible cookie dough
- Spread on vegan banana bread or gluten-free banana muffins
- Stuff inside medjool dates for a naturally sweet snack
How to Store It
Transfer the almond butter to a glass jar and store it in the refrigerator for up to 2 weeks. If it thickens in the refrigerator, let it sit at room temperature for a few minutes and stir before serving.
FAQs
Whole, raw, unsalted almonds are my preference. You can find them at most grocery stores. Roasting them yourself brings out their flavor and helps release their natural oils, which makes them easier to blend into a creamy consistency.
Keep blending! It will go through a crumbly stage before the natural oils release and the mixture becomes creamy. Continue to scrape down the sides and keep processing. If your food processor is struggling, adding 1-2 tbsp of neutral oil can help.
Yes, but I think a food processor is easier. If you’re using a blender, you’ll need a high-powered blender, like a Vitamix, and you may need to use the tamper and scrape down the sides more often.
It can be! Some jars of almond butter can be quite pricey. I buy almonds in bulk from Trader Joe’s or Costco, which makes homemade almond butter much more affordable for me.
More Homemade Spreads & Nut Butters
Make these homemade pantry staples next!


If you make this recipe, please be sure to leave a comment and ★★★★★ star rating below. Don’t forget to tag me on Instagram so I can see your creations!
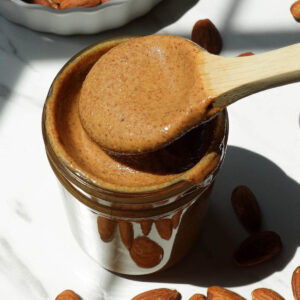
Homemade Almond Butter (Easy 1-Ingredient Recipe)
Equipment
Ingredients
- 3 cups whole, raw almonds
Instructions
- Roast the almonds: Preheat oven to 350°F. Spread the almonds on a baking sheet and roast for 10 minutes.
- Blend: Transfer the warm almonds to a food processor. If your almonds are unsalted, add a pinch of salt (it enhances the flavors). Process the almonds, stopping to scrape down the sides as needed.
- Watch the texture change: The almonds will go from crumbly → thick → clumpy → smooth and creamy as their natural oils release. This can take 5–15 minutes depending on your food processor, so patience is key here!
- Add flavorings, if desired: Once creamy, add any flavorings and continue processing until smooth. It may thicken or form a ball again when you them, but keep processing, it will smooth out again.
- Store: Transfer to a glass jar and store in the refrigerator for up to 2 weeks.
Video
Notes
- Roast the almonds: Don’t skip this step! It brings out their flavor and helps release their natural oils which makes blending much easier.
- Be patient: The almonds will go through a crumbly stage before becoming creamy. Depending on your food processor, blending may take 5–15 minutes or longer.
- Scrape the sides: Stop and scrape down the food processor as needed to keep the almonds blending evenly.
- I recommend using a food processor: A high-powered blender (such as a Vitamix) can work, but I think a food processor is much easier.
- Add flavorings: Add your favorite flavorings (such as cinnamon, vanilla, or maple syrup) after the almond butter becomes smooth and creamy. It may clump again, but keep blending. It will turn smooth and creamy again.
- Storage: Store in a glass jar in the refrigerator for up to 2 weeks.
- Yield: This recipe makes about 2 cups of almond butter.


I’ll never go back to store-bought! This homemade almond butter is SO creamy and tastes sooo fresh!
@booboosbakeryy I made this with a blender. Roasted the almonds then popped them in a blender and slowly blended to a fine pulp, stopping and shaking the mixture a few times. Put it in a bowl and added a tablespoon of melted oil and a tablespoon of maple syrup. Mixed it and put it in a mason jar. Absolutely delicious.
Thanks very much for the recipe!! 😊
I’m so glad you loved it! Happy to hear the recipe worked in a blender too. Thanks for sharing your kind review + star rating. 🥰
I tried making nut butters at home but they turn out grainy. Like they’re creamy but also grainy, never smooth like those store bought ones. Why is that?
Hi Aisha, some nut butters can be grainy to a certain extent. For example, almond butter is a little more grainy than peanut butter due to it’s hard shell. Are you roasting the nuts beforehand? Doing this will help break them down & release their natural oils. Also, patience is key! Keep processing (sometimes mine takes 20 minutes of processing to get it silky) & if your food processor isn’t that powerful or the blade isn’t sharp enough, add a little bit of melted coconut oil to help thin it out. Good luck! 🫶🏻
I’ve tried other recipes for almond butter but this one is the best.
I did add 3/4 tsp of salt and increased the almond oil to almost 5 tbsps to get the creamier texture. Do be patient because it does take the food processor about 8-9:minutes total.. my guess is a newer more powerful processor( mine is a 30 year old. Cuisinart) will take less time.
As it is Passover now I find myself dipping matzo into the almond butter as a snack.
I will never buy almond butter again!. Thank you Megan.
I am so glad you enjoyed it, Karen! I agree, I can’t go back to store-bought ever again! Thank you so much for the review – wishing you a happy Passover 🙂
so delicious!
Thank you, Emma!