

Homemade Chocolate Syrup
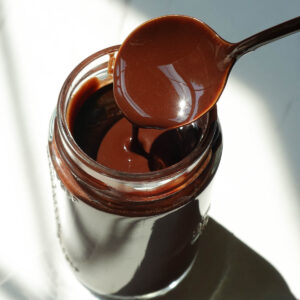
This homemade chocolate syrup is thick, rich, smooth, and incredibly chocolatey – all with just 5 simple ingredients! Ready in 10 minutes, it’s naturally sweetened with maple syrup, completely dairy-free, and tastes even better than store-bought. Perfect for stirring into chocolate milk, drizzling over ice cream, pancakes, waffles, and more!
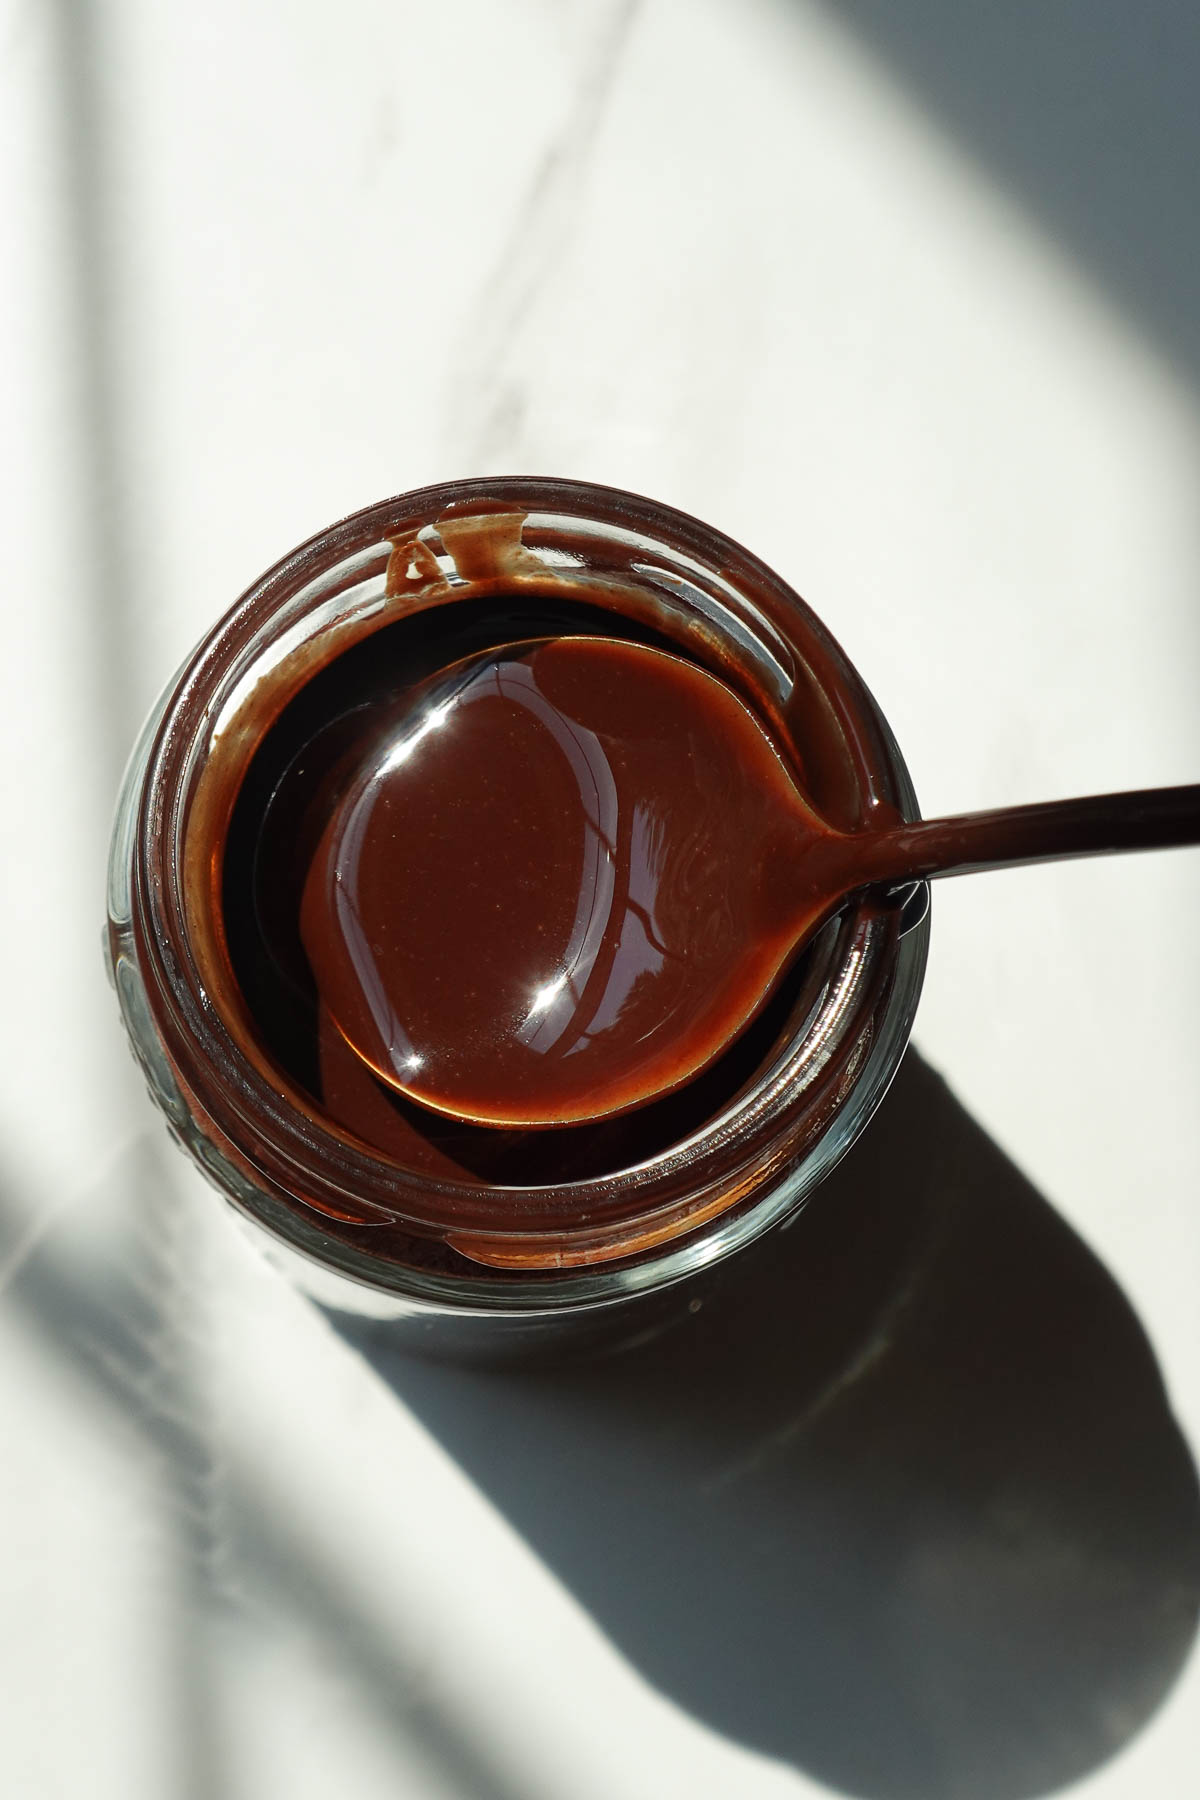
I love creating healthier homemade versions of classic treats. I’ve already made my own healthy nutella, chocolate avocado pudding, and vegan fudgesicles, so creating a homemade chocolate syrup was only a matter of time!
Growing up, I loved chocolate milk and always reached for Hershey’s chocolate syrup, but I wanted to create a version with simple ingredients I feel good about. This homemade chocolate syrup is thick, rich, smooth, and perfectly chocolatey, without the refined sugar, high-fructose corn syrup, artificial flavors, or preservatives you’ll find in the store-bought kind.
Better yet, it doubles as a homemade hot fudge sauce! Serve it warm over vegan ice cream, or let it chill in the fridge until it thickens into the perfect chocolate syrup consistency. Use it as you would with any other chocolate syrup: drizzle it over vegan pancakes and waffles, stir it into chocolate milk, blend it into smoothies, or eat it straight off the spoon.
Table of Contents

Why You’ll Love This Recipe
- Tastes even better than store-bought
- Thick, rich, smooth, and ultra chocolatey
- Made with just 5 simple ingredients
- Ready in 10 minutes
- Naturally sweetened with maple syrup
- Made without refined sugar, corn syrup, or dairy
- Vegan, gluten-free, and dairy-free
- Perfect for chocolate milk, drizzling over ice cream, pancakes, waffles, brownies, and more!

Ingredient Notes
You only need 5 simple ingredients to make this healthy chocolate syrup!
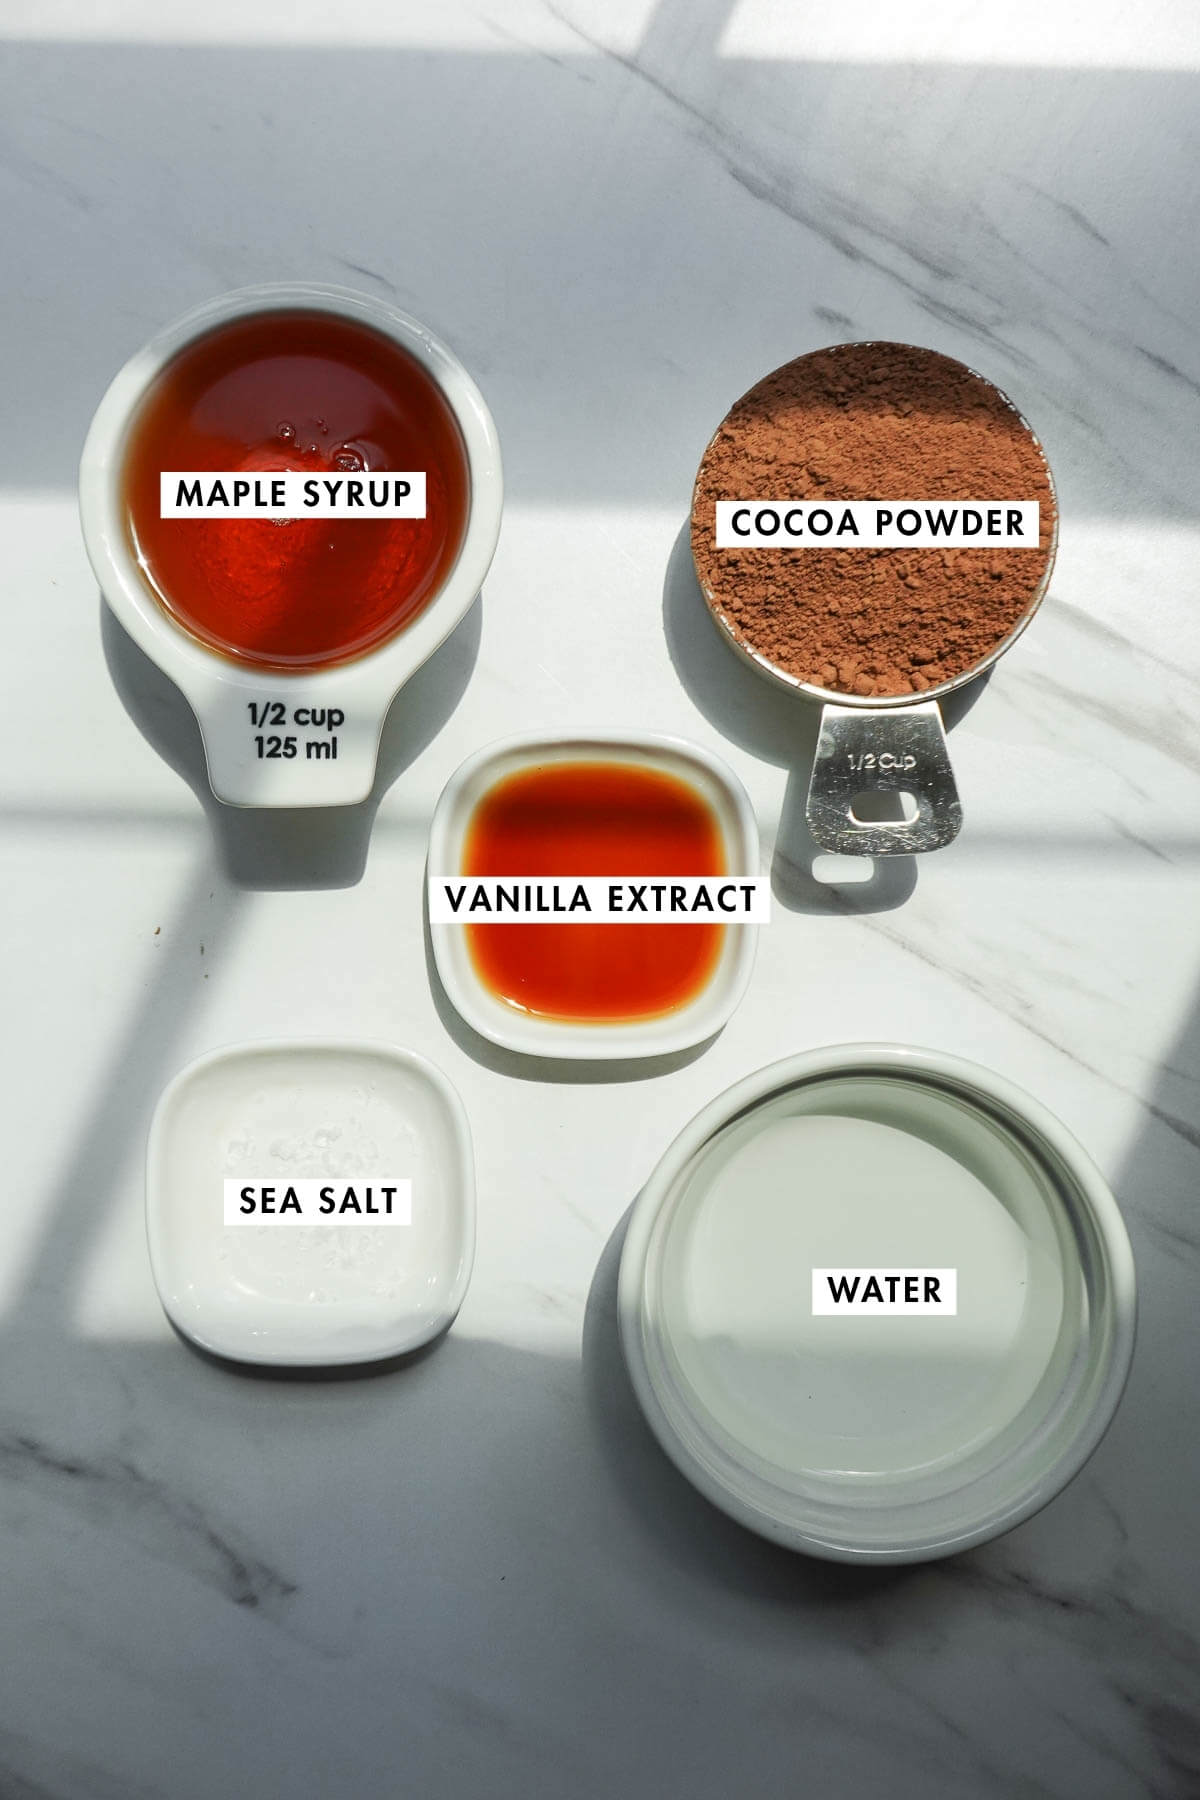
- Cocoa Powder: Since cocoa powder is the star of the show, use one you genuinely love. I typically use Trader Joe’s cocoa powder because it’s rich without tasting overly bitter. Just like with my chocolate avocado pudding, the quality of your cocoa powder makes all the difference!
- Maple Syrup: Naturally sweetens and thickens the chocolate sauce while keeping it refined sugar-free.
- Vanilla Extract: Enhances the chocolate flavor.
- Water: Helps create that smooth, pourable syrup consistency.
- Salt: Don’t skip it! A pinch of salt makes the chocolate flavor pop and balances the sweetness.
How to Make Homemade Chocolate Syrup
This healthy homemade chocolate syrup comes together in just a few simple steps.
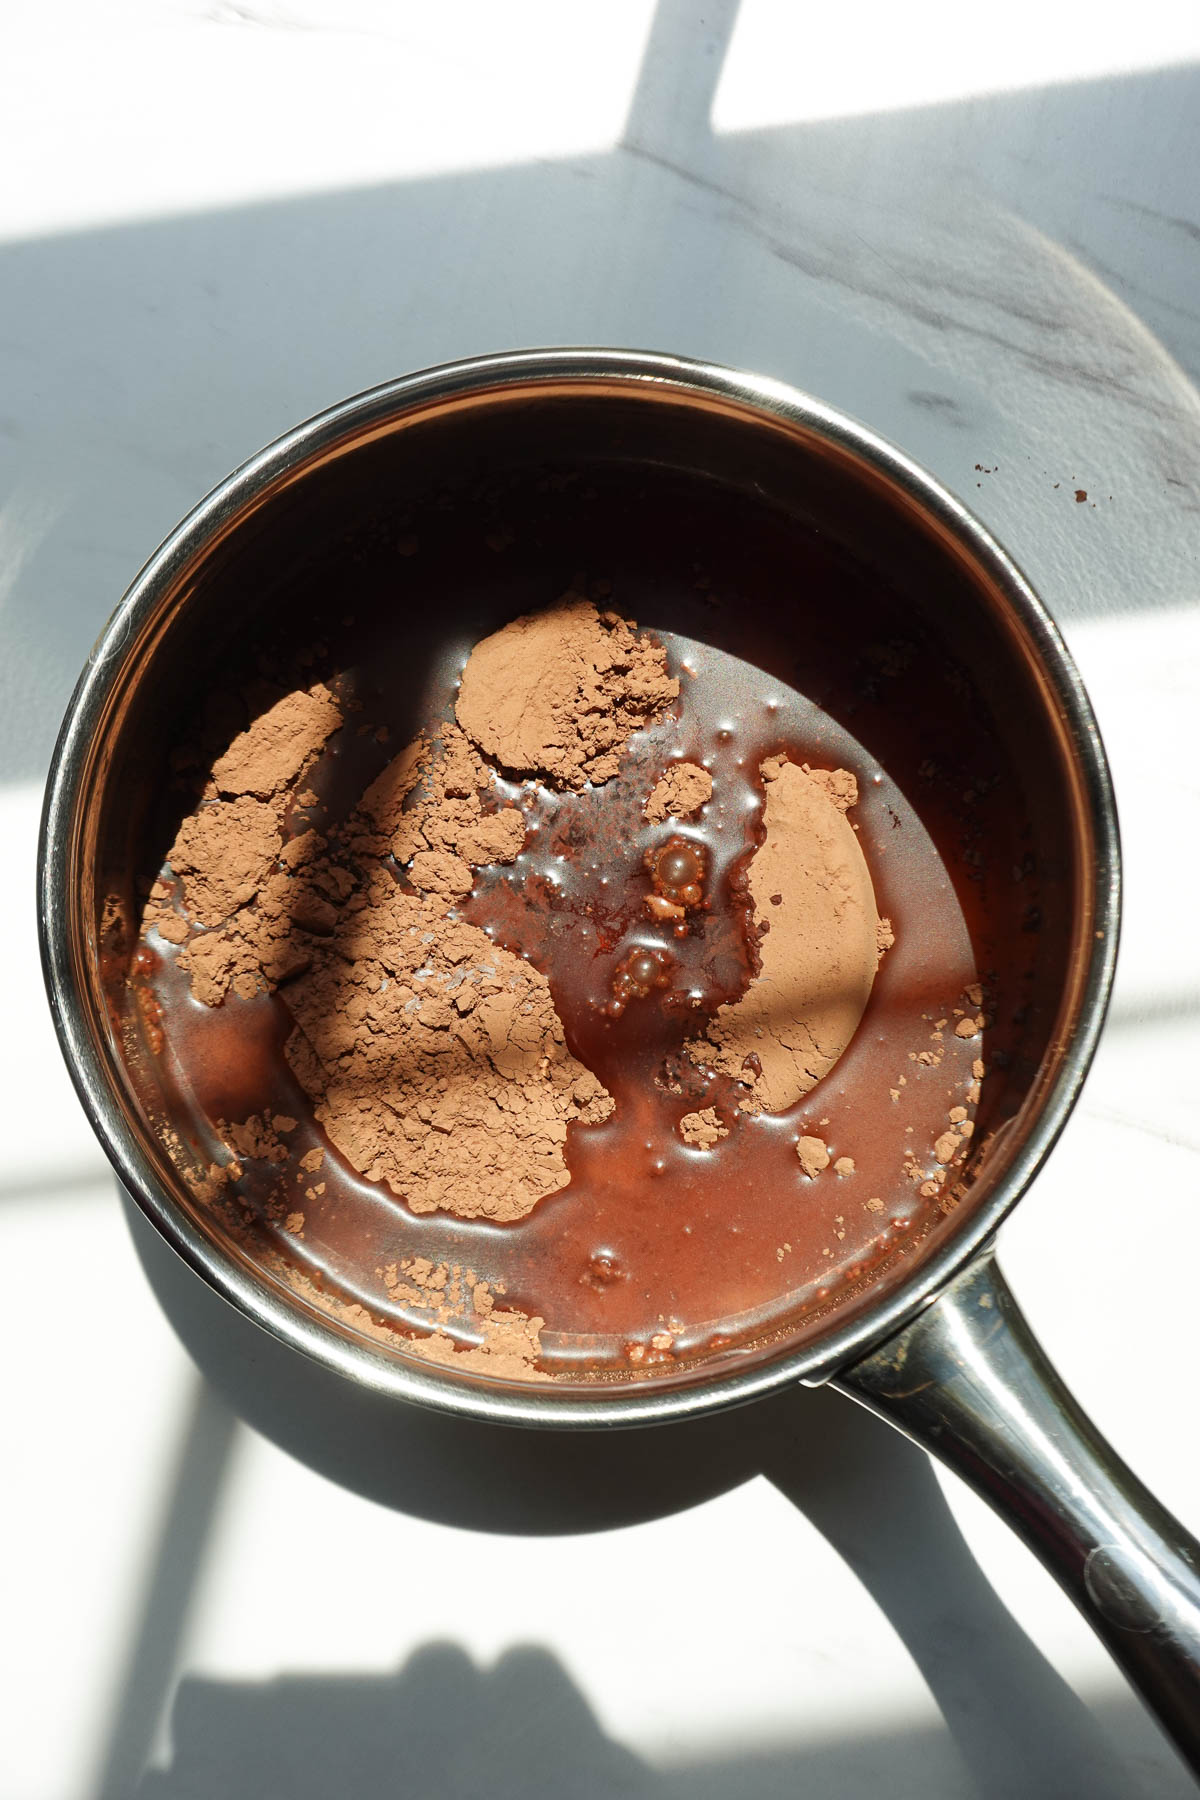
- Step 1: Add cocoa powder, maple syrup, water, vanilla extract, and salt to a small saucepan.
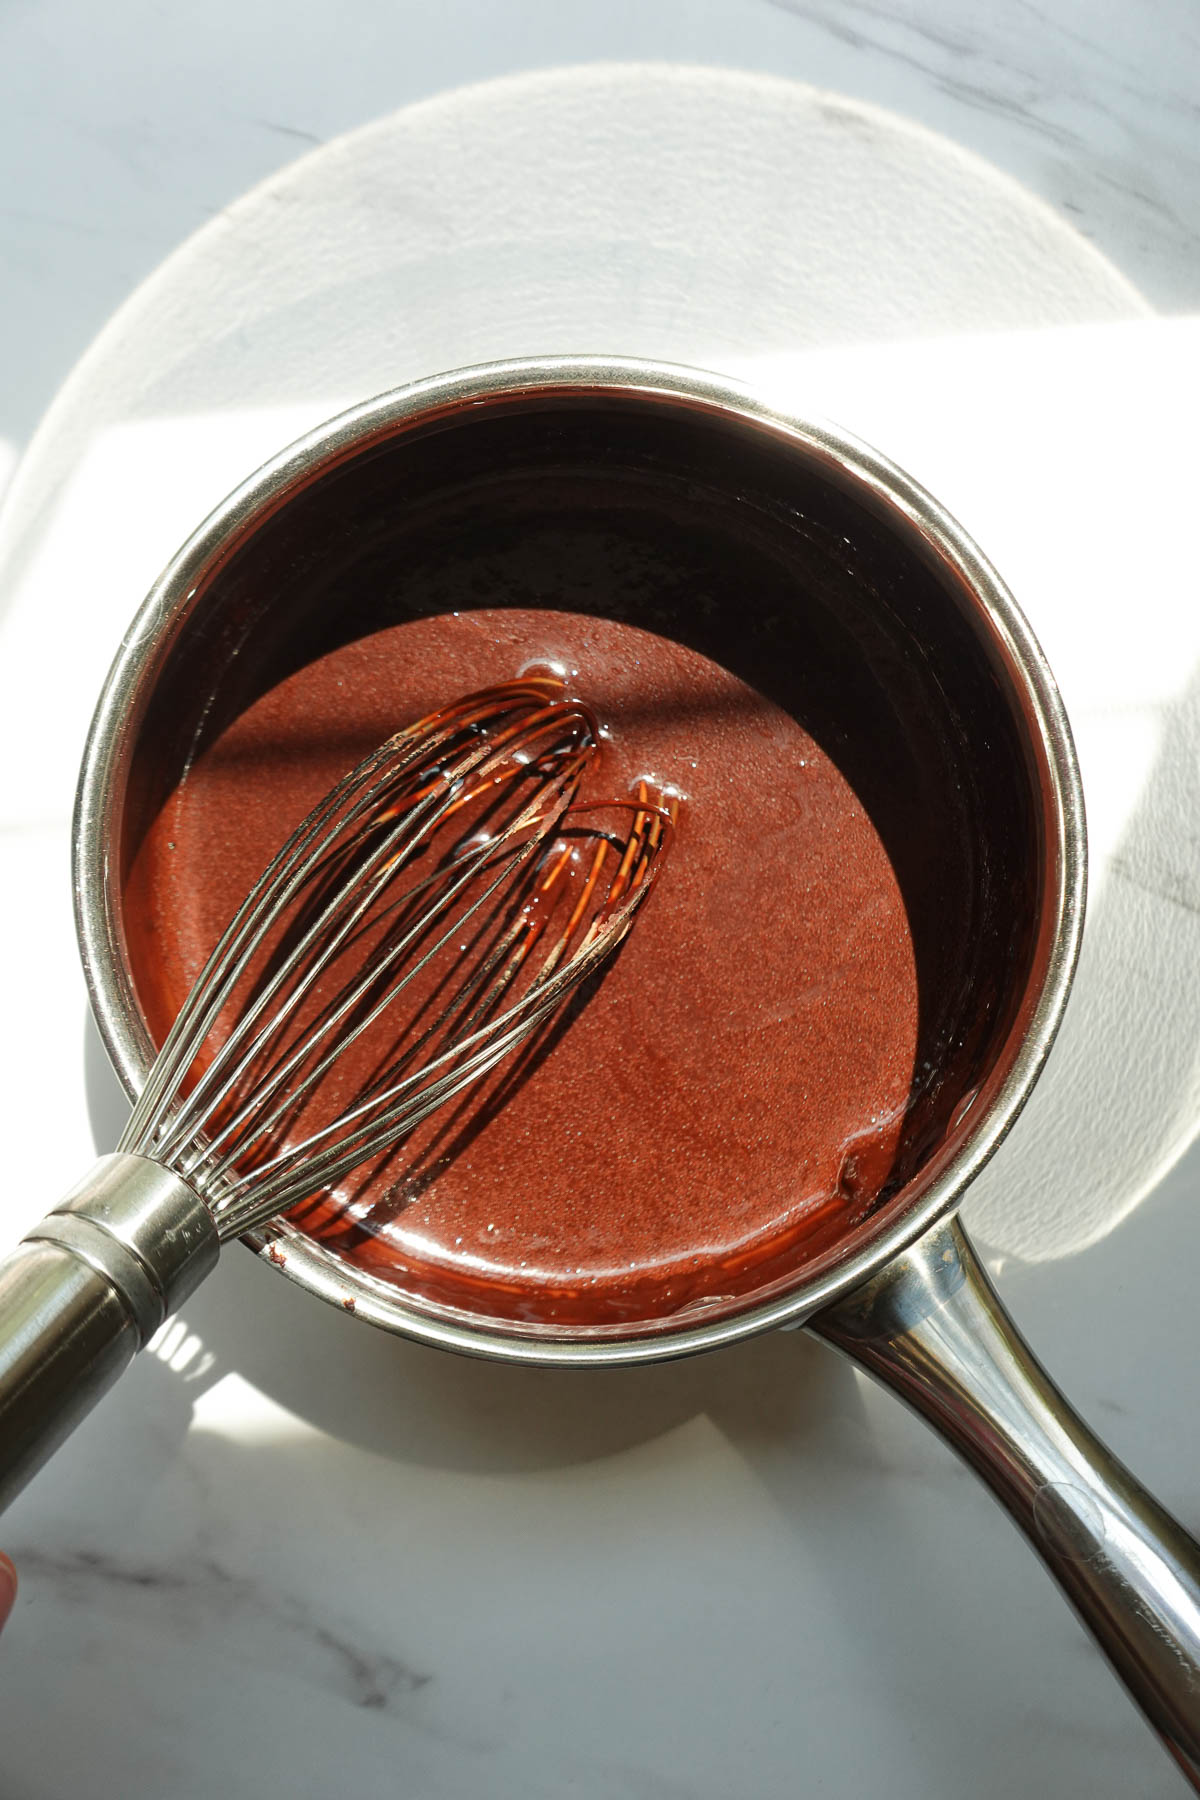
- Step 2: Heat the mixture over low heat, whisking continuously, until everything is smooth and the syrup slightly thickens. It should take about 5-8 minutes, just be careful not to let it boil!
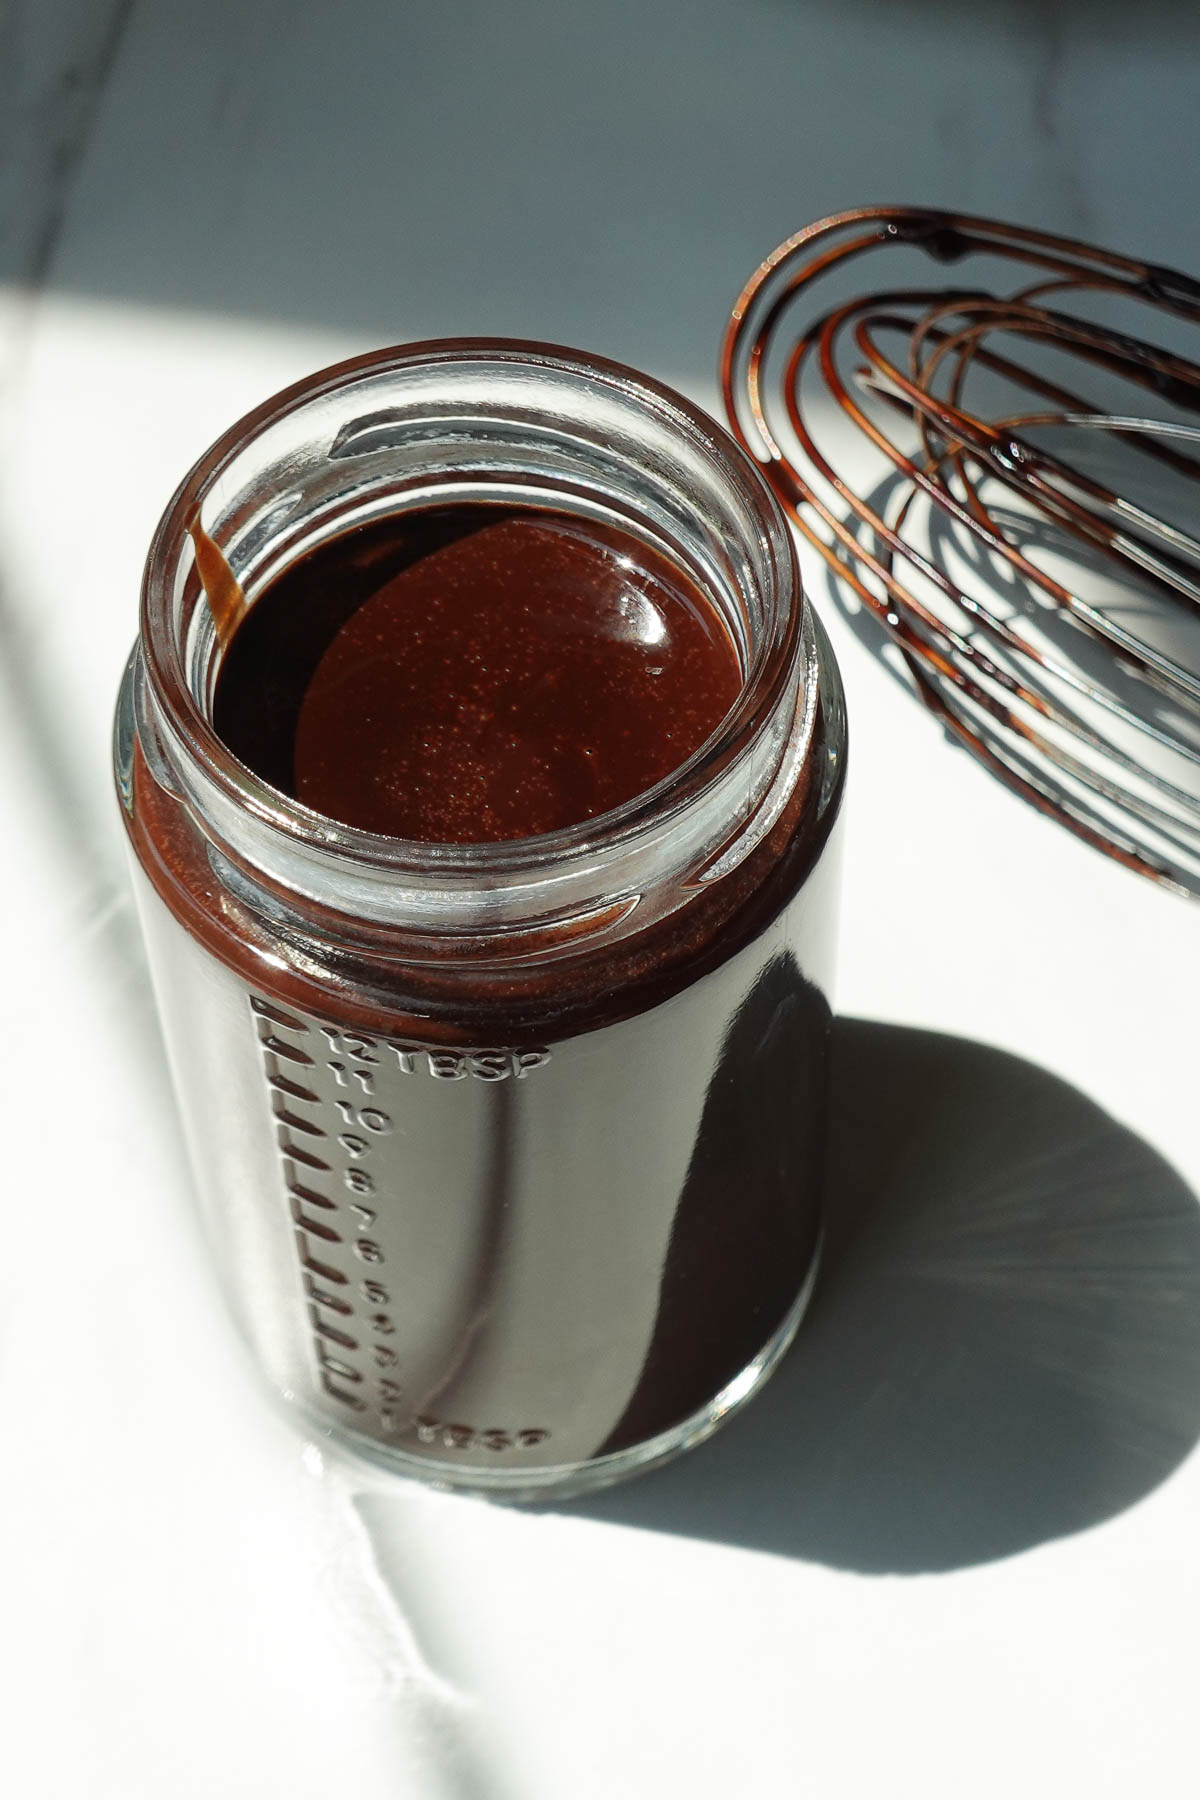
- Step 3: Remove from heat and let the chocolate syrup cool. Don’t worry if it seems a little thin when you take it off the stove. I had the same worry the first time I tested it! As it cools and chills in the fridge, it transforms into that thick chocolate syrup consistency we’re after.
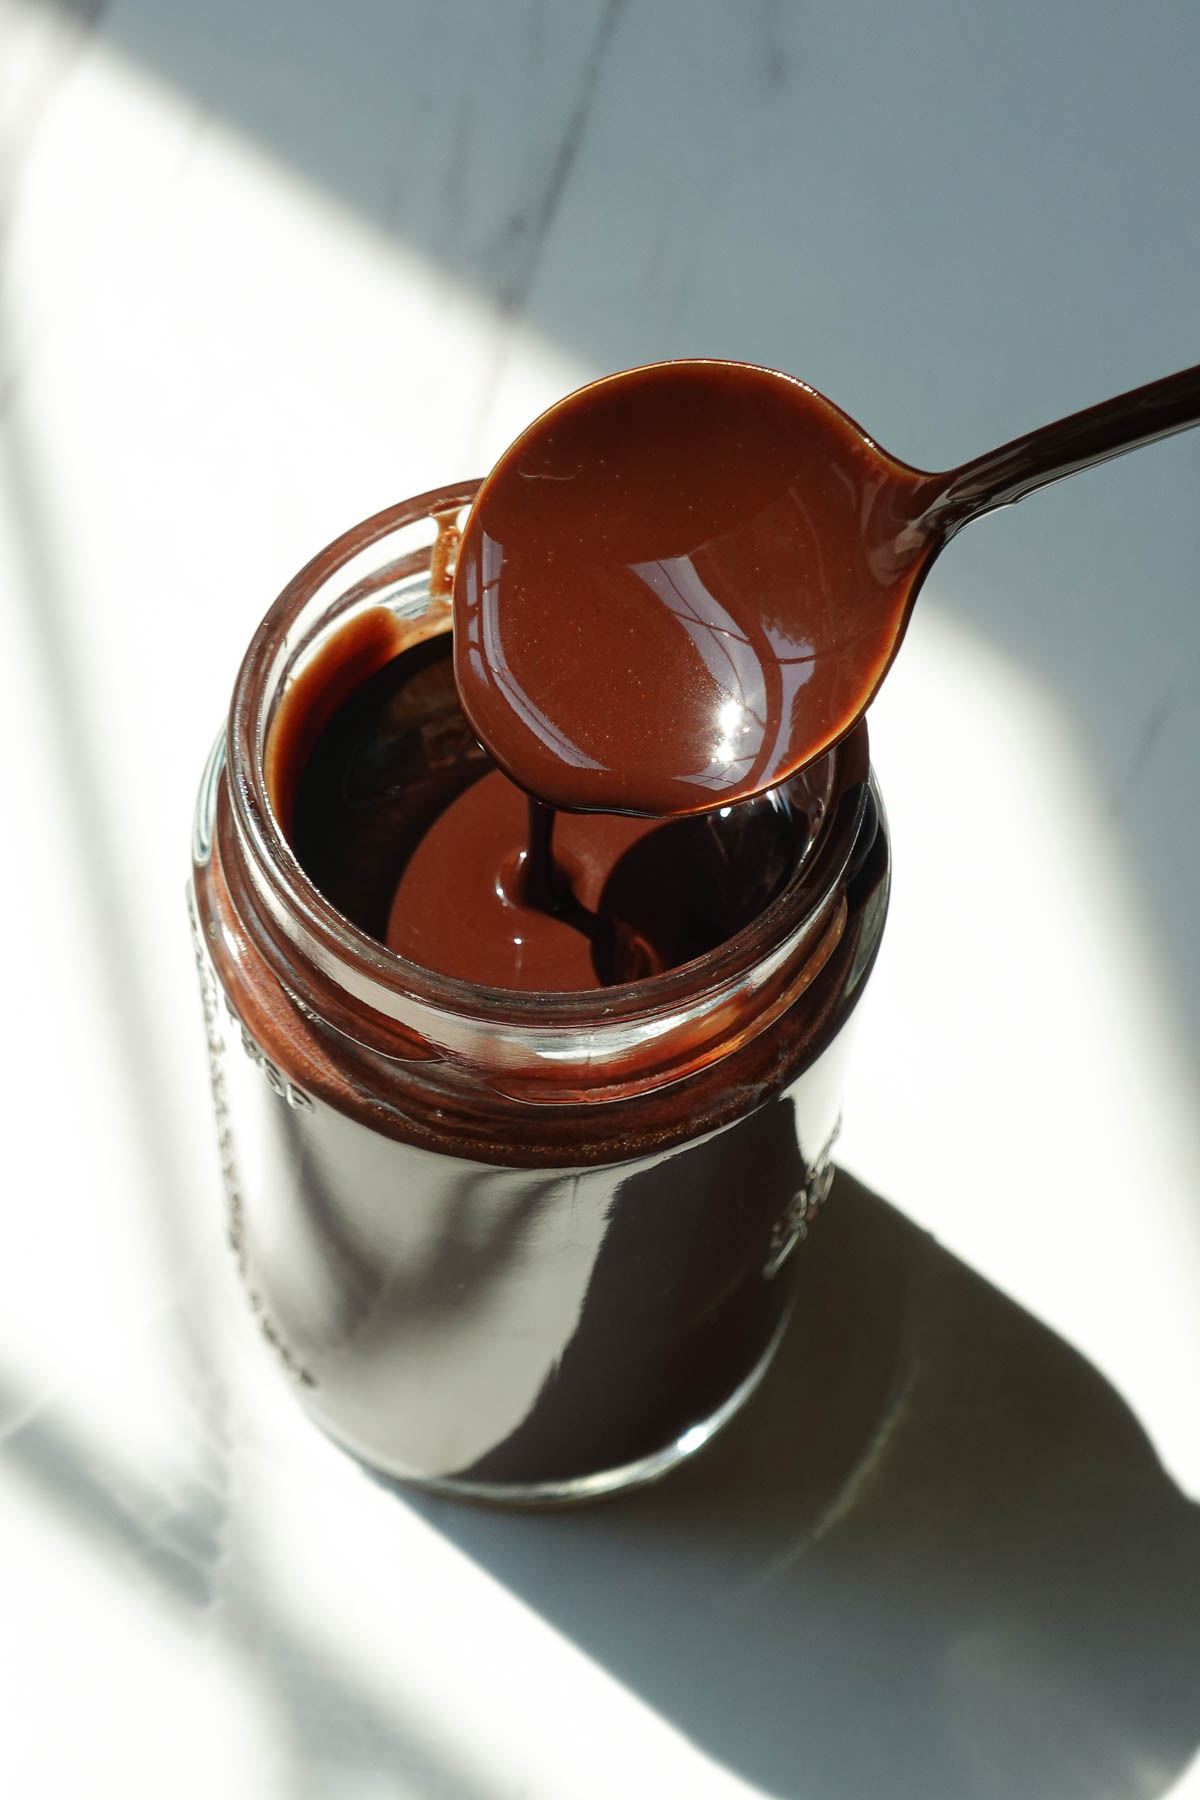
- Step 4: Transfer to an airtight jar or container and store in the refrigerator for up to 2 weeks. Use it for chocolate milk, ice cream sundaes, pancakes, waffles, and more!
Megan’s Tips
- Use a cocoa powder you love. Since cocoa powder is the main flavor, the one you use makes a big difference! Every brand tastes a little different. I love Trader Joe’s cocoa powder because it’s rich and not overly bitter.
- Don’t rush it. We don’t want it to boil – a gentle simmer is all we need.
- Whisk, whisk whisk. For the smoothest texture, you’ll want to whisk pretty often. I use the same method when I make my healthy hot chocolate. It keeps everything smooth and prevents little cocoa lumps from sneaking in.
- Taste and adjust. If it’s too bitter, add more maple syrup. If it’s too thick, add a splash of water. If it’s too sweet, add a little more cocoa powder.
My Favorite Ways to Use Chocolate Syrup
I must admit, I usually sneak a spoonful straight from the jar before it even makes it into the fridge. In my defense, I have to make sure it tastes good!
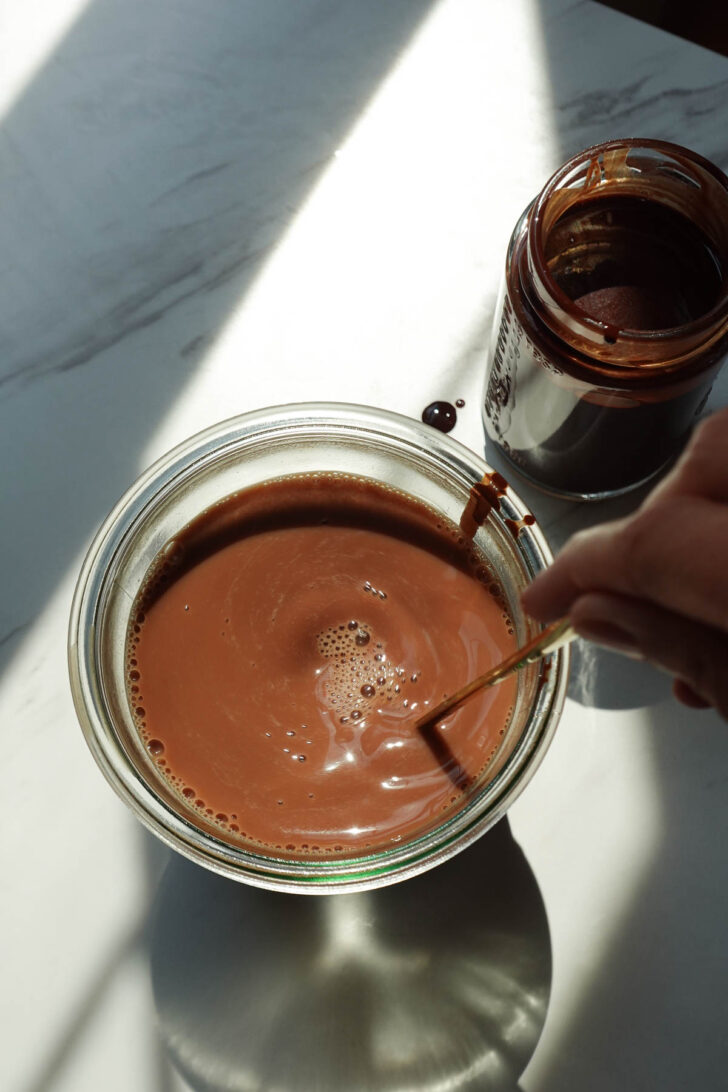
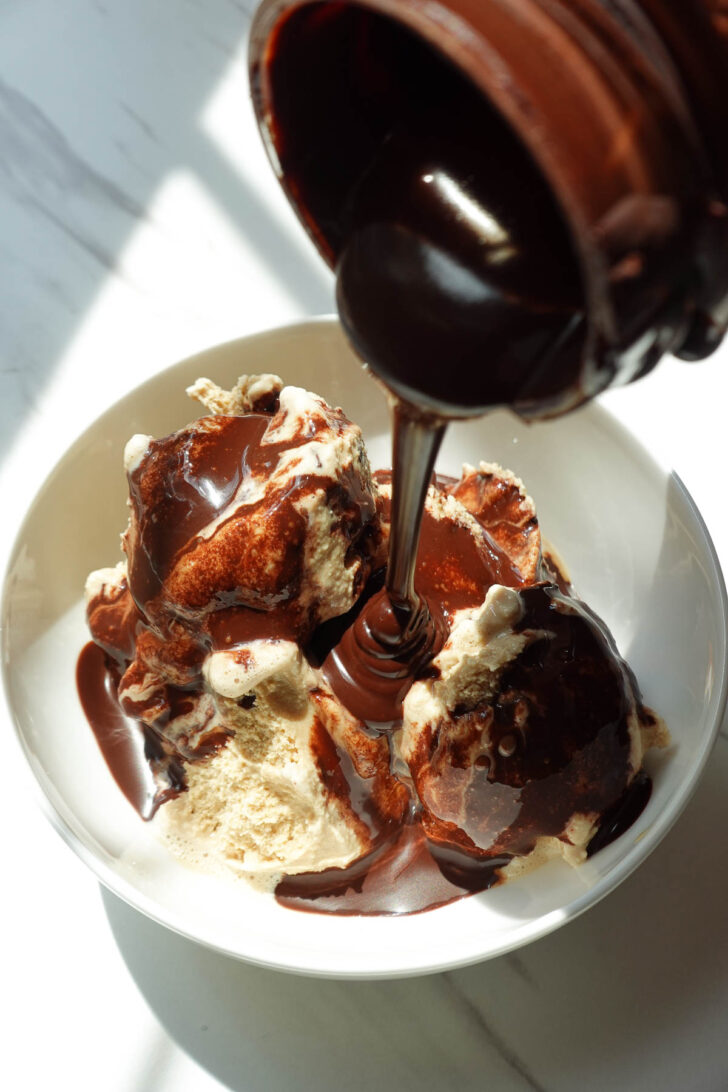
I pretty much treat it like any chocolate syrup. Here are my favorite ways to use it:
- Ice cream sundae: I love pouring it over my vegan cookie dough ice cream while it’s still warm. It turns into the dreamiest homemade hot fudge. SO good!
- The ultimate brownie sundae: Top no-bake brownies with vegan vanilla ice cream and homemade chocolate syrup. Need I say more?
- Chocolate milk: Growing up, chocolate milk was my favorite, so this is probably how I use it most! Just stir a spoonful (or two) into your favorite non-dairy milk. It also makes a delicious hot chocolate.
- Smoothies and milkshakes: Sometimes I’ll drizzle it around the inside of the glass before making my almond joy smoothie or chocolate peanut butter banana smoothie.
- Pancakes and waffles: Drizzle it over a stack of my 3-ingredient banana pancakes or your favorite waffles for a chocolatey breakfast treat.
- Yogurt, oatmeal, and fruit: Drizzle over vegan yogurt, vegan oatmeal, or fresh strawberries.
Frequently Asked Questions
If your homemade chocolate syrup seems thin and runny – don’t worry! It will thicken considerably as it cools. If it still seems thin after chilling, simmer it for another minute or two next time to reduce a little more liquid.
Store the chocolate syrup in an airtight jar or container in the refrigerator for up to 2 weeks. Since it’s naturally sweetened and doesn’t contain dairy, it should last longer than a typical homemade sauce. Always use a clean spoon when serving to help keep it fresh!
Yes! Most store-bought syrups are made with refined sugar, high-fructose corn syrup, dairy, and preservatives, but this homemade version is naturally sweetened with maple syrup and made from just 5 simple ingredients.
You can, but I don’t recommend it as it will taste very bitter. If you do decide to use cacao powder, you may want to add extra maple syrup or 1-2 tbsp of coconut sugar to balance it out.
Yes! Date syrup or agave syrup work as a similar swap.
Absolutely! Stir a spoonful (or two) into your favorite dairy-free milk like oat milk, almond milk, or soy milk for an easy and super yummy homemade chocolate milk.
More Chocolate Recipes You’ll Love


If you make this recipe, please be sure to leave a comment and ★★★★★ star rating below. Don’t forget to tag me on Instagram so I can see your creations!
Healthy Chocolate Syrup
Ingredients
- ½ cup cocoa powder
- ½ cup maple syrup
- ½ cup water
- 1 teaspoon vanilla extract
- ¼ teaspoon salt
Instructions
- Combine the ingredients: Add cocoa powder, maple syrup, water, vanilla extract, and salt to a small saucepan.
- Simmer gently: Heat over low heat, whisking continuously, until everything is smooth and the syrup slightly thickens. It should take about 5-7 minutes. Just be careful not to let it boil!
- Let cool and thicken: Remove from heat and let the chocolate syrup cool. Don't worry if it seems a little thin when you take it off the stove. I had the same worry the first time I tested it! As it cools and chills in the fridge, it turns into that thick consistency we're after.
- Store and enjoy: Transfer to an airtight jar or container and store in the refrigerator for up to 2 weeks. Use it for chocolate milk, ice cream sundaes, pancakes, waffles, and more!
Video
Notes
- Use a cocoa powder you love. Since cocoa powder is the main flavor, the one you use makes a big difference! Every brand tastes a little different. I love Trader Joe’s cocoa powder because it’s rich and not overly bitter.
- Keep the heat low. We don’t want it to boil – a gentle simmer is all you need.
- Whisk often. This helps create a smooth syrup and prevents any lumps.
- Taste and adjust. If it’s too bitter, add more maple syrup. If it’s too thick, add a splash of water. If it’s too sweet, add a little more cocoa powder.
- Storage: Store the chocolate syrup in an airtight jar or container in the refrigerator for up to 2 weeks.


super easy to make and so good!!! Love it!!!!!
I’m so happy you loved it! Thanks for sharing your review 🙂
This homemade chocolate syrup is so delicious and incredibly simple to make! I love having it with oat milk as a healthier version of chocolate milk. Super nostalgic! It also tastes delicious drizzled on ice cream like hot fudge. YUM!