

Walnut Date Brownies
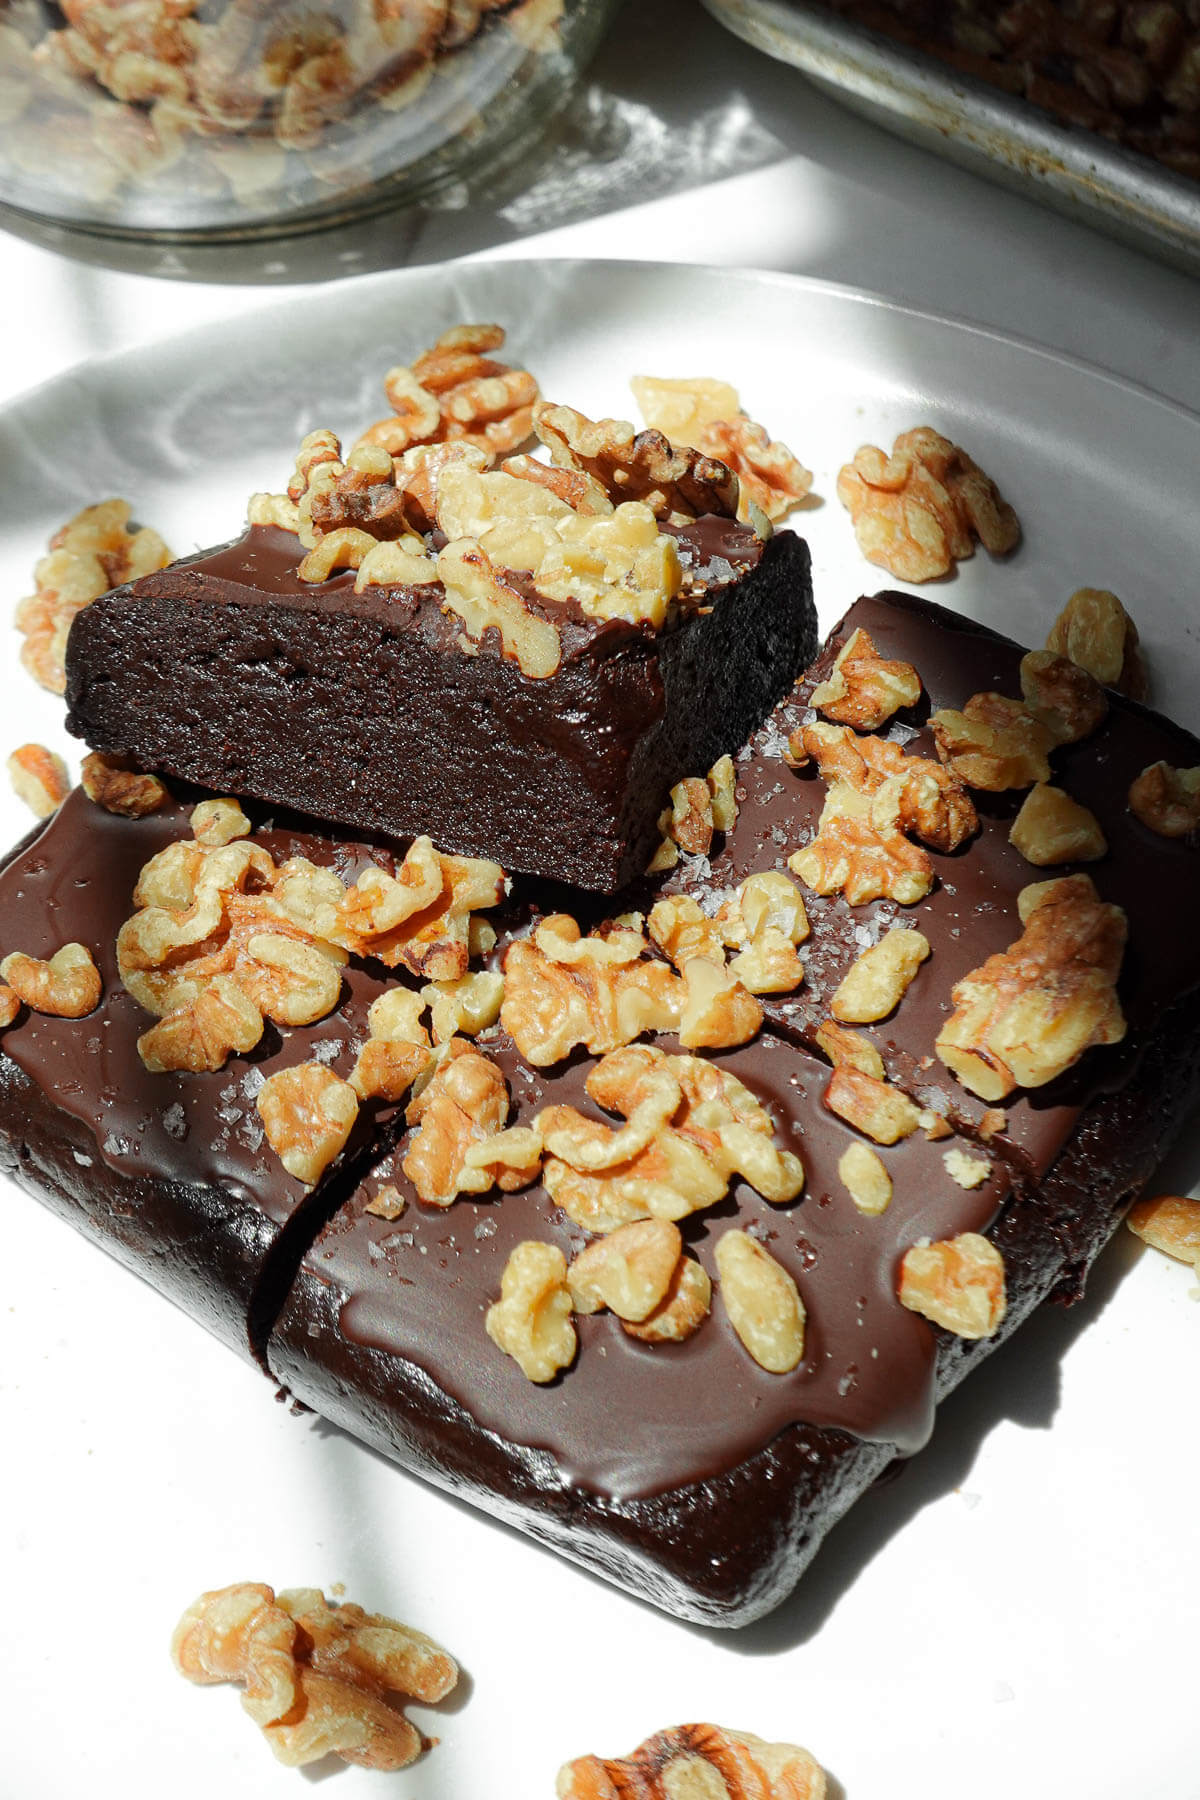
If you love my classic no-bake brownies, you’re going to love this walnut version! These fudgy walnut date brownies are made with wholesome ingredients like walnuts, medjool dates, and cocoa powder for a naturally sweetened dessert that’s vegan, gluten-free, and requires no baking.
Brownies have always been my favorite dessert. When I went vegan, finding a brownie that tasted like the ones I grew up loving was surprisingly difficult. I tried the chickpea brownies (too dry for my taste) and the black bean brownies (the flavor just wasn’t there).
It wasn’t until I tried no-bake brownies that I finally struck gold! Since then, I’ve created an entire collection of no-bake brownie recipes, including my classic no-bake brownies, no-bake pistachio brownies, and no-bake cosmic brownies.
These walnut date brownies are made with just 4 simple ingredients: medjool dates, walnuts, cocoa powder, and vanilla. The walnuts are blended into a homemade walnut butter that creates the fudgiest brownie texture, while the dates add natural sweetness and the perfect chewy bite.
Table of Contents

Why You’ll Love This Recipe
You’d never guess these brownies are made from walnuts. They are SO rich, moist, fudgy, and chocolatey, but made from wholesome ingredients!
- Made with 4 ingredients
- Small batch so you won’t accidentally eat the whole pan
- Naturally sweetened with medjool dates
- Rich, fudgy brownie texture
- Made with homemade walnut butter
- No baking required
- Vegan, gluten-free, and dairy-free

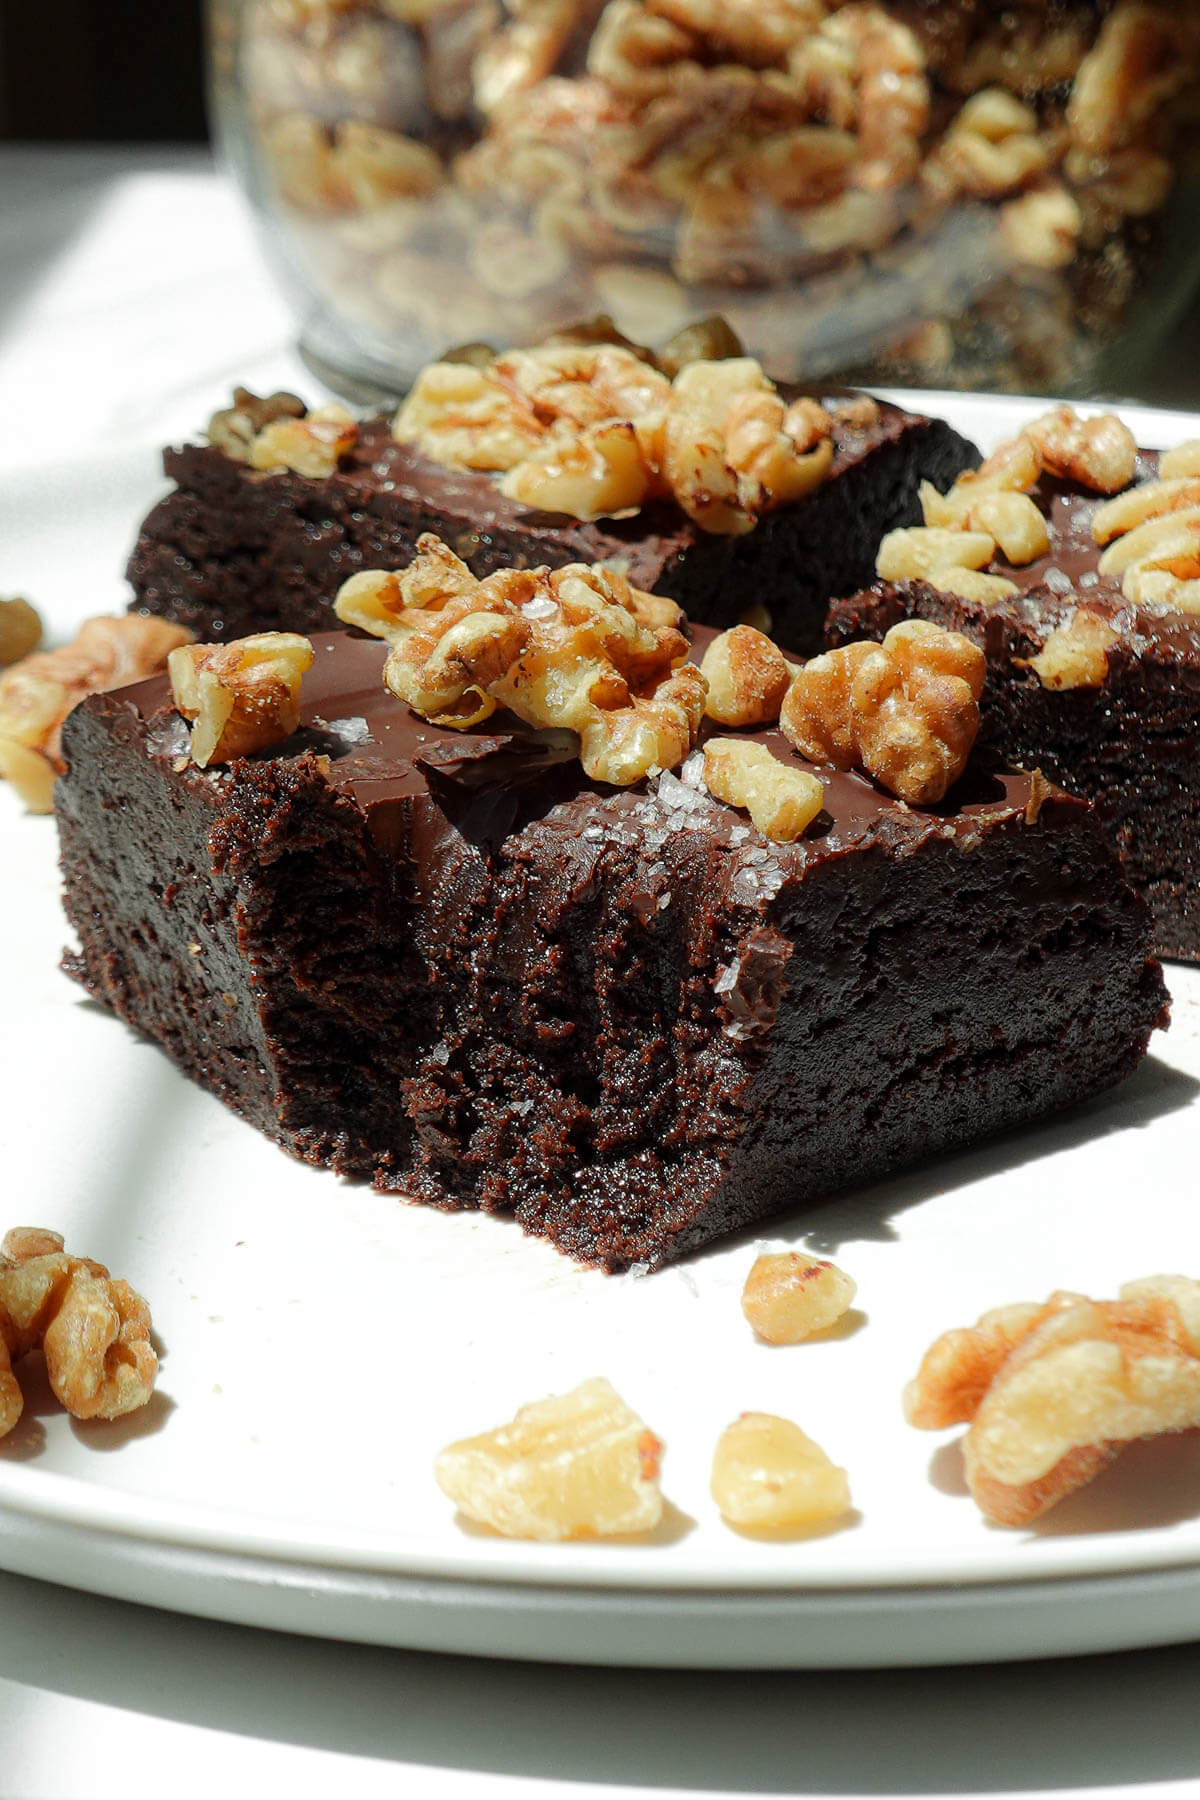
What Do Walnut Date Brownies Taste Like?
If I gave you one of these brownies without telling you what was in them, chances are you’d never guess they were made with walnuts and dates! The dates create a super moist, fudgy, and chewy texture, while the walnuts add richness and a subtle nutty flavor.
Ingredient Notes
- Walnuts: Walnuts are the base of these brownies and are blended into a homemade walnut butter.
- Medjool Dates: If you’ve been around here for a while, you know dates are my favorite ingredient! If you’re as obsessed with dates as I am, you’ll love my cosmic brownie stuffed dates and snickers stuffed dates.
- Cocoa Powder: Use a cocoa powder you genuinely love the flavor of. I typically use Trader Joe’s cocoa powder because it’s rich without tasting overly bitter. Just like with my healthy homemade chocolate syrup and chocolate avocado pudding, the quality of your cocoa powder makes a difference!
- Vanilla Extract: Enhances the chocolate flavor.
- Salt (optional): Ties all the flavors together.
- Chocolate Chips (optional): As a chocolate lover, I like to add a generous a layer of melted chocolate on top for an extra decadent brownie, but that’s totally optional.
How to Make Walnut Date Brownies
This is just a recipe overview! Scroll down to the recipe card to get the full recipe with measurements.
- Roast the walnuts (optional): Preheat the oven to 350°F and spread the walnuts onto a parchment-lined baking sheet. Roast for 8 minutes. I always roast my walnuts first because they blend into creamy walnut butter more quickly and develop a richer, nuttier flavor, but if you’re short on time, regular walnuts work just fine.
- Make the walnut butter: Transfer the walnuts to a food processor and blend for 3–5 minutes, stopping to scrape down the sides as needed, until a smooth, creamy walnut butter forms.
- Make the brownie mixture: Add the pitted dates, cocoa powder, vanilla extract, and a pinch of salt to the food processor with the walnut butter. Blend until a sticky dough forms. You’ll know it’s ready when you can press the mixture between your fingers and it holds together.
- Press into the pan: Line a loaf pan or a small square container with parchment paper. Press the brownie mixture firmly and evenly into the pan. I like using a loaf pan, then cutting the slab in half and stacking it for extra-thick brownies!
- Add a chocolate topping (optional): Melt the chocolate chips in the microwave in 30-second intervals, stirring between each, until smooth. Spread the melted chocolate over the brownies and sprinkle with chopped walnuts, if desired. Chill for 10 minutes before slicing into squares. Enjoy!
Megan’s Tips
- Roast walnuts first. This is my secret trick for making homemade nut butter. Roasting brings out the nutty flavor and helps the walnuts release their natural oils faster, so they blend into a creamy walnut butter much more easily.
- Scrape the sides of the food processor. Stop every minute or so to scrape down the sides. It helps everything blend evenly into a smooth, creamy brownie mixture.
- Use soft medjool dates. If your dates feel dry or firm, soak them in warm water for about 10 minutes first. They’ll blend much more easily and create the fudgiest texture.
Substitutions & Variations
- Walnuts: Use pecans or hazelnuts for a similar buttery texture. You can also skip making homemade walnut butter by using ½ cup store-bought walnut butter instead of 1 cup walnuts.
- Medjool dates: I don’t recommend substituting them. Medjool dates have the best natural sweetness and soft texture which makes these brownies so yummy.
- Cocoa powder: You can use cacao powder, but the brownies will be much more bitter, so I recommend sticking with cocoa powder.
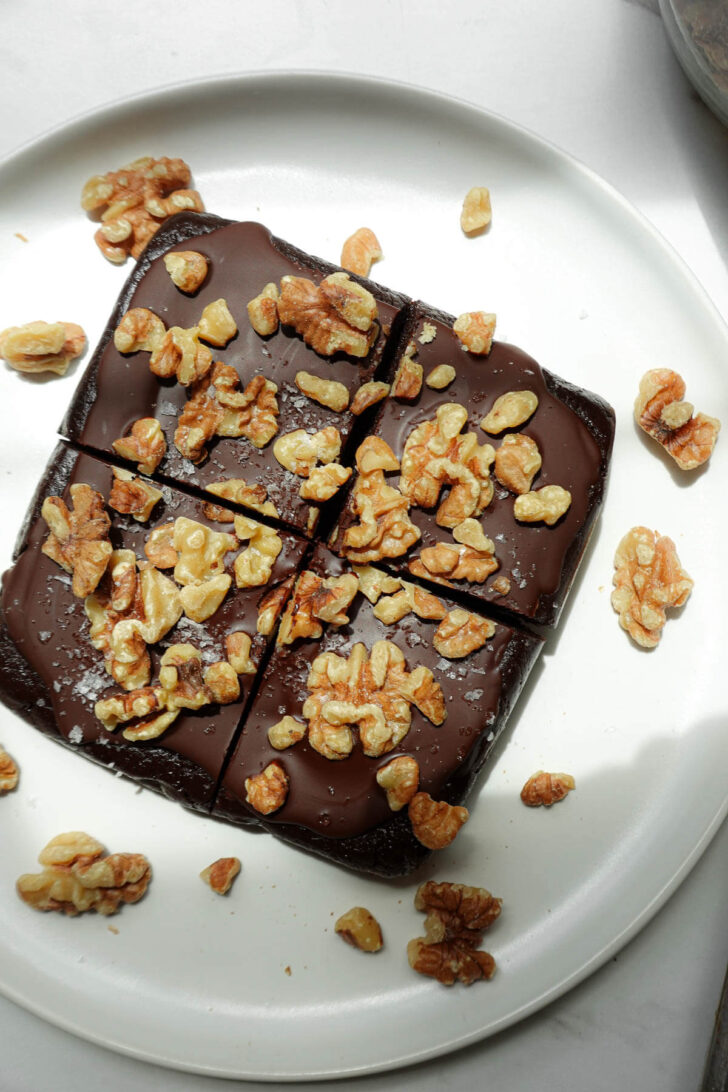
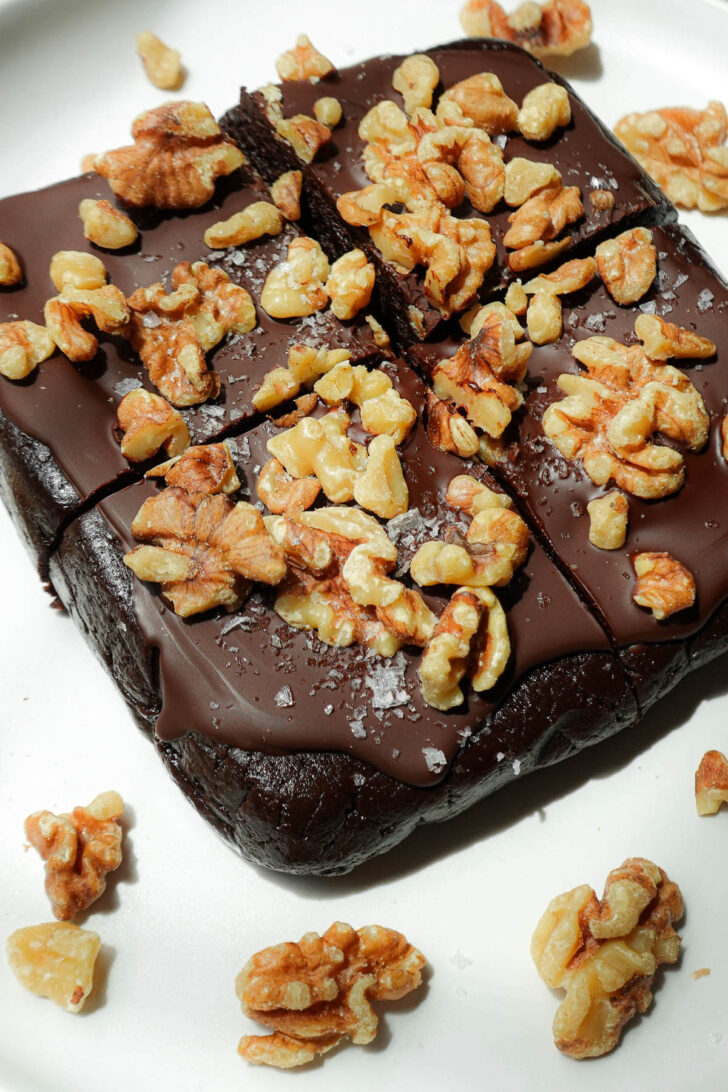
- Chocolate Topping: Completely optional, but I highly recommend adding a layer of melted chocolate on top (especially if you’re a chocolate lover like me). It reminds me of the chocolate-frosted brownies I grew up loving.
- Toppings: Top with chopped walnuts for extra crunch and sprinkle with flaky sea salt.
FAQs
Yes! Pecans are the closest substitute since they have a similar buttery texture, but hazelnuts would be delicious here too.
These brownies are made with simple, whole-food ingredients like medjool dates, walnuts, and cocoa powder instead of refined sugar and flour. They’re naturally sweetened, vegan, and gluten-free, making them a wholesome dessert for when you’re craving something chocolatey!
Yes! These walnut date brownies are naturally gluten-free since they’re made without flour.
Store the brownies in an airtight container in the refrigerator for up to 1 week or freeze them for up to 3 months.
More No-Bake Desserts You’ll Love
If you loved these walnut date brownies, try these recipes next!
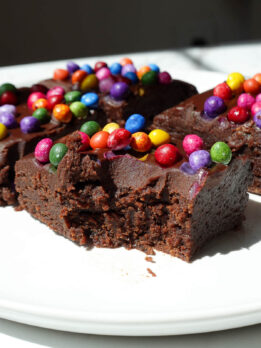
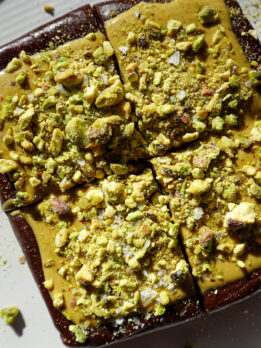
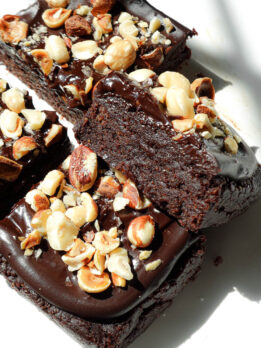

If you make this recipe, please be sure to leave a comment and ★★★★★ star rating below. Don’t forget to tag me on Instagram so I can see your creations!
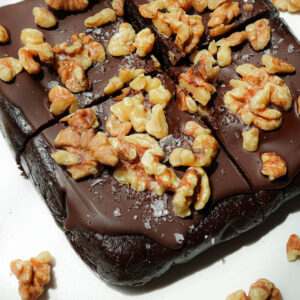
Walnut Date Brownies (Vegan & No-Bake)
Equipment
Ingredients
- 1 cup walnuts, plus more for topping
- 1 cup medjool dates, pitted
- ¼ cup cocoa powder
- 1 teaspoon vanilla extract
- ¼ teaspoon salt, optional, for topping
- ¼ cup vegan chocolate chips, optional, for topping
Instructions
- Roast the walnuts (optional): For a deeper, nuttier flavor, preheat the oven to 350°F and spread the walnuts onto a parchment-lined baking sheet. Roast for 8 minutes. I always roast my walnuts first because they blend into creamy walnut butter more quickly and develop a richer, nuttier flavor, but if you're short on time, raw walnuts work just fine.
- Make the walnut butter: Transfer the walnuts to a food processor and blend for 3–5 minutes, stopping to scrape down the sides as needed, until a smooth, creamy walnut butter forms.
- Make the brownie mixture: Add the pitted dates, cocoa powder, vanilla extract, and a pinch of salt to the food processor with the walnut butter. Blend until a sticky dough forms. You'll know it's ready when you can press the mixture between your fingers and it holds together.
- Press into the pan: Line a loaf pan or a small square container with parchment paper. Press the brownie mixture firmly and evenly into the pan. I like using a loaf pan, then cutting the slab in half and stacking it for extra-thick brownies!
- Add a chocolate topping (optional): Melt the chocolate chips in the microwave in 30-second intervals, stirring between each, until smooth. Spread the melted chocolate over the brownies and sprinkle with chopped walnuts, if desired. Chill for 10 minutes before slicing into squares. Enjoy!
Notes
- Roasting the walnuts is optional, but I highly recommend it! It brings out their rich, nutty flavor and helps them blend into creamy walnut butter more quickly.
- Use soft medjool dates for the best texture. If your dates are dry or firm, soak them in warm water for 10 minutes, then drain well before blending.
- Store-bought walnut butter: You can substitute ½ cup walnut butter for the 1 cup walnuts if you don’t want to make your own.
- Chocolate topping: The melted chocolate layer is completely optional but adds an extra decadent finish. I like to sprinkle with chopped walnuts and flaky sea salt.
- Storage: Store brownies in an airtight container in the refrigerator for up to 1 week or freeze for up to 3 months.


These walnut date brownies are SO fudgy, moist, rich, and chewy! I love how quick and easy they are to make, too!